How Do You Restring a String Trimmer So It Never Tangles or Jams?
By Jim Vernon · 9 min read · Last updated
A weed trimmer that refuses to advance its line turns a simple ten-minute yard chore into an hour of pure frustration.
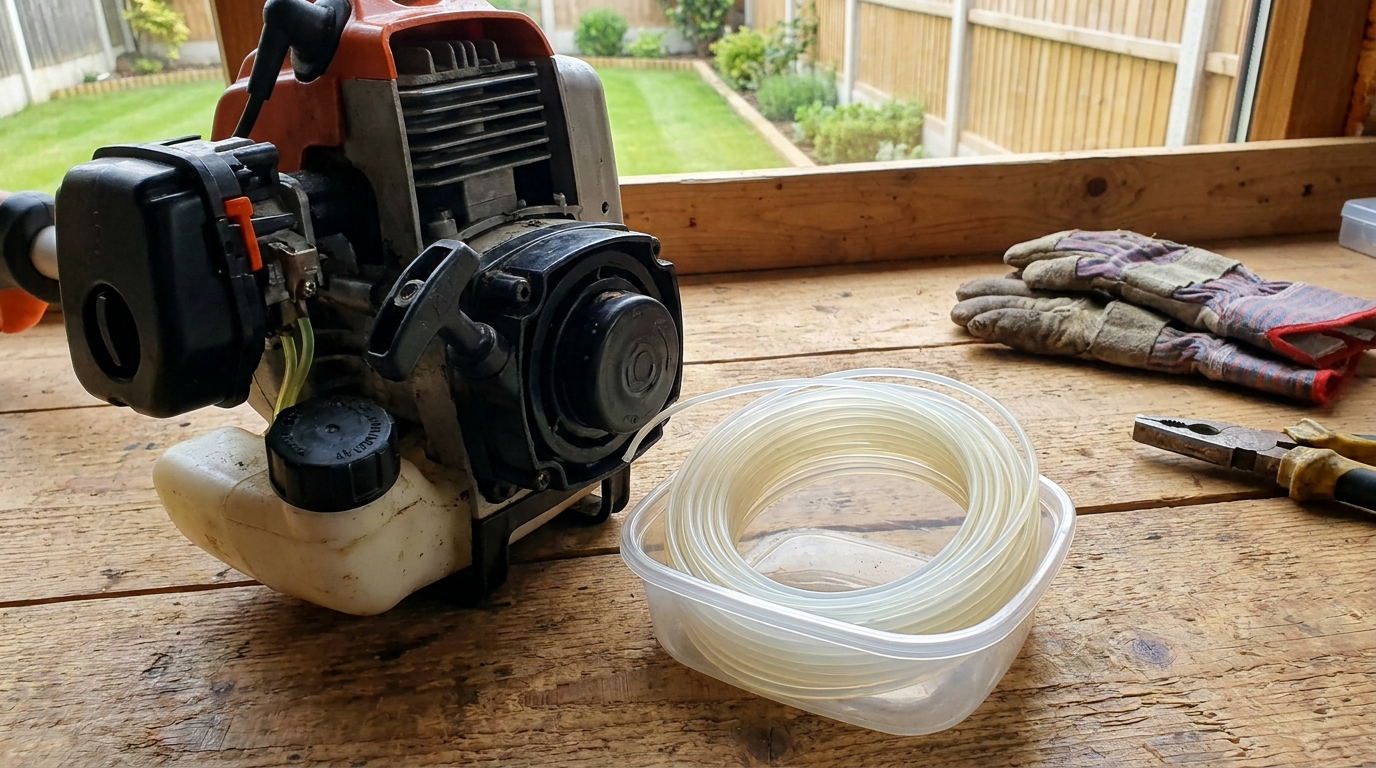
To restring a string trimmer so it feeds flawlessly, you need to use the exact line diameter specified on your trimmer head, wind the line in the direction of the arrows stamped on the spool, and keep tension tight so the wraps never cross over one another. Before you even open the trimmer head, disconnect the spark plug or remove the battery to prevent accidental starts. Cut a 15-foot (4.5-meter) length of replacement line—anything longer overfills the spool and causes binding. The secret to a perfect bump-feed is avoiding loose, overlapping loops that melt together under the friction of 7,000 RPMs. Winding a spool correctly takes less than five minutes, but doing it haphazardly guarantees you will spend the rest of the afternoon popping the head open to clear jams.
- Never wind more than 15 to 20 feet (4.5 to 6 meters) of line onto a spool to prevent binding and jamming.
- Soak your nylon replacement line in a bucket of water for 24 hours before winding to restore flexibility and prevent snapping.
- Maintain strict tension while winding to prevent the nylon lines from crossing, rubbing, and melting together under high RPMs.
- Always match the line diameter to your trimmer's specifications; using a thicker line will bog down and burn out the motor.
- Clean the inner housing and the bump spring every time you restring to ensure the feed mechanism slides freely.
What Size Trimmer Line Do You Actually Need?
Using line that is too thick will bog down the engine and burn out the motor, while line that is too thin will snap instantly against a single dandelion stalk. The maximum supported line diameter is almost always stamped directly into the plastic spool housing or listed on the trimmer’s shaft decal.
Lightweight electric and 20-volt battery trimmers require .065-inch (1.6 mm) line. Mid-range 40-volt battery and residential gas models perform best with .080-inch (2.0 mm) line. Commercial gas-powered trimmers are built with heavy-duty clutches that can spin .095-inch (2.4 mm) or even .105-inch (2.7 mm) line.
When purchasing replacement line, skip the cheap round spools found at grocery stores. Expect to pay between $15 and $25 in 2026 for a 200-foot (60-meter) spool of commercial-grade twisted or star-shaped line. Twisted line is aerodynamically superior, meaning it cuts cleaner, lasts longer, and significantly reduces trimmer vibration and noise.
- .065-inch (1.6 mm): Best for light grass trimming along sidewalks.
- .080-inch (2.0 mm): The standard for typical suburban yards and moderate weeds.
- .095-inch (2.4 mm) and up: Strictly for high-power gas trimmers clearing heavy brush.
Why Do Pros Soak Trimmer Line in Water Before Winding?
Here is a judgement call a landscaping pro makes differently from a beginner. Beginners buy a spool of nylon line, leave it on a shelf in a 100°F (38°C) garage for two years, and wonder why the line constantly snaps right at the trimmer head eyelets the moment it touches a fence post.
Trimmer line is made of nylon polyamide, which is a hygroscopic material. This means it constantly absorbs and releases moisture depending on the environment. When left in a hot, dry shed, the moisture bakes out of the plastic, leaving it brittle and prone to shattering upon impact.
To fix this, professionals soak their spools of replacement line in a bucket of plain water for 24 hours before winding. The nylon absorbs the water, restoring its original suppleness and shock resistance. Some pros even keep a damp sponge inside a sealed zip-top bag with their bulk spool in the work truck to ensure the line is always hydrated and ready to wind.
- Nylon degrades and becomes brittle in dry, hot environments.
- Soaking line for 24 hours restores flexibility and prevents snapping.
- Store bulk spools in a cool, dark place, away from direct sunlight and extreme garage heat.
How Do You Open and Clean the Trimmer Head?
Before your hands go anywhere near the cutting head, pull the spark plug boot off the spark plug or slide out the lithium-ion battery. Most modern bump-feed heads have two plastic tabs on opposite sides of the outer housing. Press both tabs inward simultaneously while pulling outward to release the cover. If the tabs are locked up with packed dirt, use the flat blade of a screwdriver to gently pry them inward.
Once the cover is off, pull out the inner spool and remove the central metal spring. Put the spring in your pocket so it doesn't get lost in the grass. Take this opportunity to inspect the metal eyelets (grommets) on the side of the housing. If they have deep, sharp grooves worn into them from years of use, they will slice your new line—the entire head should be replaced.
Use an old toothbrush to aggressively scrub the inside of the housing. Over the season, dried plant sap, pulverized grass clippings, and sand pack into the bump mechanism. If the central shaft or the spring is rusty, hit it with a quick blast of silicone spray. A clean housing is mandatory for the bump-feed to compress and rebound smoothly.
- Remove the power source (battery or spark plug boot) before touching the head.
- Pry dirty, stuck tabs carefully with a flathead screwdriver.
- Clean out the central bump housing to ensure the internal spring can move freely.
- Inspect the metal eyelets for sharp wear grooves that cause line breakage.
How Do You Anchor and Wind the New Line Correctly?
For a standard dual-line spool, do not cut two separate pieces of line. Cut one single length measuring about 15 feet (4.5 meters). Fold this length of line exactly in half to find the midpoint. Inside the empty spool, locate the center divider wall—there will be a small notch or anchoring hole cut into it. Hook the midpoint of your line firmly into this notch.
Hold the spool in your left hand. The plastic face of the spool will have a directional arrow stamped into it, usually paired with the word 'WIND'. Keep the line under strict tension with your right hand and begin winding both halves of the line simultaneously in the direction of the arrow. Keep one strand of line in the top channel and the other strand in the bottom channel.
Wind the line neatly side-by-side, exactly like thread on a sewing machine bobbin. Never let the wraps overlap or criss-cross one another. Keep a tight grip the entire time; if your hand cramps and you let the line spring loose, you must unspool it and start over to prevent future jams.
- Cut a single 15-foot (4.5-meter) length of line and fold it in half.
- Hook the midpoint into the spool's central anchor notch.
- Wind strictly in the direction of the arrow stamped on the spool face.
- Lay the line side-by-side without ever letting the strands cross over each other.
What Causes Trimmer Line to Melt Together Inside the Spool?
The most common failure mode in string trimming is 'line welding.' You tap the bump head against the ground, the line refuses to advance, and when you finally open the spool, you discover the inner wraps have fused together into a solid, melted plastic block.
This failure is entirely user-caused. It happens when you wind the line too loosely or allow the wraps to cross over one another during loading. When the trimmer head spins up to 7,000 RPM, centrifugal force violently pulls any slack line outward. If the wraps are crossed, the loose lines aggressively rub against each other.
The friction generated by this high-speed rubbing creates intense heat, melting the nylon directly inside the spool. The only way to fix a welded spool is to cut the fused chunk out with a utility knife and throw it away. To avoid line welding altogether, you must maintain a death grip on the line while winding, ensuring absolute, unyielding tension from the first wrap to the last.
- Line welding occurs when loose or crossed wraps melt together.
- High-RPM centrifugal force creates intense friction on slack lines.
- A welded spool cannot be salvaged and must be cut out and discarded.
- Strict winding tension is the only way to prevent friction melting.
How Do You Reassemble the Head Without Losing Tension?
Stop winding when you have roughly 6 inches (15 cm) of line remaining on both ends. Look at the outer rim of the plastic spool—you will see two holding notches directly opposite each other. Snap the two ends of the line into these holding notches. This temporarily locks your tension in place so you can use both hands for reassembly.
Slide the metal spring back onto the center shaft. Place the loaded spool over the spring. Before pushing it down, thread the two 6-inch (15 cm) tails of line through the metal eyelets in the outer housing. Once the lines are threaded, push the spool down firmly against the spring pressure.
Snap the outer cover back onto the housing, listening for the distinct *click* of the side tabs locking into place. Finally, grab the two exposed ends of the trimmer line and give them a sharp, firm tug outward. This tug pulls the line free from the temporary holding notches inside, fully engaging the bump-feed mechanism. Your trimmer is now ready to run.
- Stop winding with 6 inches (15 cm) of line remaining.
- Use the holding notches on the spool rim to temporarily lock the tension.
- Thread the line tails through the metal eyelets before compressing the spring.
- Give both lines a sharp outward tug after assembly to release them from the holding notches.
| Line Shape | Best Used For | Cutting Power | Durability |
|---|---|---|---|
| Round | Basic residential lawns, edging light grass | Low (Tears grass rather than cutting) | High (Less prone to breaking on concrete) |
| Square / Multi-Sided | Heavy weeds, thick thistle, light brush | High (Sharp edges slice through stalks) | Medium (Edges can chip against rocks) |
| Twisted / Serrated | Commercial use, noise-sensitive areas | Very High (Aerodynamic, clean slicing) | High (Resists welding and fraying well) |
Frequently asked questions
Can I put a thicker line in my string trimmer than the manufacturer recommends?
No. Forcing a thicker line, like putting a .095-inch commercial line in a .065-inch battery trimmer, puts massive strain on the motor. The heavier line creates too much air resistance, causing the engine to overheat, bog down, and potentially burn out the clutch.
Why does my trimmer line keep breaking off inside the head?
Breaking inside the head usually means the line has dried out and become brittle, or you are edging against hard surfaces like concrete and chain-link fences too aggressively. Soaking the spool of line in water for 24 hours often cures the brittleness and stops the snapping.
How do I know if my weed trimmer is a single-line or dual-line model?
Look at the outside perimeter of the trimmer head. If there is only one metal eyelet for the line to exit, it is a single-line trimmer. If there are two eyelets located directly opposite each other, it is a dual-line trimmer and requires you to wind both top and bottom channels.
Should I use a pre-wound replacement spool instead of winding it myself?
Pre-wound spools are highly convenient and guarantee perfect factory tension, practically eliminating the risk of line welding. However, they cost three to four times more per foot than buying a bulk spool and taking the five minutes to wind it yourself.
Keep reading
- Starting Your First Vegetable Garden Without Wasting a SeasonMost first gardens fail for reasons that have nothing to do with a green thumb. Here are the five that matter.
- Building Soil That Actually Grows ThingsFeeding plants is a short-term fix. Feeding the soil is what makes a garden easy.
- Reviving a Tired Lawn: A Season-Long PlanA thin lawn is a symptom. Treating the symptom with more seed is why it keeps coming back.