How Do You Install a Drip Irrigation System for Raised Garden Beds?
By Jim Vernon · 9 min read · Last updated
Stop dragging heavy hoses through the mud; a simple, inexpensive drip system waters your vegetables perfectly while you drink your morning coffee.
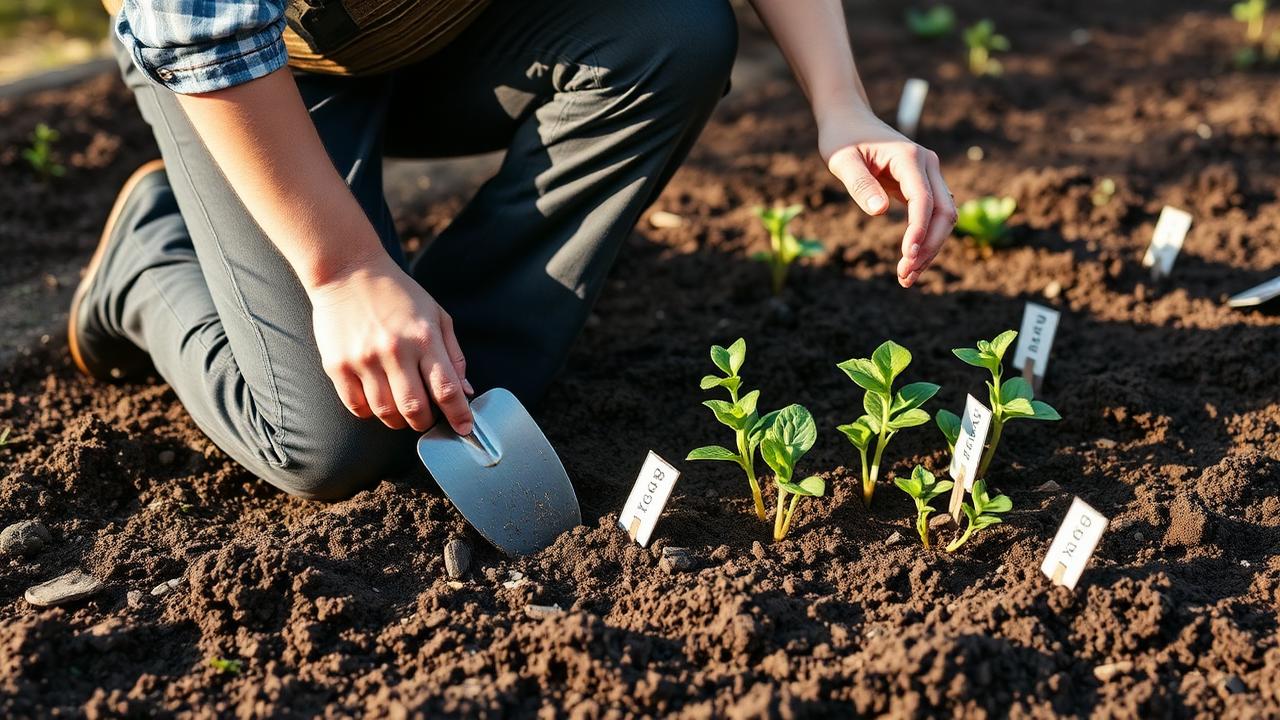
You install a drip irrigation system for raised beds by connecting a head assembly—comprising a battery-operated timer, backflow preventer, mesh filter, and pressure regulator—to your outdoor spigot, running a 1/2-inch (12.7 mm) solid mainline to your garden, and branching off with 1/4-inch (6.3 mm) emitter tubing across the soil surface. This setup delivers water directly to plant roots at a slow, steady rate, which prevents muddy runoff, eliminates wasted evaporation, and significantly reduces weed growth. Expect to spend $60 to $120 in 2026 for a quality starter kit capable of covering three standard 4x8-foot (1.2x2.4 m) raised beds. The entire project takes about two hours to measure, cut, and snap together with simple hand tools, instantly transforming a tedious daily chore into an automated, hands-off process.
- Install a 25 PSI (172 kPa) pressure regulator at the spigot to prevent your tubing fittings from blowing apart under municipal water pressure.
- Run a 1/2-inch (12.7 mm) solid mainline all the way to each raised bed before reducing down to 1/4-inch (6.3 mm) watering lines to maintain consistent flow.
- Use pre-spaced 1/4-inch emitterline for densely planted crops like carrots and greens, spacing the lines 9 to 12 inches (22.8 to 30.5 cm) apart across the soil.
- Flush the system annually by opening the end caps, and remove the battery-operated timer before winter freezing to prevent cracked plastic components.
What components do you actually need at the spigot?
The connection at your outdoor spigot, known as the head assembly, is the brain and the safeguard of your entire drip system. You cannot simply attach drip tubing directly to a faucet. The components must be stacked in a specific order to function correctly and protect your home's plumbing. First, attach your battery-operated timer to the spigot so you can automate your watering schedule. Next, thread on a backflow preventer (also called a vacuum breaker), which stops dirty garden water from being sucked back into your home's drinking water supply if the municipal pressure drops.
After the backflow preventer, attach a mesh filter. Drip emitters have microscopic holes that will easily clog from tiny flecks of rust or sand in your pipes. The filter catches this debris before it reaches the garden. Finally, attach the pressure regulator, followed by a tubing adapter that converts the threaded hose connection into a barbed fitting for your 1/2-inch (12.7 mm) solid mainline tubing. Skipping any piece of this assembly will lead to clogged lines, broken timers, or contaminated water.
- Battery-operated timer for scheduling
- Backflow preventer to protect drinking water
- Mesh filter to prevent clogged emitters
- 25 PSI (172 kPa) pressure regulator
- Tubing adapter for the 1/2-inch mainline
How do you route the mainline tubing to the raised beds?
A pro makes a critical judgment call here that beginners almost always miss. A beginner will often buy a cheap kit consisting entirely of 1/4-inch (6.3 mm) micro-tubing and try to run it directly from the spigot across the entire yard to multiple beds. Because of severe friction loss in small tubing, the plants nearest the spigot end up drowning while the plants at the end of the line remain bone dry. A pro always runs a 1/2-inch (12.7 mm) solid mainline from the spigot all the way to the edge of the raised bed, maintaining full water volume and pressure over the long distance. They only reduce down to the 1/4-inch tubing once inside the actual planting area.
To route the mainline cleanly, lay the 1/2-inch (12.7 mm) solid tubing on the ground from your spigot to the base of your raised beds. Use a 90-degree elbow fitting to run the tubing straight up the outside wooden wall of the bed, and another elbow to crest the lip of the bed and drop inside. Secure the tubing to the outside of the wooden bed with galvanized pipe straps so it does not get snagged by a lawnmower or a passing wheelbarrow. Keep this mainline solid—do not puncture it until it is inside the bed's perimeter.
What type of emitter tubing works best for vegetables?
Once your 1/2-inch (12.7 mm) mainline is inside the raised bed, you have two choices for distributing the water: pre-spaced 1/4-inch (6.3 mm) emitterline or blank 1/4-inch tubing with individual punch-in button emitters. For standard vegetable gardens, the pre-spaced emitterline is universally better. This tubing comes with factory-installed emitters built inside the tube every 6, 9, or 12 inches (15.2, 22.8, or 30.5 cm). Because vegetables are planted closely together, laying out a grid of pre-spaced emitterline covers the entire soil surface evenly, allowing you to rotate crops each season without having to move individual drippers.
For a typical 4x8-foot (1.2x2.4 m) bed, run the 1/2-inch mainline along the inside of one of the 4-foot (1.2 m) walls. Punch holes in that mainline every 9 to 12 inches (22.8 to 30.5 cm) and push in a barbed connector. Attach a length of 1/4-inch (6.3 mm) emitterline to each barb, running it down the 8-foot (2.4 m) length of the bed. Cap the ends of these small lines with a simple goof plug, and pin them to the soil using galvanized landscape staples. This creates a highly efficient watering grid perfectly suited for everything from dense carrots to sprawling tomato vines.
Why do drip systems blow apart at the fittings?
The most common failure mode for first-time installers is turning the system on and watching every fitting violently blow apart. This happens because the installer assumed the pressure regulator was an optional accessory and left it out. Standard municipal house water pressure sits between 50 and 70 PSI (345 and 482 kPa). Drip irrigation fittings, however, do not use glue or heavy metal threads; they rely entirely on friction and are only rated to hold together at 25 to 30 PSI (172 to 206 kPa). Without a regulator dropping the pressure at the spigot, the sudden surge of municipal water will immediately pop the barbed fittings off the tubing and flood your yard.
To avoid this, always thread a 25 PSI (172 kPa) pressure regulator directly after your filter on the head assembly. Additionally, ensure you are pushing the tubing all the way over the barbed fittings. A helpful trick is to carry a thermos of very hot tap water while you work. Dip the end of the stiff poly tubing into the hot water for five seconds to soften the plastic. It will slide over the plastic barbs with zero effort, and as it cools, it will shrink-wrap itself tightly around the fitting for a leak-proof seal.
How long and how often should you run the system?
Because drip irrigation delivers water incredibly slowly, you have to run it for much longer than you would a traditional hose or oscillating sprinkler. A standard drip emitter outputs 0.5 gallons per hour (1.9 liters per hour). If you only run the system for ten minutes, each plant is only getting a few tablespoons of water, which encourages shallow root growth that will kill the plant during a July heatwave. You want to water deeply and infrequently to train vegetable roots to reach far down into the raised bed soil.
As a baseline, run your drip system for 45 to 60 minutes per session. In the cooler spring months, doing this twice a week is usually sufficient. During peak summer heat, you may need to increase this to three or four times a week. A 45-minute run time with 0.5 GPH (1.9 LPH) emitters pushes the moisture roughly 6 to 8 inches (15 to 20 cm) deep into typical raised bed loam. Always stick your finger into the soil before adjusting the timer; if the soil feels damp at a depth of two inches (5 cm), skip the watering.
How do you keep hard water from clogging the emitters?
If your home has hard water with high mineral content, calcium and magnesium deposits will eventually build up inside the tiny plastic labyrinths of the drip emitters, restricting flow. The head assembly filter catches physical dirt, but it cannot filter out dissolved minerals. Over time, you will notice certain rows of your raised bed looking wilted because their designated emitters have calcified shut.
To maintain the system, you must manually flush the lines at least once every summer. Go to the very end of your 1/2-inch (12.7 mm) mainline and open the figure-eight end cap. Turn the water on manually and let it blast out of the open pipe for 60 seconds. This flushes out accumulated sediment and mineral flakes. If specific 1/4-inch (6.3 mm) emitters are hopelessly clogged with white scale, do not try to pierce them with a needle, as this destroys the internal flow regulator. Simply cut out that one-inch section of tubing and splice the line back together with a straight barbed connector.
How do you winterize a drip irrigation system so it survives freezing?
Water expands by 9 percent when it turns into ice, and that expansion will easily crack hard plastic timers, filters, and valves. Fortunately, polyethylene drip tubing is highly flexible and rarely splits from freezing, but you still need to prepare the system before the first hard frost of the year. The most critical step is unscrewing the entire head assembly from the spigot. Take the timer, backflow preventer, filter, and regulator indoors to a heated garage or basement. A replacement timer in 2026 runs about $30 to $45, so bringing it inside is a simple money-saver.
Leave the actual tubing out in the garden. Go to the end of the 1/2-inch (12.7 mm) mainline and open the end cap. Lift the tubing slightly in the middle to allow gravity to drain the bulk of the standing water out of the end. You do not need an air compressor to blow out residential raised bed drip lines. The small amount of residual water left inside the flexible 1/2-inch and 1/4-inch tubes will not cause damage when it freezes, provided the ends are left uncapped so expanding ice has room to push outward.
| Tubing Size | Primary Function | Maximum Run Length | Maximum Flow Capacity |
|---|---|---|---|
| 1/2-inch (12.7 mm) Mainline | Connecting the spigot to the raised beds | 150 feet (45.7 m) | 200 GPH (757 LPH) |
| 1/4-inch (6.3 mm) Micro-tubing | Distributing water across the soil within the bed | 30 feet (9.1 m) | 30 GPH (113 LPH) |
Frequently asked questions
Can I bury my drip irrigation lines under the soil in a raised bed?
Do not bury the drip emitter lines. Plant roots are incredibly strong and will actively seek out the water source, eventually growing directly into the tiny emitter holes and clogging them permanently. Always lay the 1/4-inch (6.3 mm) tubing on top of the soil surface. You can cover them lightly with 1 to 2 inches (2.5 to 5 cm) of wood chip or straw mulch to hide them and prevent evaporation.
Can I run a drip irrigation system from a rain barrel?
You can, but you cannot use standard drip components. Standard timers require at least 10 to 15 PSI (69 to 103 kPa) just to open their internal valves, and standard emitters require 25 PSI (172 kPa) to push water out evenly. A gravity-fed rain barrel only provides about 1 to 2 PSI. You must purchase a specialized zero-pressure timer and non-compensating low-pressure emitters designed specifically for gravity systems.
Do I need to glue the drip tubing fittings together?
No. Drip irrigation tubing is made of flexible polyethylene, and standard PVC pipe cement will not adhere to it. The system relies entirely on compression or barbed push-fittings. As long as you have a 25 PSI (172 kPa) pressure regulator installed, the friction of the plastic tubing gripping the plastic barbs is more than enough to keep the system watertight.
How do I fix a hole if I accidentally cut the mainline with a trowel?
Do not try to wrap the hole in duct tape or electrical tape; water pressure will blow right through it. Instead, use a pair of bypass pruners to cut the tubing completely in half right at the puncture site. Then, push a 1/2-inch (12.7 mm) straight barbed coupling into both ends to splice the tube back together. It takes ten seconds and creates a permanent fix.
Keep reading
- Starting Your First Vegetable Garden Without Wasting a SeasonMost first gardens fail for reasons that have nothing to do with a green thumb. Here are the five that matter.
- Building Soil That Actually Grows ThingsFeeding plants is a short-term fix. Feeding the soil is what makes a garden easy.
- Reviving a Tired Lawn: A Season-Long PlanA thin lawn is a symptom. Treating the symptom with more seed is why it keeps coming back.