How Do You Build a Wood and Polycarbonate Cold Frame for Winter Growing?
By Jim Vernon · 9 min read · Last updated
Extend your harvest through freezing temperatures by building a simple, heavy-duty box that traps solar heat and laughs at frost.
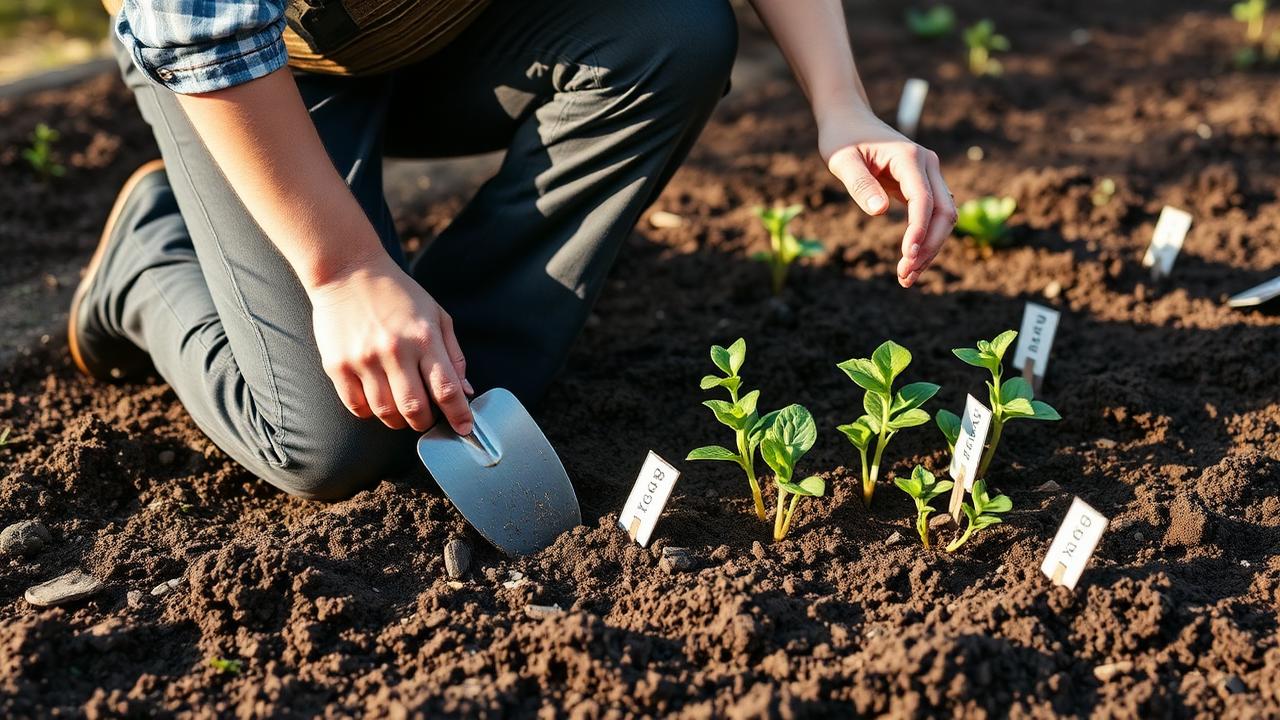
To build a cold frame that keeps vegetables alive through a USDA Zone 5 winter, construct a 3-foot by 6-foot (0.9 m by 1.8 m) box using untreated 2-inch (5 cm) thick rough-sawn cedar, angle the top at 15 degrees facing true south, and hinge a lid made of 8mm twin-wall polycarbonate. This passive solar setup maintains internal temperatures 10 to 20°F (5 to 11°C) warmer than the outside air and shields fragile crops from desiccating winter winds. Expect to spend between $180 and $250 in 2026 for premium materials, but this heavy-duty structure will last over a decade. Built correctly, it functions as an outdoor refrigerator, allowing you to harvest fresh spinach, kale, and carrots while snow covers the rest of the yard.
- Build the frame 3 feet (0.9 m) deep and 6 feet (1.8 m) wide so you can reach all plants without stepping on the soil.
- Slope the lid at 15 to 20 degrees facing south to maximize winter sun penetration and easily shed heavy snowfall.
- Use 8mm twin-wall polycarbonate for the lid to provide insulation, diffuse light, and prevent plant scorching.
- Install a wax-cylinder automatic vent opener to prevent the internal temperature from exceeding 75°F (24°C) on sunny winter days.
What Dimensions Make the Most Efficient Cold Frame?
A cold frame must be narrow enough that you can reach the back row of plants without stepping inside. Stepping inside compacts the soil and ruins the structure you need for winter root development. A depth of 3 feet (0.9 m) is the maximum ergonomic reach for most adult gardeners. For length, 6 feet (1.8 m) perfectly accommodates standard lumber sizes with minimal waste and exactly fits a custom-built lid using standard polycarbonate panels.
The roof must be sloped to maximize winter sun exposure when the sun is low on the horizon, and to shed heavy snow before the weight bows the lid. To achieve an optimal 15 to 20-degree angle for winter growing in the northern United States, build the back wall 18 inches (45 cm) high and the front wall 12 inches (30 cm) high. This height gives tall crops like kale or Swiss chard plenty of headroom while keeping the overall internal air volume small enough that the soil's radiant heat can effectively warm the space overnight.
- Front wall: Stacked 2x6 boards or one 2x12 board cut to 72 inches (1.8 m) long.
- Back wall: Stacked 2x10 and 2x8 boards cut to 72 inches (1.8 m) long.
- Side walls: 33-inch (83.8 cm) long boards, cut at a diagonal to connect the 18-inch (45 cm) back and 12-inch (30 cm) front.
Which Wood Withstands Soil Contact Without Rotting?
Because a cold frame sits directly on the earth and remains damp throughout the winter, ordinary pine or fir lumber will rot away in two to three seasons. Pressure-treated lumber resists rot, but many gardeners hesitate to use chemical-infused wood immediately adjacent to edible root crops and leafy greens. Instead, use naturally rot-resistant woods like western red cedar, eastern white cedar, or redwood.
Buy rough-sawn 2-inch (5 cm) dimensional cedar rather than 1-inch (2.5 cm) decking boards. The extra thickness provides better structural integrity to hold heavy wet snow and offers a slightly higher insulation value around the perimeter of the bed. In 2026, untreated 2x8x8 western red cedar boards cost roughly $38 to $45 each. While the upfront cost is higher, a frame built from 2-inch cedar will easily survive 10 to 12 years of harsh soil contact.
- Western Red Cedar: Lasts 10 to 15 years, naturally resists insects and rot.
- Redwood: Lasts 10 to 15 years, highly durable but very expensive outside the West Coast.
- Hemlock or Pine: Lasts 2 to 3 years, requires a plastic liner to prevent rapid decay.
Why Is Polycarbonate Better Than Old Glass Windows?
When planning a cold frame, a classic judgment call separates beginners from experienced growers. Beginners almost always try to upcycle salvaged glass house windows pulled from a local remodeling project. Pros avoid old glass sashes entirely. Single-pane glass provides terrible insulation (barely R-1), is dangerously heavy to lift and prop open daily, and the wood frames are frequently coated in lead paint that flakes into your garden soil.
Instead, pros build custom lids using 8mm twin-wall polycarbonate. Polycarbonate provides superior insulation (R-1.5 to R-1.7) because the hollow channels trap air. It is incredibly lightweight, meaning a single hinge and a lightweight prop stick can hold up a massive 3-foot by 6-foot (0.9 m by 1.8 m) lid safely. Furthermore, twin-wall polycarbonate naturally diffuses the sunlight, which prevents the harsh, direct rays of the sun from scorching the tender leaves of winter greens.
- Buy UV-treated polycarbonate; untreated plastics will yellow and turn brittle in two years.
- Tape the top and bottom flutes (channels) of the polycarbonate with breathable vent tape to keep out bugs and algae.
- Frame the polycarbonate panel with 1x3 (2.5 cm by 7.6 cm) cedar strips for rigidity and hinge attachment.
How Do You Cut and Assemble the Wooden Frame?
To assemble the heavy 2-inch lumber, you need fasteners that will not snap under soil pressure or rust in the damp environment. Use 3-inch (7.6 cm) exterior-grade polymer-coated deck screws or stainless steel screws. Do not use standard drywall screws, which will rust and shear off within a single winter.
For maximum corner strength, install a 2x2 (5 cm by 5 cm) vertical cedar cleat in each inside corner of the box. Drive screws through the exterior boards directly into this inner corner post. To create the angled side pieces, stack your lumber to the desired 18-inch (45 cm) height, measure 12 inches (30 cm) up on the front edge, snap a chalk line to the top back corner, and make the long diagonal cut using a circular saw.
- Pre-drill all holes near the ends of the cedar boards to prevent splitting.
- Stagger the seams if you are stacking multiple narrow boards to reach your desired height.
- Check the frame for square by measuring diagonally from corner to corner; the measurements should match exactly.
How Do You Attach and Safely Vent the Lid?
The most common failure mode for winter gardeners is actually cooking their plants, not freezing them. A cold frame is a powerful solar collector. Even if the outside temperature is a freezing 35°F (2°C), a sunny afternoon can quickly spike the interior temperature of a closed frame to 90°F (32°C), which will wilt and destroy cold-hardy crops like spinach.
To avoid this, you must vent the lid. Attach the assembled polycarbonate lid to the high back wall using three heavy-duty galvanized T-hinges. Then, install a wax-cylinder automatic vent opener. These require no electricity; the wax expands as the air warms, automatically pushing the lid open about 6 inches (15 cm) when the interior reaches 65°F (18°C), and contracting to close it tight as the sun sets. At roughly $45, an auto-vent is the most important investment you can make for a cold frame.
- Install weatherstripping tape along the top edge of the wooden frame to create a draft-free seal when the lid is closed.
- Add a manual prop stick on a hinge as a backup for unusually hot late-winter days.
- Attach a chain from the frame to the lid to prevent a strong gust of wind from throwing the lid backward and ripping out the hinges.
Where Should You Place the Cold Frame in Your Yard?
Location dictates exactly how warm the frame will stay. Place the cold frame so the sloped glass faces true south to catch the maximum arc of the low winter sun. Position it against a windbreak, such as the south-facing wall of your house, a dense evergreen hedge, or a solid fence. This stops brutal northern winds from stripping the heat off the polycarbonate lid.
For an extra geothermal advantage, dig a shallow trench and sink the bottom 2 to 4 inches (5 to 10 cm) of the wooden frame directly into the soil. This stops drafts from whistling under the lumber and allows the deep soil, which stays warmer than the ambient air, to radiate heat upward into the trapped space at night. Ensure the spot drains well; winter pooling will freeze the roots solid.
- Ensure no leafless deciduous trees cast heavy shadow patterns across the frame in December.
- Keep the frame within easy walking distance of your kitchen door so you are actually willing to harvest during a snowstorm.
- Clear away snow buildup around the front base to prevent ice dams from locking the lid shut.
Which Vegetables Actually Survive Inside a Zone 5 Cold Frame?
A cold frame is primarily a harvesting tool, not a growing tool. In USDA Zone 5, plant growth essentially stops from late November through early February because daylight drops below 10 hours a day (a timeframe farmers call the Persephone period). To eat all winter, you must sow seeds in late August or early September so the plants reach mature size before the dark days arrive. The cold frame then acts as a live refrigerator, holding the mature plants in a crisp, dormant state.
Not all plants tolerate this treatment. Tomatoes and peppers will die at the first frost regardless of the frame. You must stick to highly cold-hardy cultivars. Spinach, kale, mache (corn salad), claytonia, and scallions are the undisputed champions of the cold frame. Carrots and radishes left in the soil will convert their starches into sugars to act as a natural antifreeze, resulting in the sweetest root vegetables you have ever tasted.
- Spinach: Can survive internal temperatures dropping to 15°F (-9°C).
- Kale: Hardy varieties like Winterbor actually improve in flavor after deep freezing.
- Carrots: Top growth may die back, but the roots remain perfectly crisp in the unfrozen soil.
| Material Type | Est. Cost per Sq Ft | Insulation (R-Value) | Lifespan & Durability |
|---|---|---|---|
| Old Single-Pane Glass | $0 (Salvaged) | R-0.9 to R-1.0 | Fragile, dangerous if shattered, heavy |
| 6-Mil Polyethylene Film | $0.15 to $0.30 | R-0.8 | 1-2 seasons, rips easily in wind, sags |
| Single-Layer Acrylic | $2.50 to $4.00 | R-1.1 | 5-10 years, can yellow and crack over time |
| 8mm Twin-Wall Polycarbonate | $3.00 to $4.50 | R-1.5 to R-1.7 | 10+ years, highly durable, diffuses light |
Frequently asked questions
Can I use pressure-treated wood to build a cold frame?
Yes, modern pressure-treated wood uses copper azole rather than arsenic and is technically safe for garden use. However, because cold frames are small and closed, many gardeners prefer untreated cedar to completely eliminate the risk of chemical leaching near root crops.
Do I need to run a heater inside my cold frame at night?
No. The purpose of a cold frame is passive protection. By trapping the residual heat of the earth and blocking the wind, the frame keeps cold-hardy plants alive. Heating a cold frame transforms it into a hotbed, which requires significant energy and daily moisture management.
How do I keep heavy snow from crushing the polycarbonate lid?
A 15 to 20-degree slope helps dry snow slide off naturally. For heavy, wet snow, brush the lid off gently with a push broom after a storm. The 8mm twin-wall polycarbonate is structurally strong, but allowing deep snow to sit will block all light, forcing the plants into deep dormancy.
Should I line the bottom of the cold frame with weed fabric?
No. A cold frame needs direct access to the deep native soil. The warmth of the deep earth radiating upward at night is what keeps the plants alive during sub-freezing temperatures. Fabric or a solid bottom will insulate the bed from this vital geothermal heat.
Keep reading
- Starting Your First Vegetable Garden Without Wasting a SeasonMost first gardens fail for reasons that have nothing to do with a green thumb. Here are the five that matter.
- Building Soil That Actually Grows ThingsFeeding plants is a short-term fix. Feeding the soil is what makes a garden easy.
- Reviving a Tired Lawn: A Season-Long PlanA thin lawn is a symptom. Treating the symptom with more seed is why it keeps coming back.