How Do You Build a Wicking Bed for Vegetables That Cuts Watering by 80%?
By Jim Vernon · 9 min read · Last updated
If you are tired of watching your tomato plants wilt by 3 p.m. every July, the permanent solution lies beneath the soil, not above it.
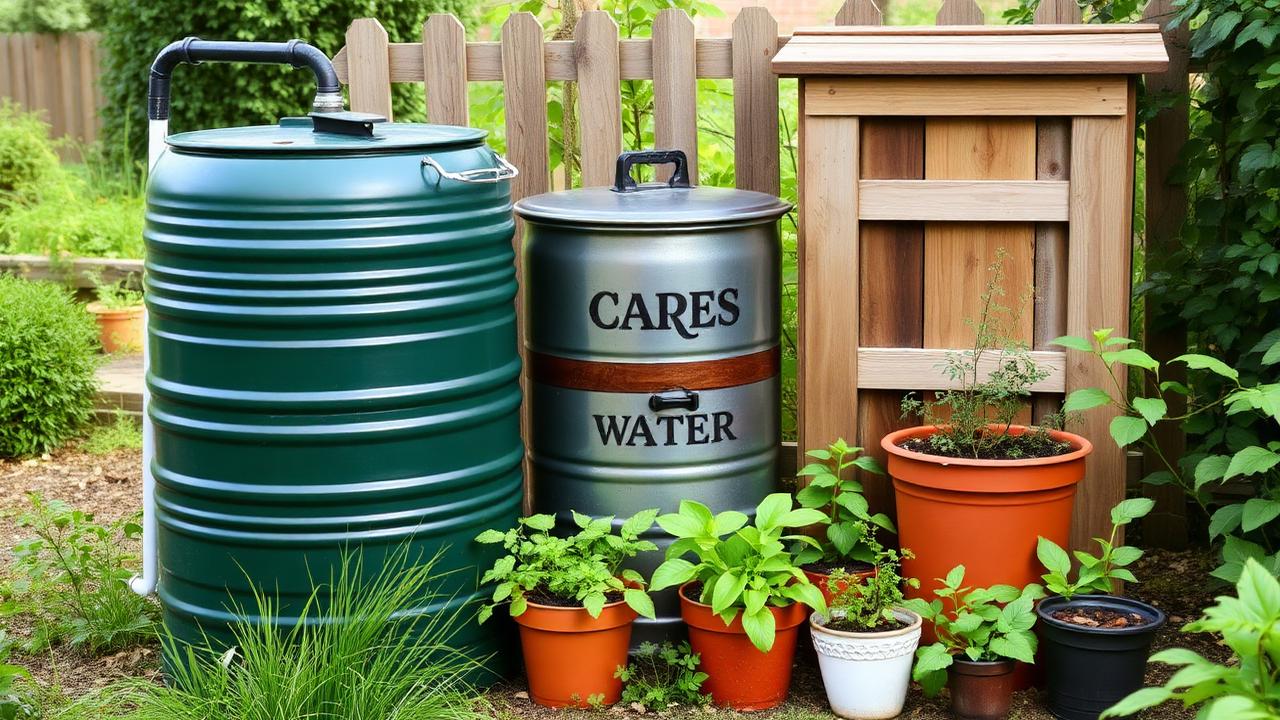
You build a sub-irrigated wicking bed by lining a sturdy raised planter with a 45-mil EPDM pond liner, adding a 6-inch (15 cm) base layer of round river rock, separating that rock from the soil with non-woven geotextile fabric, and topping it with 12 to 15 inches (30 to 38 cm) of highly porous soil. You install a vertical PVC pipe to deliver water directly into the rock layer and drill an overflow hole right at the fabric line to prevent flooding. By watering from the bottom up, the soil draws moisture through capillary action, completely eliminating surface evaporation and reducing your garden water usage by up to 80 percent. This self-watering system delivers a constant, measured supply of moisture directly to the root zone, keeping thirsty summer crops vibrant even during extended heatwaves and drought conditions.
- Use 45-mil EPDM pond liner to waterproof the base and lower interior walls to hold the underground water reservoir.
- Install a 1.5-inch (3.8 cm) vertical PVC fill tube with a 45-degree angle cut at the bottom so water flows freely into the rock layer.
- Drill an overflow drainage hole precisely at the top of the gravel layer to ensure heavy rains never drown your plant roots.
- Mix a custom, high-porosity soil blend using 50 percent coco coir or peat moss to guarantee strong upward capillary action.
- Expect to spend between $250 and $400 in 2026 US dollars to retrofit an existing 4-by-8-foot (1.2-by-2.4 m) bed with a complete wicking system.
What makes a sub-irrigated wicking bed better than a standard raised garden bed?
A standard raised bed drains water rapidly downward, taking vital water-soluble nutrients right out the bottom before the plants can use them. In the heat of summer, surface watering also means massive evaporation loss. A wicking bed solves both problems by operating like a giant self-watering pot. The water sits in an underground reservoir made of washed gravel, totally protected from the sun and wind.
Through the physics of capillary action, the soil matrix acts like a sponge, pulling moisture up from the reservoir exactly as the plants consume it. Because the top inch of soil generally stays dry, weed seeds blowing into the bed struggle to germinate, and soil-borne fungal diseases like blight have a much harder time splashing up onto the lower leaves of your crops.
- Reduces total garden water consumption by up to 80 percent.
- Prevents nutrient leaching because water does not flush through the bottom.
- Keeps the soil surface dry, drastically reducing weed germination and fungal diseases.
What materials and dimensions are required for a functional wicking bed?
The ideal total depth for a wicking bed is between 18 and 24 inches (45 and 60 cm). Capillary action can only lift water so high; if your soil layer is deeper than 15 inches (38 cm), the top surface will stay too dry for shallow-rooted crops. You need to account for a 6-inch to 8-inch (15 to 20 cm) deep rock reservoir at the base, followed by a 12-inch to 15-inch (30 to 38 cm) deep soil layer on top.
To build the system inside an existing wooden or masonry frame, you need a single sheet of fish-safe 45-mil EPDM pond liner to hold the water. Do not use cheap polyethylene tarps, as they will degrade and leak within two seasons. You will also need lengths of 1.5-inch (3.8 cm) Schedule 40 PVC pipe for the fill tube, 4-ounce non-woven geotextile fabric to separate the soil from the rocks, and a 1/2-inch (1.2 cm) threaded bulkhead fitting for the overflow drain.
- Total bed depth must be 18 to 24 inches (45 to 60 cm).
- Reservoir layer depth must be 6 to 8 inches (15 to 20 cm).
- Soil layer depth must be limited to a maximum of 15 inches (38 cm) to ensure moisture reaches the top.
How do you install the waterproof liner and the water reservoir?
Begin by clearing the inside of your raised bed and leveling the dirt floor perfectly flat. Any slope will cause the water to pool at one end, leaving the higher end dry. Drape the 45-mil EPDM liner inside the frame, smoothing it into the base. Fold the corners neatly like hospital bed sheets and use heavy-duty staples to secure the top edge of the liner to the inside of the wooden frame, a few inches below the rim.
Cut a piece of 1.5-inch (3.8 cm) PVC pipe so it stands a few inches taller than the finished bed height. Cut the bottom end of this pipe at a 45-degree angle. This prevents the pipe from sitting flush against the rubber liner and blocking the water flow. Stand the pipe in one corner of the bed, then carefully fill the bottom of the lined bed with 6 inches (15 cm) of 3/4-inch (1.9 cm) washed round river rock. Never use crushed gravel, as the sharp edges can puncture your expensive liner and the fine dust will eventually turn into concrete.
- Level the bare floor of the bed completely before laying the rubber liner.
- Cut a 45-degree angle at the bottom of the PVC fill tube to allow unrestricted water flow.
- Fill the reservoir using only washed round river rock to maximize the void space for water storage.
Why is the overflow drain the most critical part of the system?
The most common failure mode for first-time builders is creating a sealed bathtub that turns into a swamp during heavy rain. If you skip the overflow hole, or place it too high, the water level rises into the soil layer, creating an anaerobic, foul-smelling sludge that drowns root systems in a matter of days. You avoid this by installing a dedicated drain precisely at the transition line where the gravel meets the fabric.
Once your 6 inches (15 cm) of rock is poured and leveled, locate a spot on the outer wooden frame exactly at the top level of the rocks. Drill a hole through the wood and the rubber liner, and insert a 1/2-inch (1.2 cm) threaded bulkhead fitting. Seal it with silicone. When you fill the bed via the PVC tube, water will pool in the rocks. The moment the water reaches the top of the rock layer, it will weep out of this overflow fitting, guaranteeing the soil layer above never becomes waterlogged.
- Drill the overflow hole precisely at the height of the gravel layer.
- Use a threaded bulkhead fitting and silicone to prevent slow leaks between the liner and the wood.
- Direct the overflow water away from the base of the bed using a short piece of clear vinyl tubing if necessary.
What is the correct soil recipe for maximum capillary action?
A judgement call a professional garden installer makes differently from a beginner is in the soil selection. A beginner will often fill a wicking bed with cheap, bagged topsoil or standard raised bed dirt. A pro knows that heavy, dense soil lacks the porosity needed to pull water upward. Instead, they mix a custom soilless matrix heavily weighted with organic matter to maintain the crucial capillary bridge without compacting over time.
Before adding any soil, cover the entire rock layer with your non-woven geotextile fabric. Run the fabric up the sides of the walls a few inches to ensure soil cannot slip down into the rocks. Then, mix your soil. The ideal wicking recipe is 50 percent coco coir or peat moss, 30 percent high-quality screened compost, and 20 percent coarse perlite or pumice. The coir acts as the sponge, the compost provides the nutrients, and the perlite maintains aeration so the roots can breathe.
- Lay non-woven geotextile fabric over the rocks to block soil from clogging the reservoir.
- Never use pure topsoil or heavy clay mixes, as they will compact and break the wicking action.
- Blend 50 percent coco coir, 30 percent compost, and 20 percent perlite for the optimal wicking matrix.
How do you plant, water, and maintain the bed?
When you first plant seeds or small transplants in a fresh wicking bed, their root systems are too shallow to reach the moisture wicking up from below. You must water the bed from the top down using a standard hose or watering can for the first two weeks. Once the plants are established and pushing roots downward, you can switch entirely to sub-irrigation.
To water the bed, insert your hose directly into the vertical PVC fill tube. Turn the water on a medium flow until you see water spilling out of the overflow drain hole. At that point, the reservoir is at 100 percent capacity. Depending on the weather and the size of your crops, a full reservoir will typically last between one and two weeks in peak summer heat. Always apply a 2-inch (5 cm) layer of straw or shredded leaf mulch to the top of the soil to keep the surface cool and further reduce any minimal evaporation.
- Top-water all new seeds and transplants for the first 14 days until roots establish.
- Fill the PVC tube until water escapes the overflow drain, indicating a full reservoir.
- Add 2 inches (5 cm) of surface mulch to cool the top layer of the soil matrix.
How do you winterize a wicking bed in freezing climates?
If you live in USDA Hardiness Zones 5 and below, where winter temperatures routinely drop below 32 degrees Fahrenheit (0 degrees Celsius) for extended periods, you must drain the reservoir before the ground freezes solid. If the water left trapped inside the rocks turns to solid ice, it will expand violently, potentially splitting your wooden frames, bursting PVC pipes, and tearing the EPDM rubber liner.
About three weeks before your first hard frost, stop filling the PVC tube and let the remaining crops drink the reservoir dry. If heavy autumn rains fill the bed before the freeze, use a cheap manual siphon pump inserted down the PVC pipe to suck the remaining water out of the rock layer. Cap the PVC pipe over the winter to prevent rain or snow from entering the tube directly.
- Stop filling the reservoir three weeks before the first hard winter freeze.
- Siphon out any standing water in the rock layer to prevent ice expansion damage.
- Cap the vertical fill tube during the off-season to block snowmelt and debris.
| Material | Specification Required | Estimated 2026 Cost |
|---|---|---|
| EPDM Pond Liner | 45-mil thickness, 10x15 foot roll | $110 - $140 |
| Washed River Rock | 3/4-inch round, 1/2 cubic yard delivered | $40 - $60 |
| Geotextile Fabric | 4-ounce non-woven drainage fabric | $30 - $40 |
| PVC & Hardware | 1.5-inch Schedule 40 pipe, 1/2-inch bulkhead | $20 - $30 |
| Custom Soil Matrix | Coco coir, perlite, and compost blend | $90 - $120 |
Frequently asked questions
Can I use corrugated metal for the raised bed frame?
Yes, galvanized corrugated metal makes an excellent and long-lasting frame. However, metal transfers heat rapidly. In extremely hot climates, you should line the inside walls with 1-inch (2.5 cm) rigid foam insulation board before dropping in the EPDM liner to prevent the sun from baking the soil and boiling the reservoir.
Can I convert an existing raised bed into a wicking bed without tearing it down?
Yes, as long as the existing bed is at least 18 inches (45 cm) deep and structurally sound. You will need to shovel all the existing dirt onto a tarp, level the bottom, staple in your new EPDM liner, add the rocks and fabric, and then amend your old dirt heavily with perlite and coco coir before returning it to the bed.
Do mosquitoes breed inside the PVC fill tube?
Mosquitoes will seek out any standing water. To prevent them from laying eggs inside the reservoir, cover the open top of your PVC fill tube with a standard PVC end cap, or rubber-band a piece of fine window screen mesh over the opening.
Can I use perforated corrugated drain pipe instead of rocks to hold the water?
Yes. Laying interconnected lengths of 4-inch (10 cm) slotted corrugated agricultural pipe wrapped in fabric across the bottom of the bed is a popular alternative to heavy river rock. It holds more water by volume and is much lighter, making it ideal for rooftop gardens or balcony wicking boxes.
Keep reading
- Starting Your First Vegetable Garden Without Wasting a SeasonMost first gardens fail for reasons that have nothing to do with a green thumb. Here are the five that matter.
- Building Soil That Actually Grows ThingsFeeding plants is a short-term fix. Feeding the soil is what makes a garden easy.
- Reviving a Tired Lawn: A Season-Long PlanA thin lawn is a symptom. Treating the symptom with more seed is why it keeps coming back.