Drip Irrigation Design Basics: Laying Out a System That Actually Waters Evenly
By Jim Vernon · 5 min read · Last updated
Most DIY drip systems fail quietly — some plants get flooded, others get almost nothing — because the layout skipped the math.
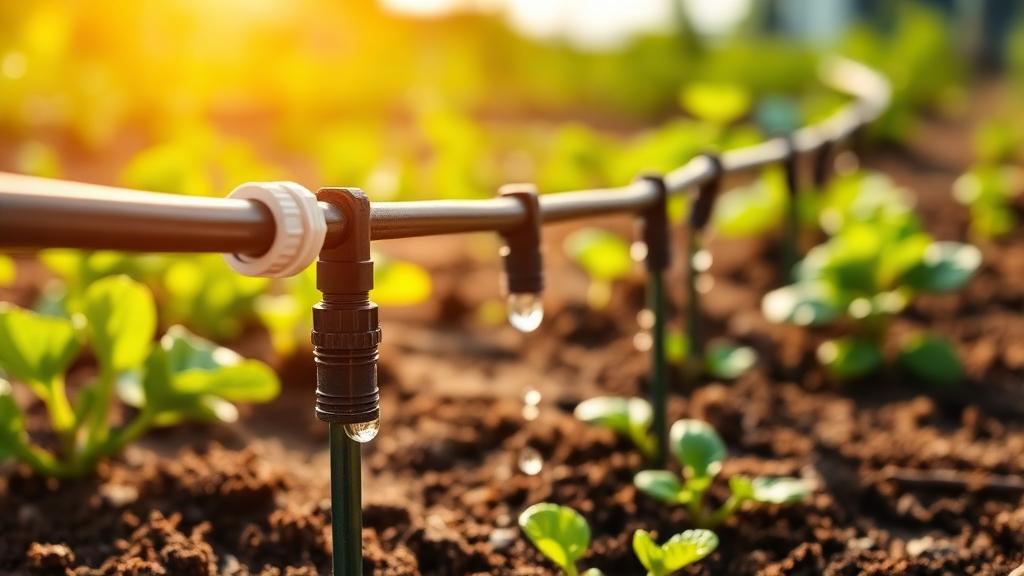
Drip irrigation is efficient in principle but unforgiving of poor layout. Unlike a sprinkler that blankets an area regardless of exact plant position, a drip line only waters where an emitter sits, which means the design has to match emitter placement and flow rate to the actual root zones being watered.
Start with a rough sketch, not the hose reel
Map the bed with plant spacing before buying tubing. Group plants with similar water needs onto the same line, since a single drip line runs at one flow rate along its length and cannot easily give a thirsty shrub more than the succulent two feet away.
Emitter flow rates and spacing
| Plant type | Emitter flow rate | Emitters per plant | Spacing along line |
|---|---|---|---|
| Vegetable rows | 0.5-1 gph | 1 every 12-18 in | Inline emitter tubing |
| Shrubs | 1-2 gph | 2-4 per plant | Placed at drip line edge, not trunk |
| Trees | 2-4 gph | 4-6 per tree | Spread around root zone, expanded as tree grows |
| Containers | 0.5-1 gph | 1-2 per pot | Adjustable spot emitters |
Zoning by water need, sun exposure, and soil type
- Separate zones for full sun versus shade, since evaporation rates differ significantly even with identical plants.
- Separate zones for sandy versus clay soil, since sandy soil needs more frequent, shorter runs while clay needs longer, less frequent runs to avoid runoff.
- Keep vegetable beds on their own zone so watering can follow the crop's specific schedule rather than compromising with ornamentals.
Pressure and flow limits per zone
Most residential drip systems run efficiently at 20-30 psi, well below standard household water pressure, which is why a pressure regulator near the valve is close to mandatory rather than optional — running drip tubing at full mains pressure blows out fittings and floods emitters unevenly along the line.
Running time is not a fixed number
A drip zone's run time depends on emitter flow rate, spacing, and soil type, not a generic timer setting copied from a manual. As a starting point, sandy soil in a vegetable zone with 1 gph emitters spaced 12 inches apart often needs 30-45 minutes two to three times a week in summer, adjusted after checking actual soil moisture a few inches down.
- Install the backflow preventer, filter, and pressure regulator at the water source before any tubing.
- Run mainline tubing to each zone, then branch to distribution tubing near each plant grouping.
- Insert emitters at the calculated spacing, testing flow at the furthest point from the valve.
- Cap and flush the line before covering with mulch, to clear any debris from installation.
- Run a full cycle and check soil moisture at several points along the line before finalizing the timer schedule.
A worked example: sizing a vegetable zone
A 20-foot row of inline drip tubing with 0.5 gph emitters spaced every 12 inches has 20 emitters delivering a combined 10 gallons per hour. Running that zone for 40 minutes delivers roughly 6.7 gallons across the row, close to a light watering for establishing seedlings — doubling the run time to 80 minutes roughly doubles the delivered water, which is the simplest way to fine-tune a schedule once the base flow rate is known.
Common drip system mistakes
- Skipping the pressure regulator, which blows out fittings or floods emitters closest to the valve while starving the far end.
- Mixing plants with very different water needs on a single zone, forcing a compromise that overwaters some and underwaters others.
- Leaving emitters uncapped or unflushed after installation, so sediment from the trench clogs them within the first season.
- Using a generic timer setting copied from a manual instead of checking actual soil moisture at various points along the line.
Adjusting a system after the first season
A drip layout designed on paper rarely needs zero adjustment once plants are established and a full growing season of actual soil moisture checks has passed. Common season-one corrections include adding an extra emitter to a shrub that has grown wider than its original root zone, splitting an overloaded zone into two, and shortening run times once plants are established and no longer need the heavier establishment-phase watering.
What a basic system costs to build
For a 300-square-foot bed, a DIY drip kit with a pressure regulator, filter, mainline tubing, distribution tubing, and adjustable emitters typically costs $80-150 in parts, plus a battery- or hose-end timer around $20-40. Scaling to a full yard with multiple zones, a dedicated controller, and buried mainline usually runs $0.50-1.50 per square foot in materials for a DIY install, or $2-4 per square foot professionally installed including trenching and valve wiring. Point-of-use spot emitters for a handful of containers or a single tree can be added for under $20 without touching the rest of the layout.
Can I mix drip emitters and micro-sprays on the same line?
It is possible but not ideal, since the two typically need different pressure and flow characteristics. Separate zones give more reliable, even results.
How do I know if a drip line is too long?
Check the flow at the far end versus near the valve. A noticeable pressure drop along the run means the line has exceeded its practical length and should be split into two zones.
Do drip systems still need seasonal adjustment?
Yes. Run times should be reduced in cooler months and increased during heat waves, the same as any irrigation method, even though drip is more efficient overall.
How often should drip emitters be checked for clogs?
At least once a month during the growing season, walking the line at the end of a cycle and confirming each emitter is still wetting the soil around its plant.
Is drip tubing safe to leave out over winter?
In freezing climates, drain and disconnect it from the water source before hard frost, since trapped water can crack fittings and split tubing over winter.
Run the numbers for your own project
- Rain Barrel and Water Harvest CalculatorHow much rainwater can I actually harvest from my roof?
- Soil Amendment and pH CalculatorHow much lime or sulfur do I need to fix my soil pH?
Keep reading
- Starting Your First Vegetable Garden Without Wasting a SeasonMost first gardens fail for reasons that have nothing to do with a green thumb. Here are the five that matter.
- Building Soil That Actually Grows ThingsFeeding plants is a short-term fix. Feeding the soil is what makes a garden easy.
- Reviving a Tired Lawn: A Season-Long PlanA thin lawn is a symptom. Treating the symptom with more seed is why it keeps coming back.