Which Home Exterior and Interior Gaps Should Never Be Caulked?
By Jim Vernon · 11 min read · Last updated
Filling the wrong gap with caulk can trap moisture behind your siding and rot out your framing faster than leaving the hole wide open.
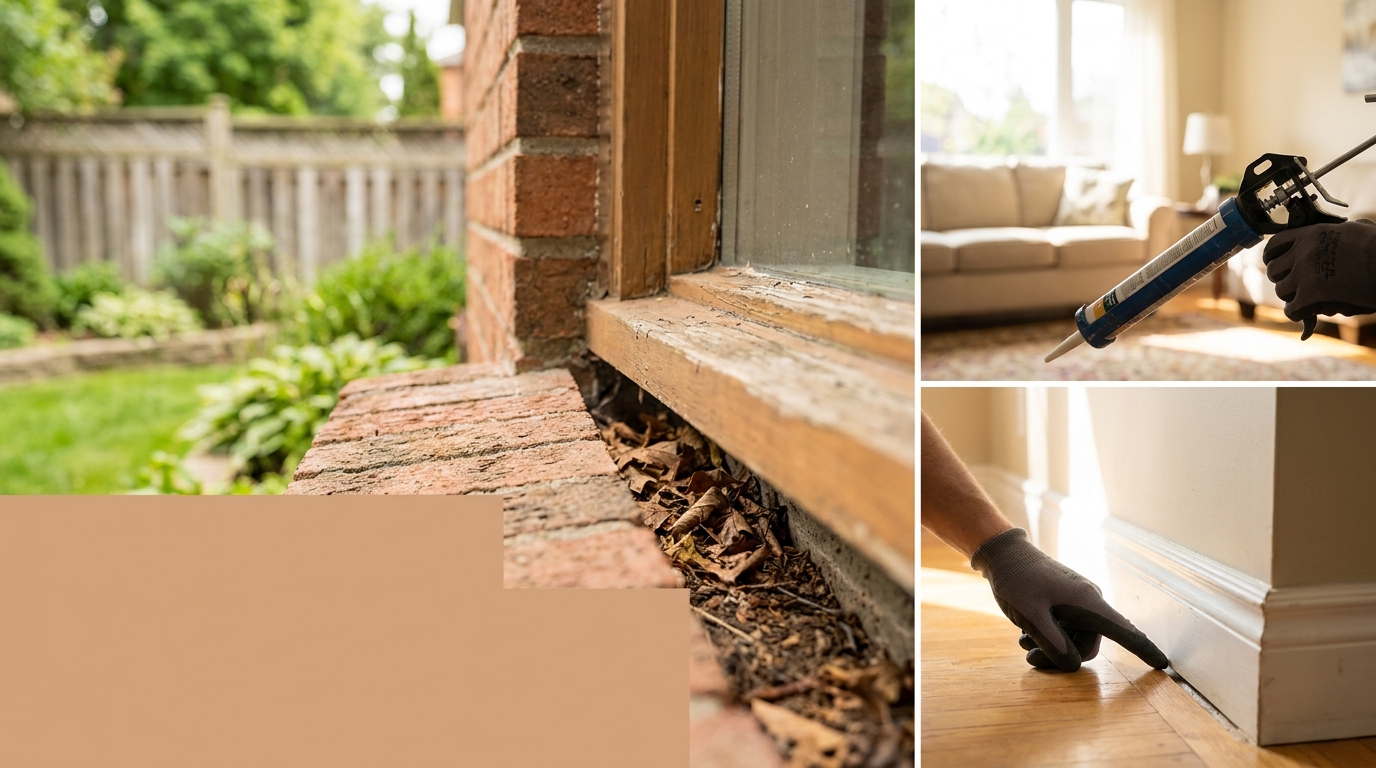
Caulk is the wrong fix anytime a gap is designed to weep water, vent air, or accommodate structural expansion. Specifically, you should never caulk the weep holes at the bottom of brick veneer, the horizontal seams of hardboard or vinyl siding, the gap between siding and roof flashing, or expansion joints in concrete slabs wider than 1/2 inch (12.7 mm) without proper backing. For these areas, the correct fix requires metal flashing, closed-cell foam backer rod covered with polyurethane sealant, specialized epoxy, or simply leaving the gap alone so the house can breathe. Applying standard acrylic latex or 100% silicone caulk to these engineered gaps traps bulk rainwater inside the wall cavity, forcing it into the wood framing where it causes rot, blisters exterior paint, and feeds mold within a single season.
- Never caulk brick weep holes, horizontal siding seams, or the clearance gap between siding and roof shingles.
- Use closed-cell foam backer rod and self-leveling polyurethane for concrete expansion joints rather than filling the entire void with latex caulk.
- Leave the rear 3 inches (7.6 cm) of a toilet base uncaulked to act as an early warning system for a failing wax ring.
- Gaps wider than 1/2 inch (12.7 mm) on wood trim require a two-part wood epoxy or board replacement, not just heavy caulk.
Why do brick walls have gaps that should never be caulked?
If you walk around the exterior of a brick veneer home, you will notice vertical gaps in the mortar along the bottom course of bricks, just above the foundation line. These are weep holes, and they are critical for the survival of your home's structural framing. Brick is naturally porous and absorbs rainwater like a sponge. The sun drives this moisture inward, where it hits a vapor barrier or weather-resistant barrier and condenses. The weep holes provide the only escape route for this trapped bulk water to drain back outside.
Caulking these weep holes is a disastrous mistake that forces water to pool inside the wall cavity. Once the water backs up, it will eventually find a way through the sheathing and into your interior drywall, creating an incredibly expensive mold and rot remediation problem. If you are worried about mice or insects entering these holes, never use caulk or expanding foam. Instead, push breathable materials into the gaps that block pests but allow free airflow and drainage.
- Locate weep holes every 16 to 24 inches (40.6 to 61 cm) along the bottom course of exterior brick walls.
- Use specialized plastic weep hole covers or breathable copper mesh to block pests without stopping critical airflow.
- Check above windows and doors for secondary weep holes resting on the steel lintels, and keep those clear of paint and caulk as well.
Should you caulk the horizontal seams on wood or vinyl siding?
Siding is designed to act like a raincoat for your house, shedding water downward while allowing the underlying structure to breathe. A common failure mode for well-intentioned homeowners is attempting to air-seal their home by caulking the bottom horizontal lip of every piece of clapboard or lap siding. Doing this seals the siding tight against the board below it, trapping wind-driven rain and daily condensation behind the boards. Within two years, this trapped moisture will peel the exterior paint and begin rotting the wood siding from the back out.
Vinyl siding relies on a slightly different mechanical principle but suffers just as badly from rogue caulking. Vinyl expands and contracts dramatically with temperature swings, moving as much as 1/2 inch (12.7 mm) in summer heat. If you caulk the seams where vinyl siding panels overlap, or if you caulk the panels tight into the J-channels around windows and doors, the siding cannot move. It will buckle, warp, and pull away from the house entirely. The only places siding should be caulked are the vertical intersections where the siding meets fixed trim boards.
- Leave all horizontal lap seams on wood and fiber cement siding completely open to allow trapped water to escape.
- Never apply caulk inside the J-channels of vinyl siding; the panels must float loosely to accommodate thermal expansion.
- Use painted metal flashing behind vertical butt joints in wood siding rather than filling the seasonal gaps with rigid caulk.
What happens if you caulk between siding and roof flashing?
Where a sloped roof meets a vertical exterior wall, roofers install L-shaped metal step flashing. The vertical leg of the flashing goes behind the wall's weather barrier, and the horizontal leg is woven into the roof shingles. The exterior siding is then installed over the wall flashing, but it must be kept 1 to 2 inches (25.4 to 50.8 mm) above the surface of the roof shingles. Many homeowners see this large gap, assume it is a mistake or a haven for wasps, and fill the entire channel with caulk.
This is a guaranteed failure mode. When you caulk the gap between the siding and the roof, you create a dam that traps debris and rainwater. The water backs up under the shingles, rotting the oriented strand board (OSB) roof deck and the lower wall sheathing. Repairing this rotted structural damage typically costs upwards of $1,500 in 2026. The gap must remain open so that water flowing down the wall can hit the flashing and freely exit onto the top of the shingles.
- Maintain a strict 1 to 2-inch (25.4 to 50.8 mm) clearance gap between the bottom edge of your siding and your roof shingles.
- Verify that a kickout flashing is installed at the very bottom edge of the roof-to-wall intersection to direct water into the gutter.
- Remove any existing caulk in this roof channel immediately using a utility knife, being extremely careful not to slice the metal flashing underneath.
How do pros handle large expansion joints in concrete differently than beginners?
Concrete driveways, patios, and sidewalks are poured with deep expansion joints designed to control cracking as the massive slabs expand in the heat and shrink in the winter. When weeds grow through these joints, or when the gaps widen over time, homeowners naturally want to fill them. This is where a pro makes a very different judgement call than a beginner. A beginner will buy four tubes of cheap acrylic latex caulk at $5 each and pump it directly into a deep 1-inch (25.4 mm) gap. Without a backing material, the caulk sinks deeply into the void, cures improperly, and inevitably tears away from the concrete within a few months.
A professional knows that a durable joint requires a specific hourglass shape where the sealant only sticks to the sides of the concrete, not the bottom of the crack. Pros first press a closed-cell foam backer rod into the joint, resting it about 1/4 to 1/2 inch (6.4 to 12.7 mm) below the concrete surface. They then fill the remaining shallow void with a self-leveling polyurethane sealant, which costs about $12 to $15 per tube in 2026. Because the polyurethane only adheres to two sides, it can stretch like a rubber band when the concrete moves, rather than snapping under the tension.
- Clean the expansion joint entirely with a stiff wire brush and a wet/dry vacuum before applying any material.
- Press a foam backer rod into the joint, ensuring it is about 25 percent wider than the gap so it stays firmly in place.
- Pour self-leveling polyurethane sealant over the backer rod, applying it only when temperatures will stay above 40 degrees Fahrenheit (4 degrees Celsius) for 24 hours.
Should you caulk around the base of a bathroom toilet?
Whether or not to caulk around the base of a toilet is one of the most hotly debated topics in home plumbing. Many homeowners assume that caulking the base is a mistake because it traps water from a leaking wax ring, driving the moisture down into the subfloor where it rots the joists unnoticed. However, the Uniform Plumbing Code actually requires the base of the toilet to be sealed to the floor for sanitary reasons. Without a seal, mop water, condensation, and errant urine can seep under the porcelain bowl, creating severe odor problems and bacteria growth that you cannot clean.
The standard judgement call that satisfies both code requirements and leak detection is a compromise seal. Professional plumbers apply 100% silicone caulk around the front and sides of the toilet base to lock out bathroom moisture, but they intentionally leave a 3-inch (7.6 cm) gap completely bare at the very back of the toilet facing the wall. By leaving the rear uncaulked, water from a failing internal wax ring still has an escape route onto the bathroom floor, alerting you to the problem before it destroys the subfloor framing.
- Use 100% silicone caulk for toilet bases, as acrylic latex will eventually degrade when exposed to standing bathroom water and heavy chemical cleaners.
- Apply a smooth, thin bead to the front and sides, using a damp sponge or caulking tool to press the silicone neatly beneath the porcelain lip.
- Leave a 3-inch (7.6 cm) gap bare at the rear of the base, checking it periodically with a flashlight and paper towel to detect hidden wax ring leaks.
Why must the expansion gap around floating floors stay caulk-free?
Modern floating floors, including luxury vinyl plank (LVP), laminate, and engineered hardwood, are designed to expand and contract as a single, massive sheet across your subfloor. Manufacturers strictly require a perimeter expansion gap of 1/4 to 1/2 inch (6.4 to 12.7 mm) between the edge of the flooring and the wall framing or baseboards. Homeowners who dislike the look of transition pieces often try to bridge these perimeter gaps or doorway thresholds with colored silicone or latex caulk.
Caulking the perimeter of a floating floor restricts its necessary movement. When the flooring heats up from direct sunlight or seasonal temperature changes, it expands outward. If the gap is filled with rigid or semi-rigid caulk, the planks will hit the wall and forcefully buckle upward in the center of the room, destroying the locking mechanisms. Instead of caulk, these necessary structural gaps must be hidden mechanically using baseboards, shoe molding, or T-mold transition strips that hover just above the floor without pinning it down.
- Maintain the manufacturer-specified 1/4 to 1/2-inch (6.4 to 12.7 mm) expansion gap around all walls, cabinets, and fixed obstacles.
- Nail baseboards and shoe molding horizontally into the wall framing, never vertically down into the floating floor planks.
- Cover doorway expansion gaps with proper $20 transition strips that allow the floor to slide freely underneath them.
When is a wood gap simply too wide for any type of caulk?
Caulk is essentially a flexible bridge designed for minor cosmetic gaps, typically 1/4 inch (6.4 mm) or smaller. While a foam backer rod can help you push that limit up to 1/2 inch (12.7 mm), anything larger on a wood surface indicates a structural failure that caulk cannot fix. If exterior trim boards, fascia, or window sills have separated by an inch or more, pumping massive amounts of exterior caulk into the void will not restore the wood's structural integrity. The caulk will look sloppy, attract dirt, and eventually pull away as the heavy, unsupported boards continue to shift.
For exterior trim that has rotted out or separated significantly, you must upgrade your materials. Small areas of rot can be stabilized and rebuilt using a two-part exterior wood epoxy system, which costs between $35 and $45 for a standard DIY kit in 2026. The epoxy cures harder than the original wood and can be sanded and painted seamlessly. For large separations caused by foundation settling or severely warped lumber, the only correct fix is to remove the offending trim, add structural shims or backing blocks, and install a brand new board.
- Limit the use of standard window and door caulk to gaps measuring 1/4 inch (6.4 mm) or narrower.
- Dig out soft, punky wood with a 5-in-1 tool and apply liquid wood hardener before filling deep gouges with two-part wood epoxy.
- Replace heavily warped or severely checked siding boards entirely rather than attempting to bridge massive surface cracks with heavy sealants.
| Gap Location | Why Caulk is Wrong | The Correct Solution | Estimated 2026 DIY Cost |
|---|---|---|---|
| Brick Weep Holes | Traps moisture in the wall cavity, causing interior mold and framing rot. | Leave open or insert breathable copper mesh screens. | $15 for a roll of copper mesh |
| Siding to Roof Flashing | Backs up rainwater under the shingles, rotting the structural roof deck. | Leave a 1 to 2-inch (25.4 to 50.8 mm) gap above the step flashing. | $0 (Trim the siding back with a saw) |
| Concrete Expansion Joints | Standard caulk tears and sinks deeply into the void without curing. | Closed-cell foam backer rod topped with self-leveling polyurethane. | $20 to $30 per joint section |
| Base of Toilet (Rear) | Traps leaking wax ring water under the floor until the subfloor rots. | Caulk the front and sides, but leave the back 3 inches completely open. | $8 for a tube of 100% silicone |
Frequently asked questions
Can I use spray foam instead of caulk for gaps around exterior windows?
You should use low-expansion window and door spray foam for the deep, hidden cavity between the rough framing and the window unit. However, you must still use an exterior-grade elastomeric sealant on the outside joint where the siding meets the window trim to shed bulk water. Never use high-expansion foam around windows, as it exerts enough pressure to bow the frame and break the glass.
What happens if I accidentally caulked my siding weep holes?
You need to remove the caulk immediately to prevent structural damage. Use a utility knife or a stiff putty knife to scrape the caulk completely out of the holes or horizontal lap joints. Doing this quickly prevents trapped moisture from blistering your exterior paint and rotting the expensive oriented strand board (OSB) sheathing beneath.
Is it okay to caulk exterior wood trim in freezing temperatures?
No. The vast majority of acrylic latex and silicone caulks require application temperatures above 40 degrees Fahrenheit (4 degrees Celsius) for at least 24 hours during the curing process. Applying caulk to frozen wood ensures the material will fail to bond properly, causing it to crack and peel away as soon as the weather warms up in the spring.
Should I caulk the gap between my vanity cabinet and the bathroom wall?
Yes, unlike floating floors or siding seams, the gap between a bathroom vanity and the drywall should be caulked. This prevents splashed water from the sink from running down the wall and pooling invisibly under the cabinet base. A thin bead of paintable acrylic latex caulk creates a clean, finished look while protecting the drywall.
Keep reading
- How Much Paint Do You Actually Need for a Room?The tin says 400 square feet. Your wall says otherwise. Here is the arithmetic that actually holds up.
- DIY or Hire a Pro? A Decision Framework That Is Not About MoneyThe labour saving is real. So is the cost of a job done twice — and of tools you use once.
- Storage for Small Rooms That Does Not Make Them SmallerSmall rooms do not need more storage. They need storage that stops interrupting the eye.