When Is Caulk the Wrong Fix?
By Jim Vernon · 8 min read · Last updated
Pumping an entire tube of caulk into a gaping hole will not fix your draft, but it will guarantee a messy, cracking failure by next season.
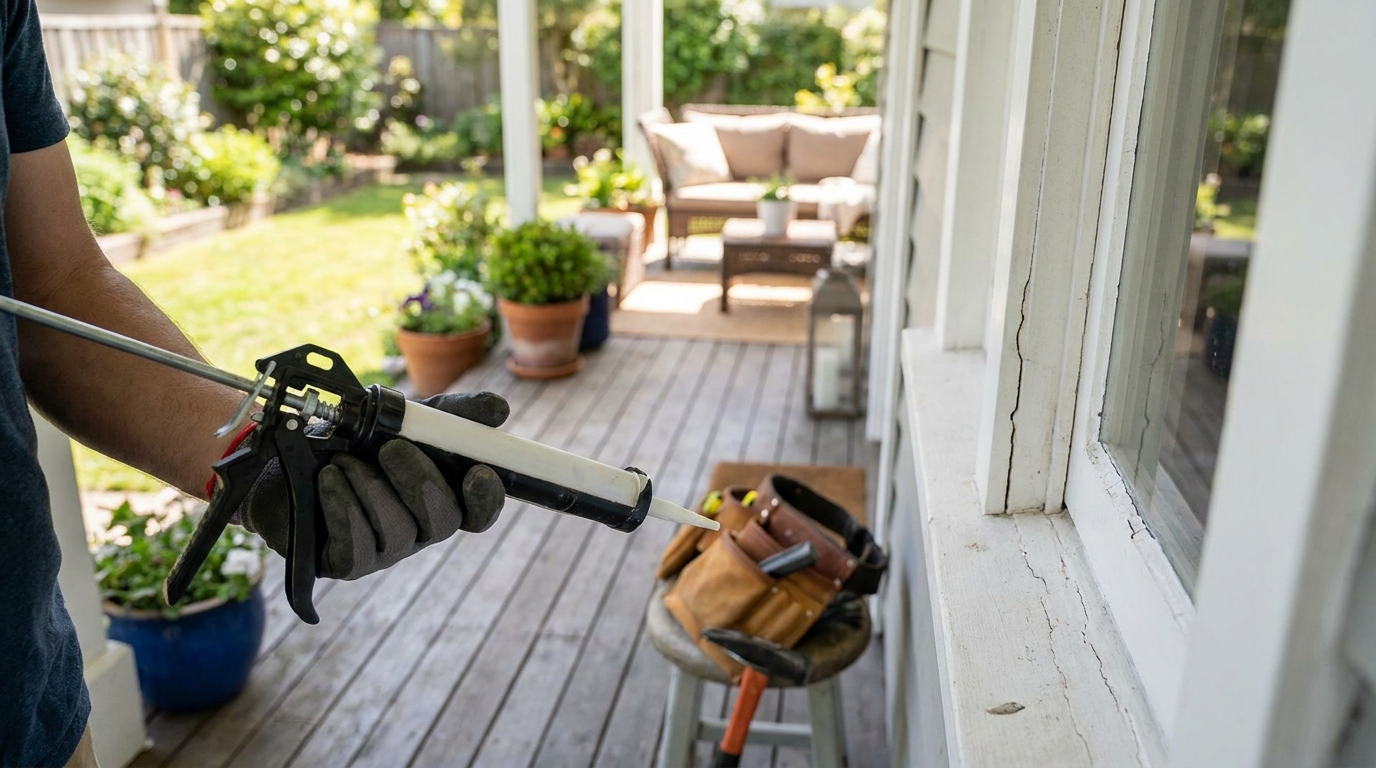
Caulk is the wrong fix when a gap is wider or deeper than 1/2 inch (12.7 mm), when the joint must handle extreme structural shifting, or when repairing active roof and plumbing leaks. Standard caulks are designed to seal static or slightly flexible cosmetic seams against drafts and moisture. When you force caulk into massive voids or high-movement structural joints, it lacks the tensile strength to bridge the gap and eventually shrinks, splits, or pulls away entirely. For large or highly dynamic gaps, you must switch to closed-cell backer rod, low-expansion polyurethane foam, structural epoxy, or mechanical metal flashing to achieve a permanent, weather-tight seal. Knowing which material matches the physical stress of the joint saves you from repeating the same repair year after year.
- Never use caulk to fill gaps wider or deeper than 1/2 inch (12.7 mm) without first inserting a foam backer rod to control depth.
- Standard acrylic latex caulk fails on exterior movement joints; use polyurethane sealant or high-stretch elastomeric blends instead.
- Do not substitute caulk for physical metal flashing around windows, doors, or roofs, as this traps bulk water and accelerates wood rot.
- Active plumbing leaks and foundation cracks require structural repair compounds like hydraulic cement, PVC solvent, or epoxy, not surface caulk.
What size gap is strictly too big for caulk alone?
Standard caulking tubes are formulated to span gaps no wider than 1/4 inch (6.4 mm) and no deeper than 1/2 inch (12.7 mm). When you attempt to fill a massive void entirely with caulk, the thick mass cures unevenly. The outer skin dries and shrinks, pulling the wet interior away from the edges and causing immediate structural cracking.
Furthermore, deep gaps cause three-point adhesion. This occurs when caulk bonds to the two sides and the deep back of a gap. This rigid bond prevents the caulk from stretching like a rubber band when the joint moves, guaranteeing a tear. You must control the depth of the joint to force the caulk to only bond to the sides.
- Insert a closed-cell foam backer rod into any gap wider than 1/4 inch (6.4 mm) before applying any sealant.
- Size the backer rod slightly larger than the gap so it fits snugly. A 20-foot (6.1-meter) roll costs about $4 to $6 in 2026.
- Push the rod in to a depth of exactly half the gap's width to create an hourglass shape for the caulk bead.
Why do baseboard and crown molding seams keep cracking?
Wood trim expands and contracts dramatically with seasonal humidity changes. This is a judgement call where a pro operates differently from a beginner. A beginner sees a crack between the crown molding and the ceiling, buys the cheapest $3 tube of acrylic latex painter's caulk, and smears it over the void. As winter heating drops indoor humidity, the wood shrinks, and that cheap, rigid caulk snaps almost instantly.
A pro evaluates the physical movement of the joint first. If the house experiences wild humidity swings or the trim is on a high-flex vaulted ceiling, a professional skips cheap latex. Instead, they step up to a premium elastomeric acrylic latex or a urethane-acrylic blend. These cost $7 to $9 a tube in 2026 but offer up to 800 percent elongation, stretching with the wood instead of tearing.
- Maintain indoor humidity between 35 and 50 percent year-round to minimize extreme wood trim expansion and contraction.
- Use elastomeric sealants labeled for extreme stretch on high-movement joints like stair stringers and vaulted ceiling trim.
- Avoid caulking the bottom edge of floating baseboards over laminate floors, as the flooring needs space to slide underneath the trim.
Can you use caulk instead of flashing to stop a water leak?
A common and expensive failure mode is relying on a thick bead of caulk to bridge the gap between exterior siding and a window frame where metal drip-edge flashing should be. Caulk is a secondary weather barrier, never the primary one. If you smear silicone over a missing flashing joint, you block the natural weep paths designed by the window manufacturer.
Rainwater inevitably gets behind the siding through capillary action or wind-driven rain. If you have caulked the bottom joints shut, the sealant traps that moisture inside the wall cavity. This creates a terrarium effect, rotting the window framing and oriented strand board sheathing in a matter of months. Bulk water must be directed outward by overlapping rigid materials, not glued shut.
- Install rigid aluminum or PVC Z-flashing over the top horizontal trim of windows and doors to shed bulk rainwater outward.
- Leave the bottom edge of horizontal lap siding un-caulked so trapped moisture and condensation can safely drain out of the wall assembly.
- Never patch an active roof shingle leak with bathroom silicone; use asphalt-based roofing cement reinforced with fiberglass mesh.
What is the correct alternative for sealing massive exterior voids?
When utility pipes, dryer vents, or HVAC lines punch through exterior brick or siding, they typically leave jagged, irregular gaps up to 2 inches (50.8 mm) wide. Caulk will simply slump right out of these holes. The correct material for large utility penetrations is low-expansion polyurethane spray foam.
A $7 to $9 can of closed-cell spray foam expands to fill the void completely, insulating the gap and stopping both drafts and pests. Because ultraviolet light breaks down polyurethane foam, it must be trimmed flush once fully cured and then coated. You can use an exterior-grade paint or a very thin skim coat of exterior caulk over the foam purely for UV protection, but the foam does the heavy lifting.
- Choose closed-cell window and door foam, which expands with less force and will not warp wood framing or crush PVC pipes.
- Wear disposable work gloves when applying spray foam, as it permanently bonds to human skin and clothing upon contact.
- Apply expanding foam when outdoor temperatures are between 60°F (15°C) and 90°F (32°C) for optimal expansion and curing.
Why does shower caulk fail even when you use the expensive stuff?
Tub and shower joints fail rapidly not because the silicone is the wrong material, but because of improper application environments. Silicone caulk requires a perfectly clean, dry, and soap-free surface to form a chemical bond. If you apply fresh 100 percent silicone over a microscopic layer of old silicone, soap scum, or mildew, it will peel off in long strips within weeks.
Chemical solvents cannot dissolve cured silicone; it must be removed mechanically. You have to scrape the joint completely bare with a razor scraper, treat any mold, and then wipe the entire surface down with denatured alcohol to remove residual oils before applying the new bead.
- Scrape away 100 percent of the old sealant; new silicone will chemically reject and fail to adhere to old silicone.
- Wipe the joint with denatured alcohol and let it dry completely before applying the new waterproof bead.
- Fill the bathtub with heavy water before caulking the tub-to-tile joint to weigh the tub down and pre-stretch the gap.
How do you identify a structural foundation crack that needs epoxy?
Concrete foundation cracks wider than 1/8 inch (3.1 mm) or cracks that run horizontally are severe structural movement indicators. Pumping standard masonry caulk into these gaps is a cosmetic band-aid that ignores the underlying stress. For non-moving vertical shrinkage cracks that leak groundwater into a basement, structural epoxy or polyurethane injection is strictly required.
These injection systems use surface ports glued over the crack to force two-part liquid resins deep into the wall thickness. The resin chemically welds the concrete back together from the inside out and permanently blocks hydrostatic water pressure. A complete DIY injection kit runs $120 to $150 in 2026, compared to an $8 tube of ineffective masonry caulk.
- Consult a licensed structural engineer if you observe horizontal foundation cracks, which indicate catastrophic soil pressure failure.
- Use two-part epoxy injection kits for dry structural concrete cracks that require total strength restoration.
- Use polyurethane injection foam for active, weeping cracks, as the polyurethane aggressively expands upon contact with liquid water.
| Gap Situation | Wrong Fix (Do Not Use) | Correct Material | 2026 Estimated Cost |
|---|---|---|---|
| Gap wider than 1/4 inch (6.4 mm) | Filling the void entirely with caulk | Closed-cell foam backer rod + elastomeric caulk | $4-$6 per 20 ft (6.1m) roll |
| Missing window drip edge | Thick bead of exterior silicone sealant | Rigid aluminum or PVC Z-flashing | $8-$12 per 10 ft (3m) piece |
| 2 inch (50.8 mm) pipe wall penetration | Multiple tubes of standard acrylic latex | Low-expansion polyurethane spray foam | $7-$9 per standard can |
| Weeping basement wall crack | Masonry caulk smeared over the surface | Polyurethane deep crack injection kit | $120-$150 per complete kit |
| Dynamic crown molding gap | Cheap painter's caulk ($3 tube) | High-stretch premium elastomeric sealant | $8-$10 per tube |
Frequently asked questions
Can I use caulk to fix a leaky PVC drain pipe?
No. Caulk will not hold against active water pressure and cannot chemically bond to smooth PVC plastic effectively. Leaky PVC joints must be cut out and completely re-glued with proper PVC primer and solvent cement, or repaired with mechanical rubber couplings and hose clamps.
Is it okay to caulk the expansion joint in a concrete driveway?
You should use a self-leveling polyurethane sealant designed specifically for horizontal concrete expansion joints, not standard acrylic wall caulk. You must also place a closed-cell backer rod in the joint first so the sealant can stretch freely as the concrete slabs expand in the summer sun without tearing.
Why did my painted caulk line turn yellow and crack?
You likely painted over the caulk before it fully cured, or you used a pure 100 percent silicone caulk, which completely repels latex paint. Always use a paintable acrylic-latex or hybrid polymer caulk for painted interior trim, and wait the manufacturer's specified cure time before applying a brush.
Does applying direct heat help wet caulk cure faster?
No. Acrylic caulks dry through moisture evaporation, but excessive direct heat can cause the outer skin to flash-dry and crack while the inside stays wet. Silicone cures via atmospheric moisture, so applying dry heat actually slows down its chemical curing process.
Keep reading
- How Much Paint Do You Actually Need for a Room?The tin says 400 square feet. Your wall says otherwise. Here is the arithmetic that actually holds up.
- DIY or Hire a Pro? A Decision Framework That Is Not About MoneyThe labour saving is real. So is the cost of a job done twice — and of tools you use once.
- Storage for Small Rooms That Does Not Make Them SmallerSmall rooms do not need more storage. They need storage that stops interrupting the eye.