How Do You Install Trim and Crown Molding Without Visible Gaps?
By Jim Vernon · 4 min read · Last updated
Coped inside corners, not mitered ones, are what separate clean crown molding from a gappy DIY job.
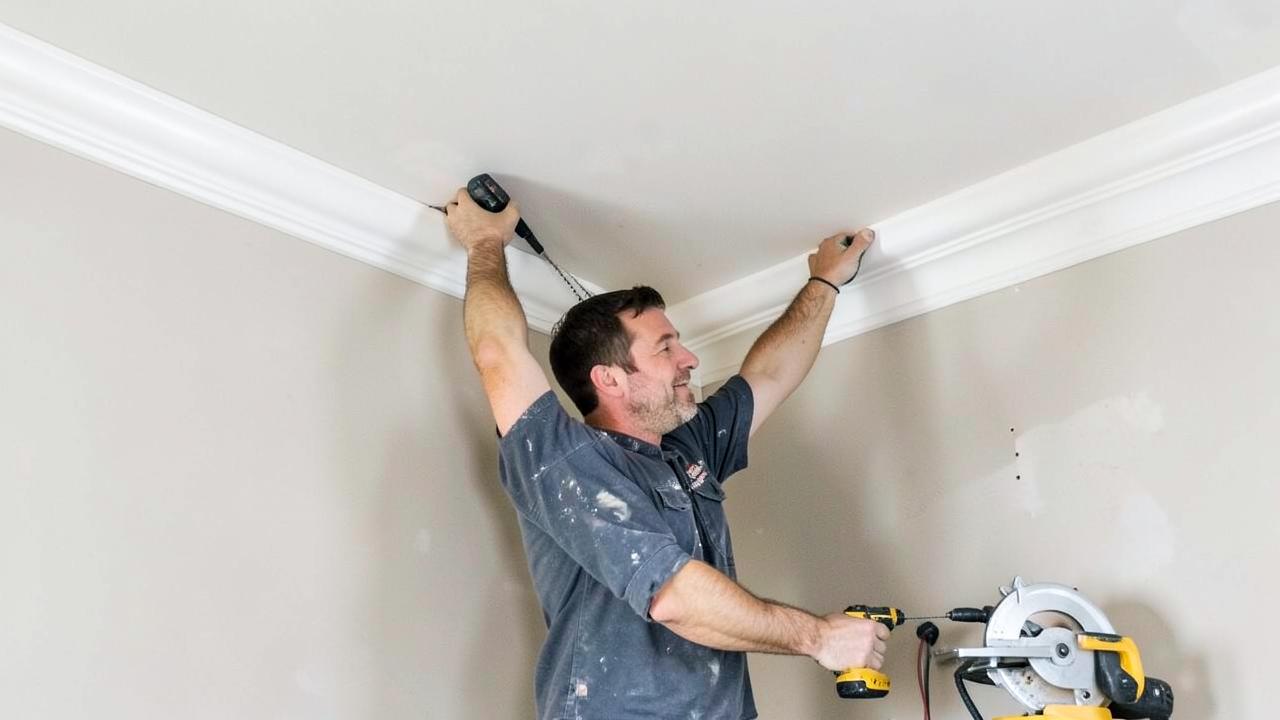
Clean trim and crown molding installation comes down to three things: cutting inside corners with a coped joint instead of a 45-degree miter, accounting for out-of-square walls with a test-fit before final cuts, and using paintable caulk to seal the small gaps that remain even in a good install. Skipping the cope is the single biggest reason DIY crown molding looks amateur.
Why do mitered inside corners open up over time?
A standard 45-degree miter only closes perfectly if the wall corner is exactly 90 degrees — most house corners are off by 1-4 degrees due to normal framing and drywall variance. A coped joint, where one piece is cut flat into the corner and the other is hand-cut with a coping saw to match the molding's profile, self-adjusts to slight variations in the corner angle and stays tight even as the house moves seasonally. Outside corners, by contrast, are still best mitered at 45 degrees since coping doesn't apply to an outward angle.
What tools does a real installation need?
- Miter saw, ideally a compound miter saw ($150-$400) for angled crown cuts, though a miter box and hand saw works for baseboard.
- Coping saw ($10-$20) for inside corners on crown and larger baseboard profiles.
- Stud finder to hit framing every 16 inches, since trim nailed only into drywall will eventually pull loose.
- 18-gauge brad nailer ($80-$150) or 15-gauge finish nailer for thicker crown, plus a compressor if not using a cordless model.
- Paintable acrylic-latex caulk ($4-$6/tube) for seams and nail holes, not silicone, which won't take paint.
| Trim type | Typical material cost/linear ft | Labor cost/linear ft (pro) | Cut difficulty |
|---|---|---|---|
| Baseboard (3-5 in) | $1.50-$4 | $3-$6 | Low — square cuts, simple miters |
| Casing (door/window) | $1.50-$5 | $4-$8 | Moderate — reveal lines, corner blocks optional |
| Crown molding (3-5 in) | $2-$8 | $6-$12 | High — compound angles, coping required |
| Wainscoting/panel trim | $5-$15 | $10-$20 | High — layout-dependent, many joints |
How do you deal with ceilings and walls that aren't flat?
Dry-fit every piece before nailing. Hold crown up to the corner and check for gaps at the ceiling or wall line — a bowed wall or ceiling can leave a 1/8-3/16 inch gap that no amount of caulk should be asked to fill invisibly. For gaps under about 1/8 inch, paintable caulk tooled with a wet finger closes them cleanly. For larger gaps, scribe and plane the back of the molding to match the wall's actual contour rather than forcing it flat and cracking the drywall tape at the seam.
What size crown suits what ceiling height?
As a rough guide, use 2.5-3.5 inch crown for 8-foot ceilings, 4.5-5.5 inch for 9-foot ceilings, and 6.5 inch or larger, sometimes with a built-up multi-piece crown, for 10-foot-plus ceilings. Oversized crown on a low ceiling visually lowers the room; undersized crown on a tall ceiling reads as an afterthought.
How much does a full room of trim actually cost?
For a 12x14 room (about 52 linear feet of wall), baseboard alone runs $150-$300 in material for a DIY install, or $400-$700 installed by a pro. Adding crown molding roughly doubles material cost and can triple labor cost because of the coping and compound-angle cutting time — a full baseboard-plus-crown package for that same room often lands between $900 and $1,800 professionally installed.
What finish nailer settings and nail lengths actually work?
For baseboard 3/8-1/2 inch thick, 15-gauge 2-inch finish nails or 18-gauge 1.5-2 inch brads driven at a slight angle into studs hold well; crown molding, being thicker and often mounted at an angle against the wall-ceiling junction, typically needs 2-2.5 inch nails to reach through both the molding and any backing block into solid framing. Setting the nailer's air pressure or driving depth too high sinks the nail head below the surface and can blow out the trim's face on softer pine moldings — always test on a scrap piece of the same molding before nailing into the actual wall.
How do you handle long runs that need more than one piece?
Straight runs longer than a single board (most trim stock comes in 8, 12, or 16-foot lengths) need a scarf joint, a matching 30-45 degree angled cut on both pieces that overlaps rather than butts square, so any minor shrinkage doesn't leave a visible gap. Scarf joints should land over a stud whenever possible for a solid nailing point on both sides of the joint, and should be glued with wood glue in addition to nailed, since a glued scarf joint resists seasonal movement far better than a butt joint alone.
Do I need a compound miter saw for baseboard, or will a basic miter box work?
A miter box and hand saw is enough for baseboard, which only needs simple flat 45-degree cuts. Crown molding is different — it's typically cut 'upside down and backwards' against the saw fence at a compound angle, which is far easier and more accurate with a compound miter saw.
What's the difference between coping and mitering, in practice?
Mitering cuts both pieces at 45 degrees to form a corner; coping cuts one piece flat into the corner and shapes the second piece with a coping saw to match the first piece's profile exactly. Coped joints hide small wall-angle imperfections that would show as a visible gap in a mitered joint.
Can I install crown molding without a nail gun?
Yes, with finish nails and a hammer plus a nail set, but it's slower and riskier — missed hammer strikes can dent the molding face. A rented or borrowed brad nailer for a weekend ($30-$50 rental) speeds the job up significantly and reduces damaged pieces.
Run the numbers for your own project
- Project Cost EstimatorWhat will this project cost me?
- Room Size and Furniture FitWill this furniture actually fit my room?
Keep reading
- How Much Paint Do You Actually Need for a Room?The tin says 400 square feet. Your wall says otherwise. Here is the arithmetic that actually holds up.
- DIY or Hire a Pro? A Decision Framework That Is Not About MoneyThe labour saving is real. So is the cost of a job done twice — and of tools you use once.
- Storage for Small Rooms That Does Not Make Them SmallerSmall rooms do not need more storage. They need storage that stops interrupting the eye.