Tiling a Backsplash Step by Step, Without a Pro
By Jim Vernon · 4 min read · Last updated
A backsplash is small enough to DIY in a weekend, but unforgiving about crooked lines at eye level.
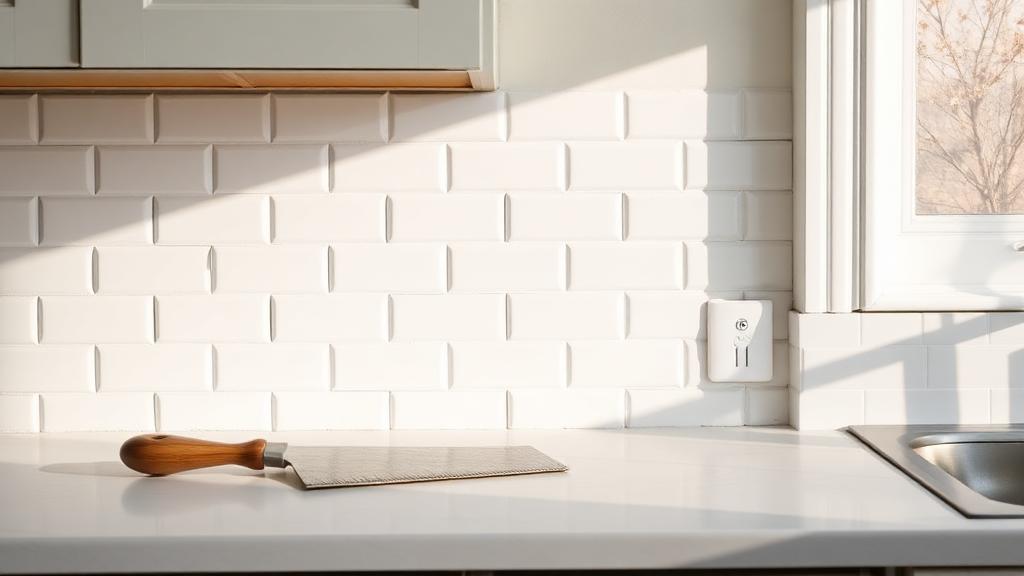
A backsplash sits at eye level in a small, well-lit area, which means small layout mistakes are far more visible than they would be on a floor. Planning the layout on paper before mixing any adhesive avoids most of the visible problems people run into.
Measure and plan the layout first
- Measure the total wall area and subtract outlet and window openings to estimate tile needed, adding 10% extra for cuts and breakage.
- Find the visual centre of the main wall (usually above the range or sink, if there is one) and plan to start tile layout from there, working outward.
- Dry-lay a row of tile on the counter to check spacing and see where cut pieces will fall — adjust the starting point if a cut piece would land as a sliver at a visible edge.
Prep the wall
The wall should be clean, dry, and free of grease — the same degreasing concern as painting cabinets applies here. Existing paint should be scuffed for adhesion; glossy surfaces benefit from a light sanding. If tiling over drywall, confirm it is sound and not water-damaged behind the stove or sink area, which is a common trouble spot.
Setting the tile
- Apply tile adhesive with the notched side of a trowel in a small section at a time, matching the notch size to the tile size per the adhesive manufacturer's guidance.
- Press tiles into the adhesive with a slight twisting motion, using spacers to maintain consistent grout lines.
- Work outward from your planned centre line, checking level and plumb every few tiles with a small level.
- Cut tiles for edges, outlets, and corners using a wet saw for hard tile or a manual tile cutter and nippers for smaller thin cuts.
- Let the adhesive cure per label instructions before grouting, usually 24 hours.
| Cut type | Best tool |
|---|---|
| Straight cuts, ceramic or porcelain | Manual tile cutter (score and snap) |
| Curved or notched cuts (around outlets) | Wet saw or tile nippers |
| Glass or mosaic tile | Wet saw with fine blade |
| Small notches, single corners | Tile nippers |
Grouting
Remove spacers, mix grout to the consistency specified on the bag, and apply diagonally across the tile joints with a rubber grout float, packing it fully into each joint. Wipe excess with a damp sponge in a light diagonal motion within about 15-20 minutes, rinsing the sponge frequently, then buff away the resulting haze once fully dry with a soft cloth.
Sealing (if needed)
Worked example: a standard range-wall backsplash
A typical range-wall backsplash covers roughly 15-20 square feet once outlet cutouts are subtracted. At 10% waste, that means buying tile for about 17-22 square feet. Using 3x6 inch subway tile, that's roughly 200-260 individual pieces. Budget a full weekend: several hours for layout and dry-fitting on day one, several more for setting tile and cutting around outlets, then a separate session a day later for grouting once the adhesive has cured.
- Common mistake: starting tile layout at a side wall instead of the visual center above the range or sink, leaving mismatched cut pieces at the most visible spot.
- Common mistake: mixing tile from different manufacturing batches without checking for slight colour or size variation first.
- Common mistake: grouting before the adhesive has fully cured, which can shift tiles slightly and crack fresh grout lines.
- Common mistake: leaving outlet boxes flush with the old wall surface instead of extending them forward to match new tile thickness.
Sealing (if needed)
Unglazed tile and most grout benefit from a penetrating sealer applied a few days after grouting, once fully cured. Glazed tile itself rarely needs sealing, but the grout lines almost always do in a kitchen backsplash exposed to cooking splatter.
How long should I wait between adhesive and grout?
24 hours is standard for most thin-set and mastic adhesives, though always check the specific product label since fast-setting formulas vary.
Do I need spacers if my tile has built-in lugs?
No — many modern tiles have built-in spacing lugs on the edges, making separate plastic spacers unnecessary.
Can I tile directly over existing tile?
Sometimes, if the old tile is sound and flat, using an appropriate adhesive — but it adds thickness that affects outlet depth and edge trim, so it needs planning either way.
Can I tile directly over existing tile?
Sometimes, if the old tile is sound and flat, using an appropriate adhesive — but it adds thickness that affects outlet depth and edge trim, so it needs planning either way.
How much extra tile should I buy beyond the measured area?
10% is standard for a straightforward layout; go to 15% for diagonal layouts, mosaic sheets, or a room with many outlets and odd angles that increase cutting waste.
What edge trim options exist for exposed tile edges?
Metal or plastic edge trim (schluter-style) installed during setting gives a finished factory edge; bullnose tile, where available in the same line, is the traditional alternative.
Run the numbers for your own project
- Tile and Grout CalculatorHow many tiles, and how much adhesive and grout?
- Project Cost EstimatorWhat will this project cost me?
Keep reading
- How Much Paint Do You Actually Need for a Room?The tin says 400 square feet. Your wall says otherwise. Here is the arithmetic that actually holds up.
- DIY or Hire a Pro? A Decision Framework That Is Not About MoneyThe labour saving is real. So is the cost of a job done twice — and of tools you use once.
- Storage for Small Rooms That Does Not Make Them SmallerSmall rooms do not need more storage. They need storage that stops interrupting the eye.