Replacing a Kitchen Faucet Without Calling a Plumber
By Jim Vernon · 4 min read · Last updated
The hardest part of a faucet swap is not the faucet — it is a rusted supply nut two feet under the sink you can barely see.
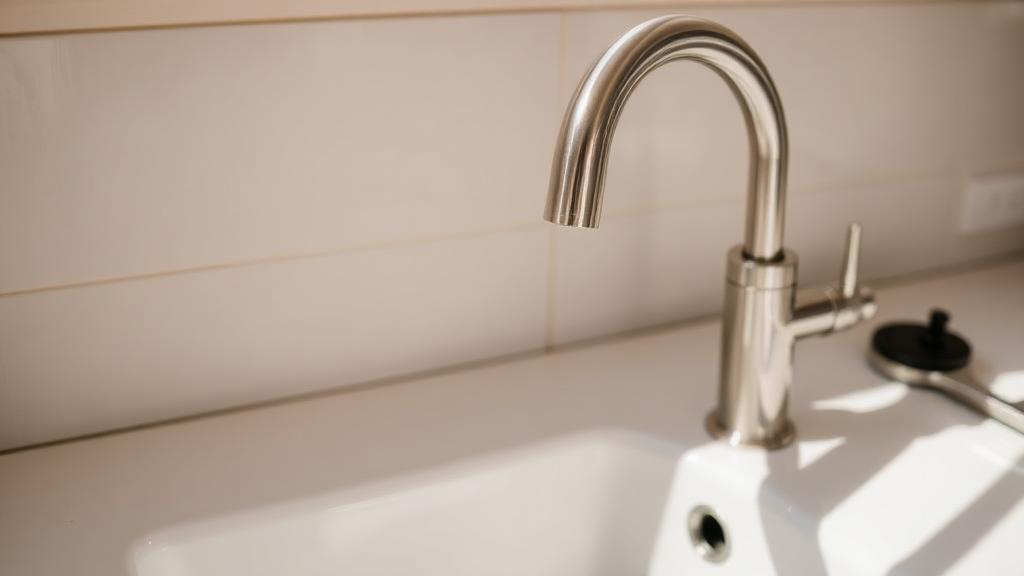
A faucet replacement is one of the more approachable plumbing jobs because it rarely involves cutting pipe, but the working space under a sink is what makes it harder than it should be. Planning for that constraint in advance is what separates a one-hour job from an afternoon of frustration.
Tools that actually help
- Basin wrench — the single tool that makes reaching the mounting nuts behind the sink bowl possible.
- Adjustable wrench and channel-lock pliers for supply line connections.
- Bucket and old towels for the water that sits in the lines even after shutoff.
- Plumber's putty or the manufacturer's supplied gasket, per the new faucet's installation instructions.
- Flashlight or headlamp — cabinet lighting under a sink is almost always inadequate.
Step-by-step
- Shut off both hot and cold supply valves under the sink, then open the faucet to release remaining pressure.
- Disconnect the supply lines from the old faucet's shutoff valves and from the faucet body.
- Use a basin wrench to remove the mounting nuts holding the old faucet to the sink deck.
- Lift out the old faucet and scrape away old putty or gasket material from the sink deck.
- Set the new faucet's gasket or apply plumber's putty per instructions, then feed the faucet's lines down through the mounting holes.
- Hand-tighten the mounting nuts from below, then snug with the basin wrench.
- Connect new supply lines (buy new flexible lines rather than reusing old ones) to both the faucet and the shutoff valves.
- Turn the water back on slowly, check every connection for drips, then run the faucet for a minute to clear debris from the lines.
| Faucet type | Difficulty | Typical time |
|---|---|---|
| Single-hole, pull-down | Moderate | 1-2 hours |
| Widespread (3-hole, separate handles) | Higher | 2-3 hours |
| Bar/prep faucet | Lower | 45-90 min |
Matching the mounting holes to the new faucet
Sinks are typically drilled for one, three, or four holes. A single-hole faucet installed on a three-hole sink needs a deck plate to cover the extra holes, usually included with widespread-style faucets or sold separately. Measure the existing hole spread before buying a new faucet to avoid a mismatch discovered mid-installation.
Dealing with corroded old shutoff valves
If the shutoff valves themselves are old, corroded, or do not fully stop water flow, this is the point to replace them rather than fighting a partial leak later. Quarter-turn ball valves are more reliable long-term than older multi-turn compression valves and are inexpensive to swap while everything is already disconnected.
After installation checks
Worked example: budgeting the whole swap
A mid-range single-hole pull-down faucet plus two new braided supply lines is a modest materials cost, and most kits include the mounting hardware. Active work runs 1-2 hours for someone doing this the first time, most of it spent working by feel under the sink rather than dealing with the faucet itself. Add 20-30 minutes if the old shutoff valves need replacing at the same time.
- Common mistake: forgetting to drain water sitting in the supply lines before disconnecting them, soaking the cabinet below.
- Common mistake: over-tightening plastic mounting nuts, which can crack under a wrench meant for metal fittings.
- Common mistake: reusing old, already-compressed supply lines instead of buying new ones.
- Common mistake: not checking hole spread before ordering a new faucet, then discovering it doesn't match the sink's existing holes.
Run both hot and cold at full flow for several minutes, check under the sink with a dry paper towel run along every connection to catch a slow drip that is not visible by eye, and recheck again after a day of normal use since some fittings need a second snug-down once components settle.
Do I need to turn off the main water supply?
No, the individual shutoff valves under the sink are sufficient unless they are broken or missing, in which case shutting off the main is the fallback.
Can one person install a faucet without help?
Yes, though a second pair of hands to hold the faucet steady from above while you tighten from below makes it noticeably easier.
What if the new faucet does not match the old hole spacing?
Widespread faucets can usually adapt to different spreads within a range; single-hole faucets generally cannot without an additional deck plate or a different sink.
What if the new faucet does not match the old hole spacing?
Widespread faucets can usually adapt to different spreads within a range; single-hole faucets generally cannot without an additional deck plate or a different sink.
Should I replace the sink strainer or drain while I'm already under there?
It's a reasonable time to do it since the cabinet is already cleared out, but it's a separate task from the faucet swap and not required unless the drain is already leaking or outdated.
How do I know if my old shutoff valves need replacing?
If they're stiff to turn, drip once turned, or are the older multi-turn compression style showing corrosion, replace them now rather than risk a leak later behind a wall or cabinet.
Run the numbers for your own project
- Project Cost EstimatorWhat will this project cost me?
Keep reading
- How Much Paint Do You Actually Need for a Room?The tin says 400 square feet. Your wall says otherwise. Here is the arithmetic that actually holds up.
- DIY or Hire a Pro? A Decision Framework That Is Not About MoneyThe labour saving is real. So is the cost of a job done twice — and of tools you use once.
- Storage for Small Rooms That Does Not Make Them SmallerSmall rooms do not need more storage. They need storage that stops interrupting the eye.