How to Patch Drywall Like a Pro (Not Like It Was Never There)
By Jim Vernon · 5 min read · Last updated
The size of the hole decides the method. Using a doorknob-hole technique on a fist-sized hole is why patches fail.
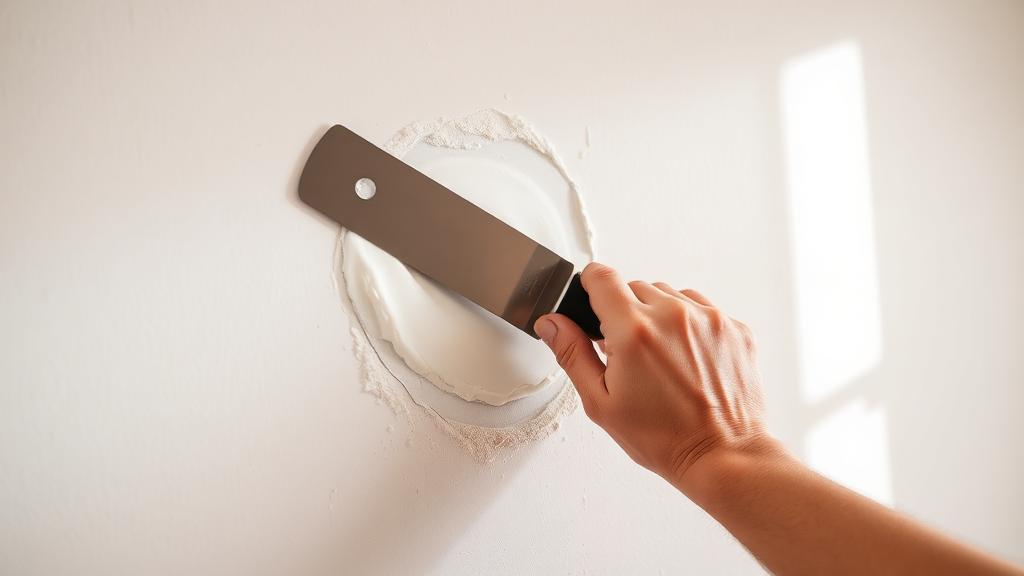
Nearly every failed drywall patch comes from mismatching the repair method to the hole size. A nail hole and a doorknob hole are not the same job, and treating them the same either wastes an afternoon on a pinhole or leaves a bulge where a proper backing was needed.
Size the hole before you buy anything
| Hole size | Best method | Dry time before sanding |
|---|---|---|
| Under 1/4 in (nail, screw) | Lightweight spackle, one coat | 1-2 hours |
| 1/4 in to 1.5 in | Self-adhesive mesh patch + joint compound | 24 hours per coat |
| 1.5 in to 6 in (doorknob) | Adhesive mesh patch kit with rigid backer | 24 hours per coat |
| Over 6 in | Cut-out patch with backing strips, screwed drywall piece | 24 hours per coat |
Small holes: spackle only
For nail and screw holes, lightweight spackle applied with a putty knife, left slightly proud of the surface, sanded flush once dry, is the entire job. Skip primer only if you are not painting; otherwise spot-prime the patch so it does not flash a different sheen under paint.
Mid-size holes: mesh tape and joint compound
- Clean loose debris from the edges of the hole and knock off any paper that is curling.
- Press a self-adhesive fibreglass mesh patch centred over the hole, smoothing out air bubbles.
- Apply a thin coat of joint compound over the patch, feathering the edges 4-6 inches beyond the mesh.
- Let it dry fully, sand lightly, then apply a second, wider feathered coat.
- Sand smooth with a fine grit sponge, then prime before painting.
Doorknob-sized holes need a backer, not just mesh
A mesh patch alone will sag or crack over a hole this size because there is nothing behind it to bear pressure. Adhesive patch kits made for this size include a rigid fibreglass backer that gives the compound something to key into. Press it in place, apply joint compound in two or three thin coats rather than one thick one, and feather each coat wider than the last.
Large holes: cut a proper patch
Past about 6 inches, cut the damaged section back to a clean rectangle, screw wood or drywall backing strips behind the opening on two sides, cut a drywall patch to fit, screw it to the backing, then tape and compound the seams exactly as you would a new wall joint — paper tape bedded in compound, feathered over three coats.
Compound and sanding technique matters more than the patch itself
Thin coats that dry fully between applications beat one thick coat every time. Thick compound shrinks and cracks as it dries. Feathering — tapering the edge of each coat out further than the last — is what makes a patch invisible once painted; a hard edge is what makes it visible under raking light.
- Use a wider knife (8-10 in) for the final feathering coat than for the first coat.
- Wipe the knife clean between passes to avoid dragging ridges.
- A fine-grit sanding sponge, used with light pressure, avoids gouging the paper face of surrounding drywall.
Priming and paint matching
Unprimed compound is porous and will absorb paint differently than the surrounding wall, leaving a visible flat patch even in the same paint colour. A coat of primer over the repaired area, feathered slightly onto the surrounding wall, prevents this — do not skip it even for a small patch if the wall has any sheen above flat.
Can I skip the mesh patch and just fill a mid-size hole with compound?
No — compound alone has nothing to bond to across an open gap and will crack out within weeks. Mesh or a backer patch is required for anything larger than a nail hole.
How many coats of joint compound does a doorknob hole need?
Typically two to three thin coats, each wider than the last, with full drying time between them. Rushing to one thick coat is the most common cause of visible patches.
Do I need to prime before painting a small spackle repair?
Yes if the wall has any sheen (eggshell, satin, semi-gloss). Flat walls are more forgiving but priming still gives the most even result.
Tools worth having before you open the compound
- A 6-inch and a 10-inch putty knife — one size cannot both load a first coat and feather a final one well.
- A fine-grit sanding sponge instead of sheet sandpaper; it follows the slight curve of a feathered patch without gouging the edges.
- A lidded tub of pre-mixed compound, kept sealed between coats so a skin does not form and drag lumps into the next pass.
- A work light held low and raked across the wall, which reveals ridges and hollows that overhead room lighting completely hides.
- A dust mask for sanding — joint compound dust is fine enough to stay airborne for hours in a closed room.
Textured walls need one extra step
A perfectly smooth patch on an orange-peel or knockdown wall still reads as a repair, because the eye picks up the change in surface roughness long before it notices colour. Aerosol texture matched to the existing pattern, sprayed after the final sanded coat and before priming, closes that gap. Practise on scrap cardboard first: the spray starts coarse and thins out as the can warms, so the first two seconds rarely match the wall.
Why patches flash under paint
Fresh joint compound is far more porous than the painted wall around it. Roll finish paint straight over it and the patch absorbs more binder, drying to a duller, slightly different sheen — a halo that shows up most in low-angle daylight. A coat of drywall primer over the repair equalises the absorption, which is why priming matters more on satin and semi-gloss walls than on flat ones.
| Symptom after painting | Likely cause | Prevention next time |
|---|---|---|
| Dull halo around the patch | Unprimed compound absorbing binder | Spot-prime the repair and 2 inches beyond |
| Visible ridge at the patch edge | Coats not feathered wide enough | Each coat 2-3 inches wider than the last |
| Hairline crack reappearing | Movement at a seam or no mesh reinforcement | Mesh tape or a backer, plus flexible filler at moving joints |
| Bumpy, gritty surface | Sanding dust left on before priming | Wipe with a barely damp cloth and let dry |
Run the numbers for your own project
- Drywall CalculatorHow many sheets of drywall do I need?
- Paint CalculatorHow much paint do I need for this room?
Keep reading
- How Much Paint Do You Actually Need for a Room?The tin says 400 square feet. Your wall says otherwise. Here is the arithmetic that actually holds up.
- DIY or Hire a Pro? A Decision Framework That Is Not About MoneyThe labour saving is real. So is the cost of a job done twice — and of tools you use once.
- Storage for Small Rooms That Does Not Make Them SmallerSmall rooms do not need more storage. They need storage that stops interrupting the eye.