How Do You Install a Kitchen Backsplash Correctly?
By Jim Vernon · 4 min read · Last updated
Crooked grout lines behind the stove are the fastest way to spot a rushed kitchen job.
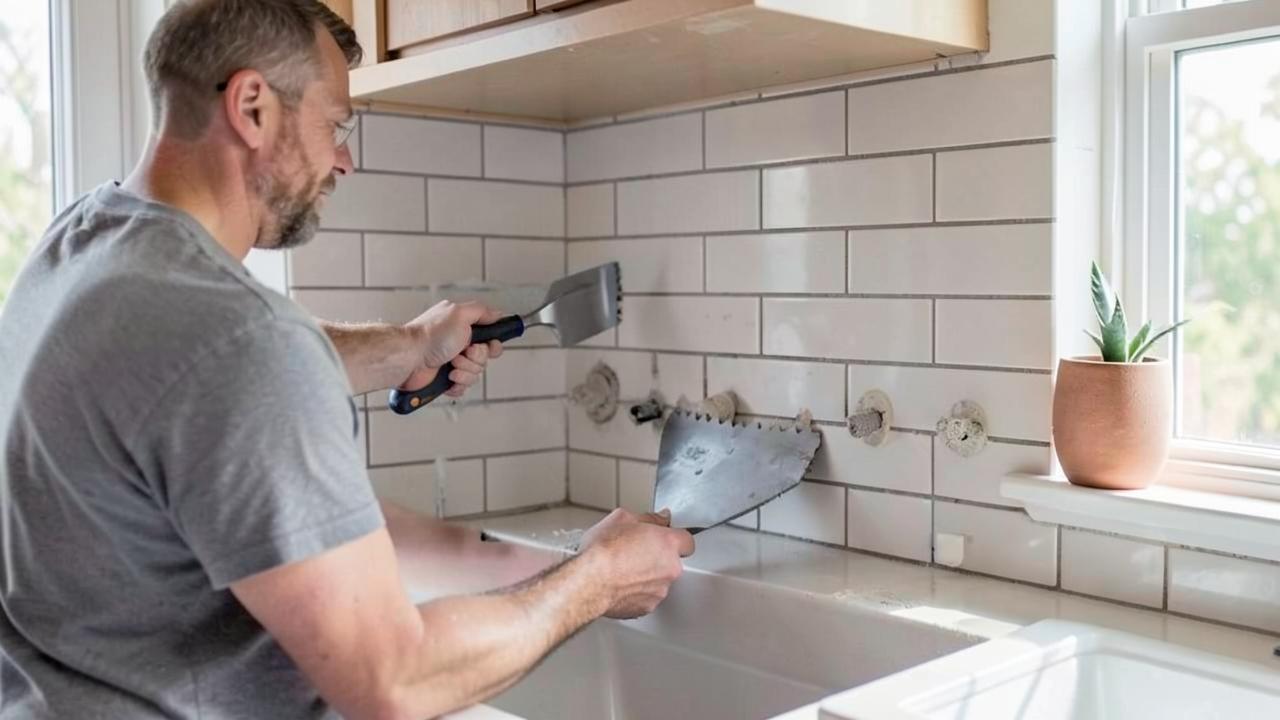
A backsplash goes in cleanly when you establish a level layout line first, use thinset mortar rather than mastic anywhere near the range, spread full mortar coverage behind every tile instead of dabbing corners, and hold consistent 1/16 to 1/8-inch grout joints throughout. Most amateur-looking backsplashes fail on the layout line, not the tile itself.
What tools and materials do you actually need?
- Tile of choice, plus 10-15% extra for cuts and breakage.
- Thinset mortar (unmodified or modified per tile manufacturer spec) rather than premixed mastic if the backsplash is within 24 inches of a cooktop.
- 1/8-inch or 1/16-inch tile spacers depending on the tile's intended grout line.
- Notched trowel, sized per tile manufacturer (typically 1/4 by 3/16 inch V-notch for small mosaic and subway tile).
- Wet tile saw for straight cuts, tile nippers for outlet cutouts.
- Grout (sanded for joints over 1/8 inch, unsanded for narrower joints), grout float, sponge.
- Caulk matching the grout color for the corners and countertop line, not grout, since grout cracks at that flexing joint.
How do you lay out the tile before setting anything?
Find the horizontal center of the longest wall or the area over the range if it's the focal point, then dry-lay a row of tile with spacers to see where cuts will fall at both ends. Adjust the starting point so you avoid slivers of tile under 2 inches wide at either end; centering a cut around a window or over the range makes far more visual difference than starting flush at a corner. Snap a level line for the first full row using a laser level or a 4-foot level, not the countertop itself, since counters are rarely perfectly level.
Thinset or mastic, and does it matter?
Mastic cures faster and is easier for beginners to work with, but it stays slightly flexible and can soften under sustained heat, which makes it unsuitable within roughly 24 inches of a cooktop or wall oven. Thinset mortar cures rock-hard and is heat-stable, and it's required by most tile manufacturers for natural stone tile regardless of location because stone can be damaged by the moisture retained in mastic.
| Adhesive | Cure time | Heat tolerance | Best use |
|---|---|---|---|
| Premixed mastic | 24-48 hrs | Poor | Ceramic tile away from the range |
| Modified thinset | 24-72 hrs | Excellent | Anywhere, required near heat |
| Unmodified thinset | 24-72 hrs | Excellent | Natural stone tile per most manufacturers |
What grout line width and color choices actually matter?
A 1/16-inch grout line reads as nearly seamless and suits rectified subway tile with straight factory edges; a 1/8-inch line is more forgiving of slightly uneven tile edges and is the safer default for handmade or textured tile. Grout color drives the visual outcome more than tile choice alone: a matching grout makes a backsplash look larger and calmer, while a contrasting grout emphasizes the grid pattern, which reads busier in a small kitchen.
How much does a DIY versus professional backsplash cost?
For a typical 30 square foot kitchen backsplash, DIY materials run $150-$500 depending on tile choice, while professional installation adds $500-$1,200 in labor on top of materials, with glass mosaic and natural stone at the higher end because they're slower and less forgiving to cut and set.
How do you handle outlets, switches, and windows in the layout?
Outlet and switch cover plates should land on full tiles or clean half-tiles wherever possible rather than an awkward sliver, so plan the layout around fixed outlet positions before setting the first tile. Use tile-specific outlet extenders (typically $3-$8 each) to bring the outlet box flush with the added thickness of tile and thinset, since a recessed outlet behind tile is both a visual flaw and a code issue if the box sits more than 1/4 inch back from the finished surface. Around a window, center the tile layout on the window opening rather than the wall itself, since an off-center grid next to a window reads as a mistake even when it isn't. When in doubt, dry-lay the full wall with spacers and step back several feet before committing any thinset, since flaws that are invisible up close often become obvious from across the room. Take a phone photo of the dry layout too, since a photo often reveals a crooked line the naked eye glosses over.
Can you tile a backsplash directly over painted drywall?
Yes, as long as the paint is not glossy and the wall is clean, sound, and free of grease. Lightly sand a glossy finish first so thinset can grip; over drywall that's stained with grease, wipe with a degreaser or use a bonding primer before setting tile.
How long should you wait before grouting after setting tile?
Wait at least 24 hours for thinset to cure enough to support foot traffic on grout lines, though 48 hours is safer in humid conditions or with modified thinset, which cures more slowly than unmodified.
Why did my grout crack right where the backsplash meets the countertop?
That joint flexes slightly as countertops and cabinets settle, and grout has no flexibility, so it cracks. Always fill that specific seam with caulk in a matching grout color instead of grout, and expect to need a fresh caulk bead there every few years.
Is subway tile a safe long-term choice or a passing trend?
Plain 3x6 subway tile has remained a top seller for over a century because its simple grid pattern doesn't visually date the way bold patterns or specific colors do, making it one of the safer long-term backsplash choices for resale value.
Run the numbers for your own project
- Tile and Grout CalculatorHow many tiles, and how much adhesive and grout?
- Project Cost EstimatorWhat will this project cost me?
Keep reading
- How Much Paint Do You Actually Need for a Room?The tin says 400 square feet. Your wall says otherwise. Here is the arithmetic that actually holds up.
- DIY or Hire a Pro? A Decision Framework That Is Not About MoneyThe labour saving is real. So is the cost of a job done twice — and of tools you use once.
- Storage for Small Rooms That Does Not Make Them SmallerSmall rooms do not need more storage. They need storage that stops interrupting the eye.