How Do You Repoint Crumbling Brick Mortar Without Damaging the Bricks?
By Jim Vernon · 7 min read · Last updated
If your brick wall looks like a crumbly, sandy mess, waiting to fix it is an open invitation for water to freeze and destroy your foundation.
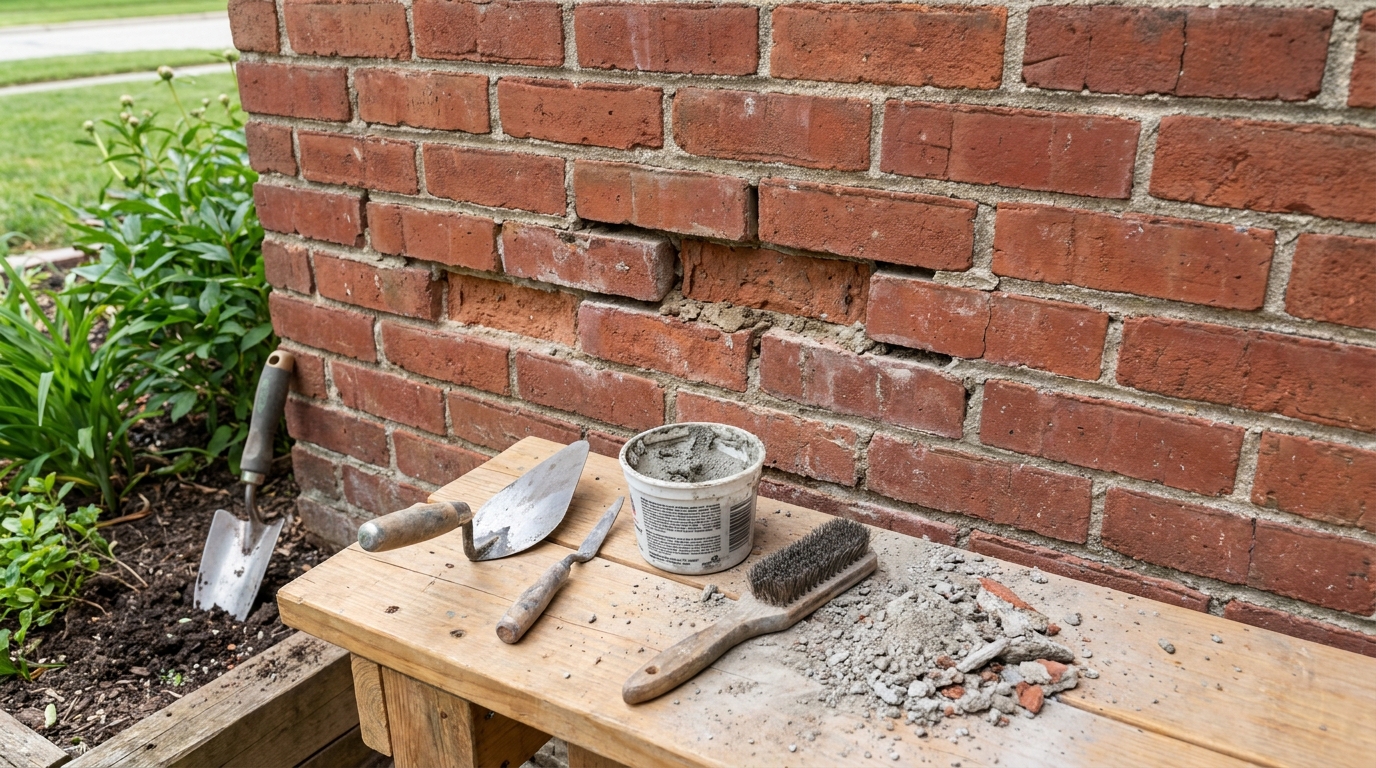
To repoint crumbling brick mortar successfully, you must grind or chisel out the old mortar to a depth of at least 3/4 inch (19 mm), vacuum the dust, and pack in a new, correctly matched mortar mix in 1/4-inch (6 mm) layers. Using the wrong mortar—like packing modern, hard cement between soft, historic bricks—will trap moisture and cause the bricks themselves to shatter during a winter freeze. Whether you are patching a 1920s chimney or a modern retaining wall, repointing restores structural integrity and stops water infiltration dead in its tracks. You can complete a 10-square-foot (0.9 sq. m) section in a weekend for under $50 in materials, saving you the $500 to $1,200 a professional mason would charge for the exact same repair in 2026.
- Always remove old mortar to a minimum depth of 3/4 inch (19 mm) to ensure the new mortar bonds structurally.
- Match the mortar type to the age of the brick; use Type O for pre-1930s soft brick and Type N for modern brick.
- Mist the joints with water before packing new mortar to prevent the dry brick from sucking moisture out and weakening the cure.
- Pack the mortar in shallow 1/4-inch (6 mm) layers rather than filling deep joints all at once.
How Do You Choose the Right Mortar Type for Your Brick?
The most critical decision in repointing is mortar selection. Mortar is designed to be the sacrificial element in a masonry wall. It must be softer and more permeable than the bricks themselves so that normal building movement and moisture expansion crack the easily replaceable mortar, not the permanent brick.
The most common failure mode in repointing is using a high-strength, modern mortar like Type S on older, softer bricks. When moisture inevitably enters the wall and freezes, the hard cement will not yield. Instead, the face of the historic brick pops off—a catastrophic and permanent failure known as spalling. If your house was built before 1930, use a lime-heavy Type O mortar, which yields to pressure and breathes. For homes built after 1930, a standard Type N mortar is usually the correct choice.
- Type N: General-purpose, medium strength (750 psi), ideal for most modern exterior above-grade walls.
- Type O: Low strength (350 psi), high-lime content, strictly for historic or extremely soft brickwork.
- Type S: High strength (1,800 psi), reserved for foundations, retaining walls, and below-grade applications.
What Tools Do You Need to Repoint Brick?
Having the right specific hand tools is what separates a messy, smeared patch job from an invisible repair. You will need a mortar hawk to hold the wet mix, a tuckpointing trowel, and a brick jointer to shape the final finish. When buying a tuckpointing trowel, choose one that is slightly narrower than your mortar joints, typically 3/8 inch or 1/2 inch (10 mm or 13 mm) wide.
For removal, you need an aggressive approach. A 4.5-inch (115 mm) angle grinder fitted with a diamond tuckpointing blade makes fast work of long horizontal joints. For vertical joints and detailed removal, you will need a 2-pound (0.9 kg) club hammer and a masonry plugging chisel. Expect to spend $80 to $120 total on these specialized hand tools in 2026.
How Do You Safely Remove the Old, Crumbling Mortar?
You must remove the decayed mortar to a depth of at least 3/4 inch (19 mm), or until you hit solid, unyielding mortar. Scraping a thin, cosmetic layer of new mortar over a shallow joint is guaranteed to flake off within a single winter because it lacks the mass to form a mechanical bond.
A beginner will often grab an angle grinder to remove all old mortar quickly, but a pro makes a judgement call based on the joint width and brick hardness. If the mortar joint is extremely narrow or the historic brick is exceptionally soft, a pro leaves the grinder in the truck. One slip of a grinder at 10,000 RPM will leave permanent, unrepairable scars across the face of the brick. In those delicate cases, rely entirely on a plugging chisel and hammer, holding the chisel at a low angle to chip the mortar away from the brick edges.
How Do You Prepare the Joints for New Mortar?
Once the old mortar is out, the joint is full of loose sand and dust. Use a stiff masonry brush to sweep out the heavy debris, followed by a shop vacuum with a brush attachment to pull out the fine dust. If dust remains, the new mortar will bond only to the dirt instead of the brick, causing early failure.
The final preparation step is hydration. Dry brick acts like a sponge. If you apply wet mortar to bone-dry brick, the brick will rapidly suck the water out of the mix, resulting in flash-drying and a crumbly, weak bond. Use a standard spray bottle to mist the joints thoroughly about 30 minutes before pointing. The brick should be damp, but there should be no standing water pooling in the joint.
How Do You Mix and Match the Mortar Color?
Standard mortar dries light gray or white, which will look like a glaring scar on a weathered brown or red brick wall. To match existing mortar, you must blend iron oxide masonry dyes into your dry mix before adding water. Never judge mortar color by how it looks when wet.
Always mix a few small test batches in disposable cups, noting the exact ratio of dye to mortar. Spread your test samples onto cardboard and let them cure for three days. Once bone dry, hold the samples up to your wall in natural sunlight to pick the closest match. When mixing your final batch, add water slowly until the mortar reaches the consistency of thick peanut butter—it should stick to your inverted trowel without dropping off.
How Do You Pack the New Mortar Into the Joints?
Do not try to smear the mortar into the wall like drywall mud. Load a scoop of mortar onto your hawk, hold the hawk horizontally directly under the joint you are filling, and use your tuckpointing trowel to slide the mortar off the hawk and push it directly into the gap.
Pack the joints in shallow, 1/4-inch (6 mm) layers. Press the first layer firmly to the back of the joint, eliminating air pockets. Wait 20 to 30 minutes until that layer is thumb-print hard—meaning you can press your thumb into it and leave an imprint, but mortar does not stick to your skin—before packing the next 1/4-inch layer. Continue until the joint is slightly overfilled and flush with the brick face.
How Do You Tool the Joints and Cure the Mortar?
Once the final layer is thumb-print hard, use your brick jointer to compress and shape the mortar. Slide the jointer across the horizontal bed joints first, followed by the vertical head joints. This compression gives the mortar its final strength and creates a profile that sheds rain efficiently.
After tooling, gently sweep the wall with a soft-bristle brush held at a 45-degree angle to knock away loose crumbs without smearing wet mortar onto the brick faces. Mortar requires a slow cure to reach maximum strength. Mist the newly repointed wall lightly with water once a day for three days, especially if daytime temperatures are above 70 degrees Fahrenheit (21 degrees Celsius). Never attempt this project if nighttime temperatures are forecast to drop below 40 degrees Fahrenheit (4 degrees Celsius) within 48 hours, as freezing will shatter the uncured mortar.
| Mortar Type | Compressive Strength | Primary Use | Best For |
|---|---|---|---|
| Type N | 750 psi | General Exterior | Post-1930s brick veneers & chimneys |
| Type O | 350 psi | Historic Restoration | Pre-1930s soft brick & sandstone |
| Type S | 1,800 psi | Structural/Below Grade | Retaining walls & foundation blocks |
| Type M | 2,500 psi | Heavy Load/Earth Contact | Driveways & commercial masonry |
Frequently asked questions
Can I just smear new mortar over the old crumbling mortar?
No. Skim-coating over old mortar provides no structural support and will flake off during the first freeze. You must grind or chisel out at least 3/4 inch (19 mm) of the old joint to ensure a permanent mechanical bond.
Should I seal the brick wall after repointing it?
Wait at least 30 days for the new mortar to fully cure. After that, you can apply a breathable, penetrating silane-siloxane masonry sealer if the wall is exposed to heavy rain. Never use a film-forming sealer or paint, which will trap moisture inside the brick and cause it to rot from the inside out.
Can I use caulking or construction adhesive to fix a loose brick?
No. Polyurethane caulk or construction adhesives trap moisture and do not allow the masonry system to expand and contract naturally during temperature swings. Always re-set loose bricks using the correct type of masonry mortar.
Keep reading
- How Much Paint Do You Actually Need for a Room?The tin says 400 square feet. Your wall says otherwise. Here is the arithmetic that actually holds up.
- DIY or Hire a Pro? A Decision Framework That Is Not About MoneyThe labour saving is real. So is the cost of a job done twice — and of tools you use once.
- Storage for Small Rooms That Does Not Make Them SmallerSmall rooms do not need more storage. They need storage that stops interrupting the eye.