How Do You Replace a Single Broken Floor Tile Without Damaging the Rest?
By Jim Vernon · 7 min read · Last updated
A single cracked tile turns a flawless floor into a jagged eyesore, but aggressively prying it up is the fastest way to shatter the perfect tiles right next to it.
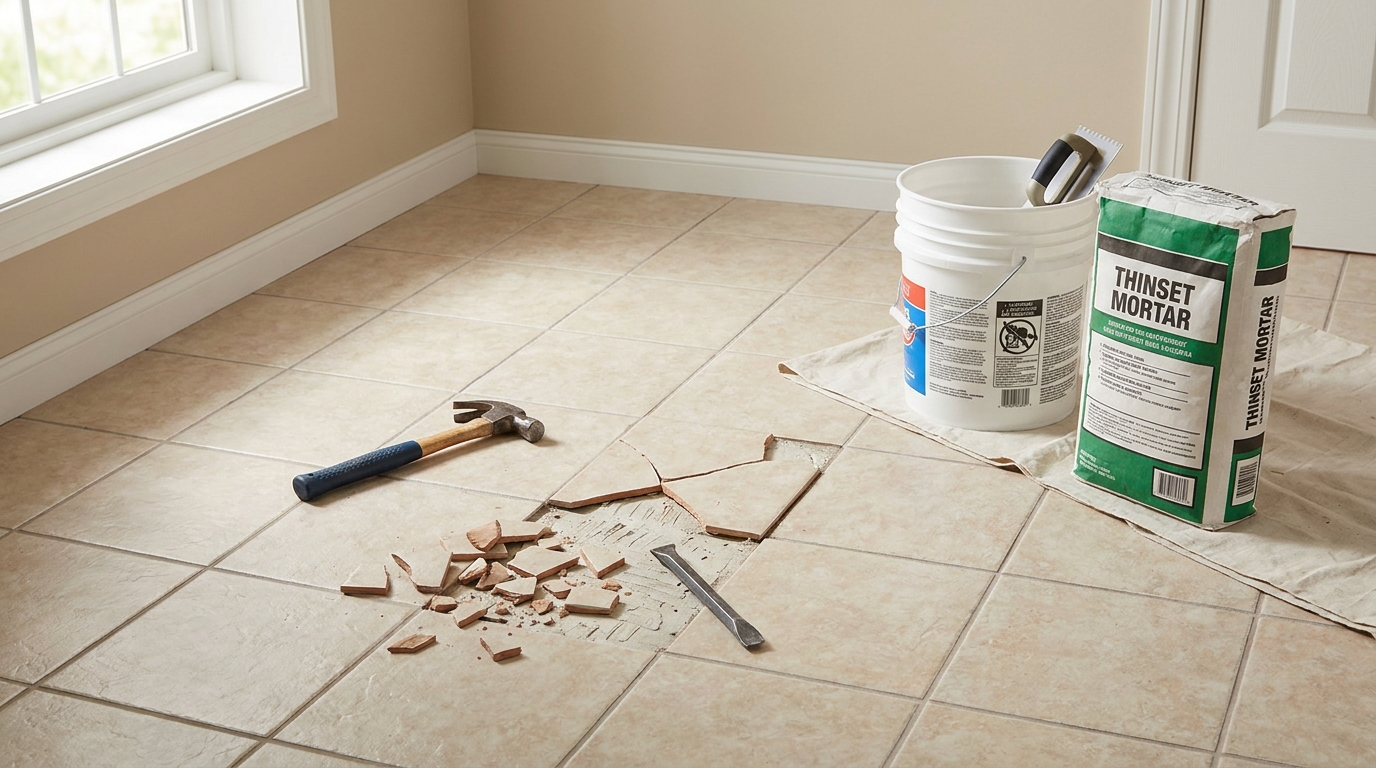
To replace a single broken floor tile without damaging the surrounding floor, you must first isolate it by grinding out the grout joint around its entire perimeter. Once the grout is gone, use a hammer and a masonry punch to shatter the center of the broken tile. From that center hole, use a cold chisel to chip the pieces inward rather than prying outward against the good tiles. Finally, scrape the subfloor completely bare of old thinset, apply fresh modified mortar with a notched trowel, drop in the replacement tile, and apply a color-matched grout.
- Grind out 100 percent of the surrounding grout before striking the broken tile to prevent shockwaves from cracking adjacent tiles.
- Shatter the center of the broken tile and chisel inward to protect the fragile edges of the neighboring floor.
- Scrape the old thinset all the way down to the bare subfloor to prevent the new tile from sitting too high and creating a tripping hazard.
- Use powdered polymer-modified thinset rather than pre-mixed mastic to ensure the floor can handle heavy foot traffic.
Why Do Floor Tiles Crack in the First Place?
Before you replace a tile, you need to know why it broke to prevent the new one from suffering the same fate. Usually, it comes down to a poor initial installation. If the original installer failed to achieve at least 80 percent thinset coverage beneath the tile, an air void was left behind.
When a heavy object like a cast-iron pan or a dropped canned good hits the tile directly above that void, the ceramic or porcelain flexes downward and snaps. Look at the back of the broken tile once you remove it. If you see bare spots with no mortar ridges, an air void is what caused the break.
- Check the back of the broken tile for bare spots to confirm an installation void.
- Inspect the exposed subfloor for structural cracking, which requires a specialized uncoupling membrane to fix permanently before placing a new tile.
What Tools and Materials Do You Need for a Single Tile Replacement?
You do not need heavy machinery to replace a floor tile, but you do need specific hand tools to control the extraction. In 2026, assuming you already have a spare replacement tile from the original batch, expect to spend between $45 and $65 on materials to complete this repair yourself.
- Oscillating multi-tool fitted with a carbide-grit grout blade ($15).
- Heavy hammer, masonry punch, and a 1-inch (2.5 cm) cold chisel ($20).
- 1/4-inch by 1/4-inch (6 by 6 mm) square-notched trowel ($8).
- Small bag of polymer-modified powdered thinset mortar ($18).
- One quart of pre-mixed grout matched to your floor color ($22).
How Do You Remove the Surrounding Grout to Isolate the Tile?
Do not strike the broken tile until the grout surrounding it is completely gone. Grout is rigid, and if you hit the broken tile with a hammer while the grout is still touching the neighboring tiles, the shockwave will transfer directly through the joint and crack the adjacent flooring.
Use an oscillating multi-tool to grind away the grout. Hold the blade vertically and plunge it straight down into the joint, keeping it perfectly centered so you do not score the edges of the good tiles. Vacuum the dust out of the joints continuously so you can see exactly how deep you are cutting. You must cut down to the full depth of the tile edge, which is usually about 3/8 inch (9.5 mm) deep.
- Hold the oscillating blade perfectly vertical to avoid grinding the edges of neighboring tiles.
- Vacuum the joints frequently during removal to ensure you have cut all the way to the subfloor.
How Do You Break and Extract the Damaged Tile Safely?
This extraction step is where beginners make their most costly mistake. A beginner will naturally wedge a chisel into the newly cleared grout line and pry upward against the neighboring tile, using the good tile for leverage. This almost always chips the edge of the perfectly good adjacent tile.
A professional creates a safe extraction point in the center of the broken tile. Place the tip of a masonry punch directly in the center of the bad tile and strike it sharply with a heavy hammer to shatter a small hole. Once you have this center hole, insert a cold chisel into it and point the chisel outward, gently tapping to break the tile into smaller shards. Always pry the shards inward toward the center hole, pulling the tension safely away from the fragile perimeter edges.
- Never pry against an adjacent tile for leverage.
- Punch a starter hole in the exact center of the broken tile.
- Always angle your chisel and pry inward toward the center hole.
How Do You Prepare the Bare Subfloor for the New Tile?
The most common failure mode in single tile replacement is leaving a thin, stubborn layer of the old, hardened thinset mortar stuck to the cement board or concrete subfloor. If you do not scrape the cavity down to the absolute bare substrate, your new thinset layer will be too thick. As a result, the replacement tile will sit 1/16 to 1/8 inch (1.5 to 3 mm) higher than the surrounding floor.
This uneven height is called lippage, and it creates a severe tripping hazard that is guaranteed to chip the next time someone drags a heavy dining chair across it. Use a floor scraper or a chisel held at a low angle to aggressively scrape away all old mortar ridges. Wipe the bare floor with a damp sponge to remove the fine dust that prevents new thinset from bonding.
- Scrape old mortar aggressively until the subfloor is entirely flat and bare.
- Wipe the cavity with a damp sponge to remove dust before applying new mortar.
How Do You Set and Level the Replacement Tile?
Mix your powdered polymer-modified thinset with water until it reaches the consistency of creamy peanut butter. Do not use pre-mixed mastic from a tub for floor tiles; it lacks the compressive strength required for foot traffic. The room temperature should be at least 65 degrees Fahrenheit (18 degrees Celsius) for the thinset to cure at a predictable rate.
Use your 1/4-inch (6 mm) square-notched trowel to comb the thinset in straight, parallel lines across the bare subfloor. To guarantee complete coverage and prevent future hollow spots, use the flat side of the trowel to back-butter the replacement tile, pressing a razor-thin layer of thinset directly onto its back. Drop the tile into the hole, press firmly, and place a straightedge across the new tile and the adjacent tiles. Tap the new tile with a rubber mallet until it sits perfectly flush.
- Use only powdered polymer-modified thinset, never pre-mixed wall mastic.
- Back-butter the new tile to guarantee 100 percent mortar coverage.
- Use a straightedge spanning the adjacent tiles to check for a perfectly flush installation.
How Do You Match the New Grout Color to an Aged Floor?
Fresh grout rarely matches a five-year-old floor, even if you saved a sealed bag of the original grout from the installation. Dirt, UV fading, and daily mopping change the color of existing grout lines over time, usually making them darker or slightly yellowed.
Instead of using original leftover grout, buy a pre-mixed acrylic or urethane grout that matches the current, aged color of your floor. Take a large shard of the broken tile that still has some old grout attached to it directly to the hardware store and compare it to the physical grout color charts. Press the new grout into the joints with a rubber float, wait 15 minutes, and wipe the excess away with a damp sponge in diagonal strokes.
- Assume your old floor grout has changed color over time.
- Bring a broken shard with old grout attached to the store for a direct color match.
- Wipe excess wet grout diagonally across the joint so your sponge does not pull it out.
| Tool Type | Removal Speed | Risk to Neighboring Tiles | Best Use Case |
|---|---|---|---|
| Oscillating Multi-Tool (Carbide Blade) | Fast | Low (If held vertically) | Best overall for standard 1/8-inch to 1/4-inch grout joints. |
| Manual Grout Saw | Very Slow | Very Low | Best for ultra-thin joints or brittle glass tiles where power tools are too aggressive. |
| Rotary Tool (Dremel with Grout Bit) | Moderate | High (Bit can jump easily) | Best for tight corners or curved mosaic floor tiles. |
| Utility Knife (Heavy-Duty) | Extremely Slow | Low | Only works on soft, flexible vinyl tile grout; completely ineffective on cementitious grout. |
Frequently asked questions
Can I use construction adhesive to set a single replacement floor tile?
No. Construction adhesive shrinks as it dries, which will pull the tile out of level. It also lacks the rigid compressive strength needed to support ceramic or porcelain under foot traffic, leading to inevitable cracking. Always use polymer-modified thinset mortar.
How long should I wait to walk on a newly replaced floor tile?
You must keep all weight off the tile for a full 24 hours to allow the thinset mortar to cure properly. Walking on it sooner will compress the wet mortar and push the tile below the level of the surrounding floor.
What if I don't have a spare tile from the original installation?
If you lack a direct replacement, harvest a matching tile from a hidden area, such as under the kitchen refrigerator, behind the stove, or inside a floor-level pantry. You can replace that hidden tile with a cheap, non-matching piece since it will never be seen.
Keep reading
- How Much Paint Do You Actually Need for a Room?The tin says 400 square feet. Your wall says otherwise. Here is the arithmetic that actually holds up.
- DIY or Hire a Pro? A Decision Framework That Is Not About MoneyThe labour saving is real. So is the cost of a job done twice — and of tools you use once.
- Storage for Small Rooms That Does Not Make Them SmallerSmall rooms do not need more storage. They need storage that stops interrupting the eye.