How Do You Replace a Broken Sash Cord in an Old Double-Hung Window?
By Jim Vernon · 8 min read · Last updated
A heavy wood window propped open with a paperback book is not just an eyesore—it is a wooden guillotine waiting to drop on an unsuspecting hand.
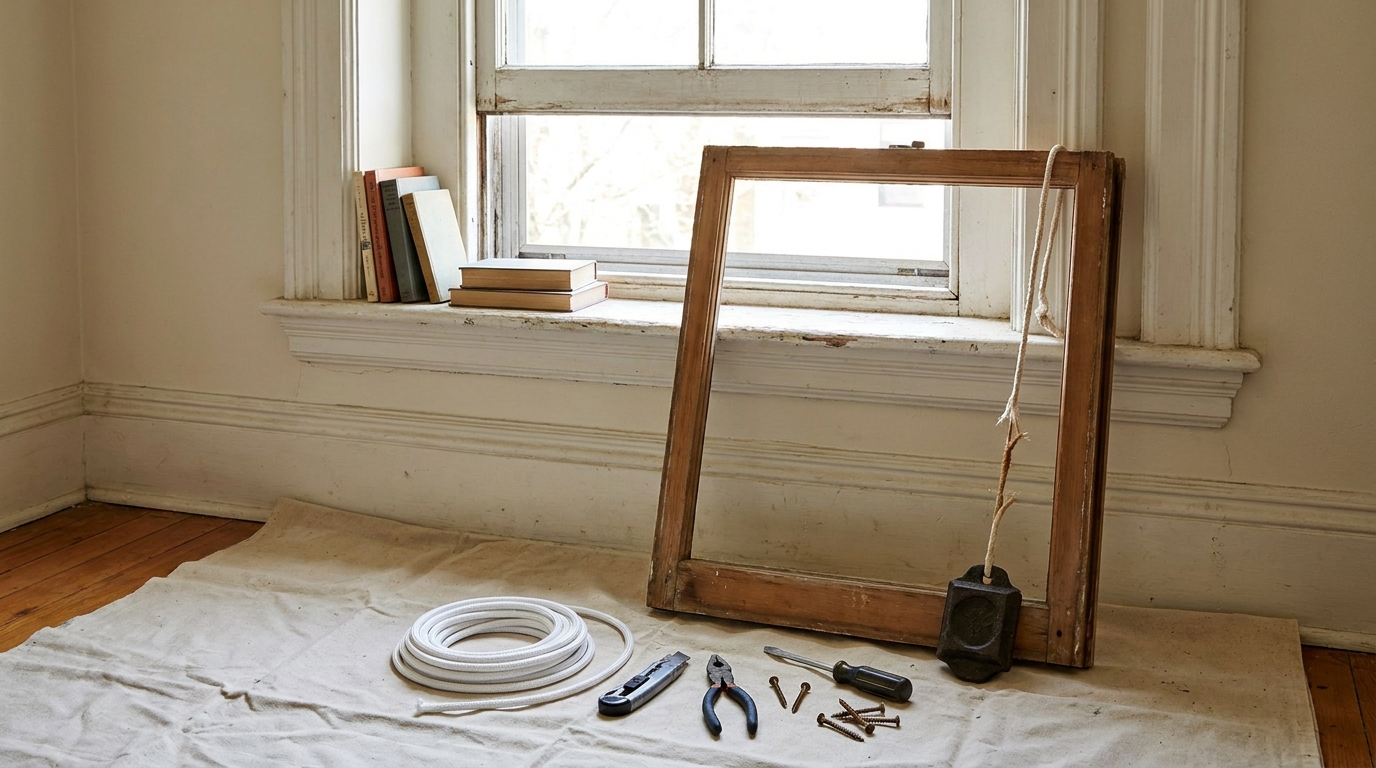
To replace a broken sash cord, you must pry off the interior window stops, tilt the lower sash out of the frame, and open the hidden access panels in the side jambs. From there, you fish a new cotton sash cord over the top pulley, tie it to the cast-iron counterweight inside the wall cavity, and secure the other end into the grooved side of the window sash. It is a purely mechanical repair that requires no specialized tools, but it relies heavily on patience. Rushing the teardown process is the easiest way to snap 100-year-old wood trim or damage your wall plaster. With the right cord and careful prying, you can restore perfect, weightless operation to a historic double-hung window in under two hours.
- Always use solid braided cotton sash cord with a synthetic core (size #8), as standard nylon or paracord stretches under continuous tension.
- Score all painted seams thoroughly before prying window stops to prevent the paint layer from peeling off your walls or splitting the trim.
- When removing old trim nails, use pliers to pull them through the back of the wood; hammering them out the front will splinter the visible face.
- Expect to spend between $25 and $40 in 2026 for a premium bundle of sash cord and a stiff putty knife, avoiding a $250 professional repair bill.
What materials and tools do you actually need to replace a sash cord?
The success of this repair entirely depends on the rope you buy. Standard hardware store nylon rope stretches under tension, meaning your window will sag an inch within a month. Pure cotton rope, while historically accurate, will eventually rot from window condensation. You need a solid braided cotton sash cord with a synthetic nylon core. This gives you the durability and stiffness of cotton over the pulley, with the unbreakable strength of a modern core. For standard residential windows, size #8 cord, which is 1/4 inch (6.4 mm) in diameter, is the universal fit.
Aside from the cord, your tool list is short but specific. You will need a utility knife with a fresh blade, a stiff 3-inch (7.6 cm) putty knife, a small pry bar, needle-nose pliers, and a tape measure. In 2026, a 100-foot spool of synthetic-core cotton cord costs between $25 and $40. This is enough to repair every window in a standard bedroom, making it a highly cost-effective weekend project compared to calling a specialist window restorer.
How do you safely remove the window stops without snapping the wood?
The interior window stops are the vertical strips of wood holding the lower sash in place. Because they have likely been painted to the window jamb several times over the decades, prying them off carelessly is the most common way beginners ruin this project. Before you grab a pry bar, take your utility knife and score the paint seam where the stop meets the window frame. Make three firm passes. If you do not cut entirely through the paint film, prying the wood will tear large strips of paint right off your drywall or window casing.
A major judgement call a professional makes differently from a beginner happens right after the trim is removed. A beginner will lay the trim flat and try to hammer the old brad nails back out through the front of the wood, which blows out the painted face and leaves massive craters to fill. A pro will grip the pointed end of the nail with locking pliers and pull it all the way through the back of the trim. This leaves the visible front face perfectly intact and ready for reinstallation.
How do you remove the lower sash and locate the hidden weight pocket?
Once the left and right interior stops are set aside, the lower sash will easily tilt inward toward the room. If one sash cord is still intact, pull the knot out of the side of the window frame and let the weight drop gently into the wall cavity. Lift the lower sash out entirely and place it safely out of your workspace.
Look at the lower half of the exposed window tracks. On both sides, you will see a faint rectangular outline in the wood, usually measuring about 2 inches by 15 inches (5 cm by 38 cm). This is the pocket cover. It is typically held in place by a single screw at the top or bottom, though it may be glued shut by years of paint. Score the edges with your utility knife, remove the screw, and pry the panel out. Inside this dark cavity, you will find the cast-iron counterweight resting at the bottom.
How do you route and cut the right length of replacement cord?
Getting the cord length exactly right ensures your window opens fully and stays closed tightly. To route the new cord, feed a small weight, like a heavy steel nut tied to a piece of string, over the top pulley and let it drop down into the weight pocket. Tie your new sash cord to the string and pull it up over the pulley until it drops into your hands at the pocket opening.
Pull the cord tight against the cast-iron weight inside the pocket. Lift the weight until it is hovering exactly 2 inches (5 cm) above the bottom sill of the pocket. While holding that tension, pull the cord down alongside the window sash and mark where it meets the knot hole routed into the side of the wood frame. Cutting the cord at this exact length guarantees that the weight has enough room to travel downward when you close the window, without bottoming out and leaving the window slightly cracked open.
What is the correct knot for tying a cast-iron window sash weight?
Tying the wrong knot is a classic failure mode for first-time window restorers. A standard square knot or a double overhand knot creates a bulky lump of rope. When you push the weight back into the narrow channel and close the pocket, a bulky knot will scrape against the wood cover, causing the weight to jam halfway up the track. When the weight jams, the window slams shut unexpectedly.
To prevent this, you must secure the cord to the cast-iron weight using a figure-eight knot. Feed the cord through the eye of the weight, loop it around the standing part of the cord, push it through the upper loop, and pull it incredibly tight. A figure-eight knot lays perfectly flat against the side of the iron cylinder, ensuring smooth, frictionless travel up and down the narrow wall cavity.
How do you secure the new cord to the window sash permanently?
With the weight attached and resting in the pocket, pull the free end of the cord out from the track and tie a simple overhand knot exactly at the mark you made earlier. Trim away any excess rope beyond the knot. Now, take the lower window sash and stand it on the sill, leaning it slightly against the frame.
Press the knotted end of the cord deeply into the circular bored hole on the side of the sash, then press the trailing cord into the routed groove above it. In a well-preserved window, the friction of the knot inside the hole is all that holds it. If the wood hole has wallowed out over the decades, drive a single 1-inch (2.5 cm) roofing nail straight through the knot into the sash to lock it in place. Repeat this process for the other side, even if only one cord originally broke, because the surviving old cord is inevitably going to snap soon.
Should you clean and lubricate the window pulleys while the wall is open?
You rarely get access to the interior mechanics of your walls, so take advantage of the exposed weight pockets before putting the trim back together. Use a shop vacuum with a narrow crevice tool to suck out the decades of dust, dead bugs, and flaking wood that have collected at the bottom of the pockets. Debris buildup here is exactly what causes weights to hit early, preventing the window from locking fully.
Before reinstalling the sash, inspect the metal pulleys at the top of the frame. If they are stiff or squeaking, do not spray them with a wet lubricant like WD-40, which will just soak into your new cotton cord and attract more grinding dust. Instead, puff a dry graphite powder directly into the pulley axle. Give the wheel a few spins to work the powder in. Reattach your pocket covers, nail your stops back into place with new brad nails, and your window will glide effortlessly for another fifty years.
| Material | Stretch Factor | Durability | Best Application |
|---|---|---|---|
| Synthetic-Core Braided Cotton | Zero to Minimal | Excellent (30+ Years) | Best overall choice for all historic double-hung windows |
| Solid Nylon or Paracord | High | Good | Never recommended; stretching causes windows to sag instantly |
| Solid Braided Cotton | Low | Moderate (10-15 Years) | Historically accurate restorations where synthetic materials are strictly banned |
| Sash Chain (Steel/Brass) | Zero | Permanent | Extremely heavy custom sashes; requires replacing pulleys to match chain links |
Frequently asked questions
Can I use standard paracord to hang a window sash weight?
Absolutely not. Paracord and standard nylon ropes stretch significantly under continuous tension. If you use paracord, your window will sit an inch or more below the top frame within a few weeks, letting cold air pour into your home. Always use a purpose-built sash cord with a non-stretch core.
How heavy should my cast-iron window sash weights be?
Each sash weight should equal exactly half the total weight of the window sash. If your lower wood sash weighs 14 pounds (6.3 kg), you need two 7-pound (3.1 kg) weights. If you upgrade your old glass to heavier double-pane inserts, you must buy heavier cast-iron or lead weights to maintain the proper balance.
What do I do if the wood weight pocket cover is completely sealed shut with paint?
Do not try to smash it open. Take a sharp utility knife and repeatedly score the rectangular outline until you hit bare wood. If it still refuses to budge, use an oscillating multi-tool with a plunge-cut wood blade to carefully cut through the accumulated paint and caulking in the seam, taking care not to cut into the structural jamb beneath it.
Should I replace the top sash cords at the same time?
If the upper sash is painted shut and you never intend to use it, you can leave its cords alone or even remove the weights entirely to make room for insulation. However, if you want both the upper and lower sashes to remain fully operational, it is highly recommended to replace all four cords while the side stops and parting beads are already removed from the frame.
Keep reading
- How Much Paint Do You Actually Need for a Room?The tin says 400 square feet. Your wall says otherwise. Here is the arithmetic that actually holds up.
- DIY or Hire a Pro? A Decision Framework That Is Not About MoneyThe labour saving is real. So is the cost of a job done twice — and of tools you use once.
- Storage for Small Rooms That Does Not Make Them SmallerSmall rooms do not need more storage. They need storage that stops interrupting the eye.