How Do You Install Crawlspace Insulation So It Never Sags or Falls Down?
By Jim Vernon · 8 min read · Last updated
The sound of your crawlspace insulation dropping into the dirt is the sound of your heating budget evaporating.
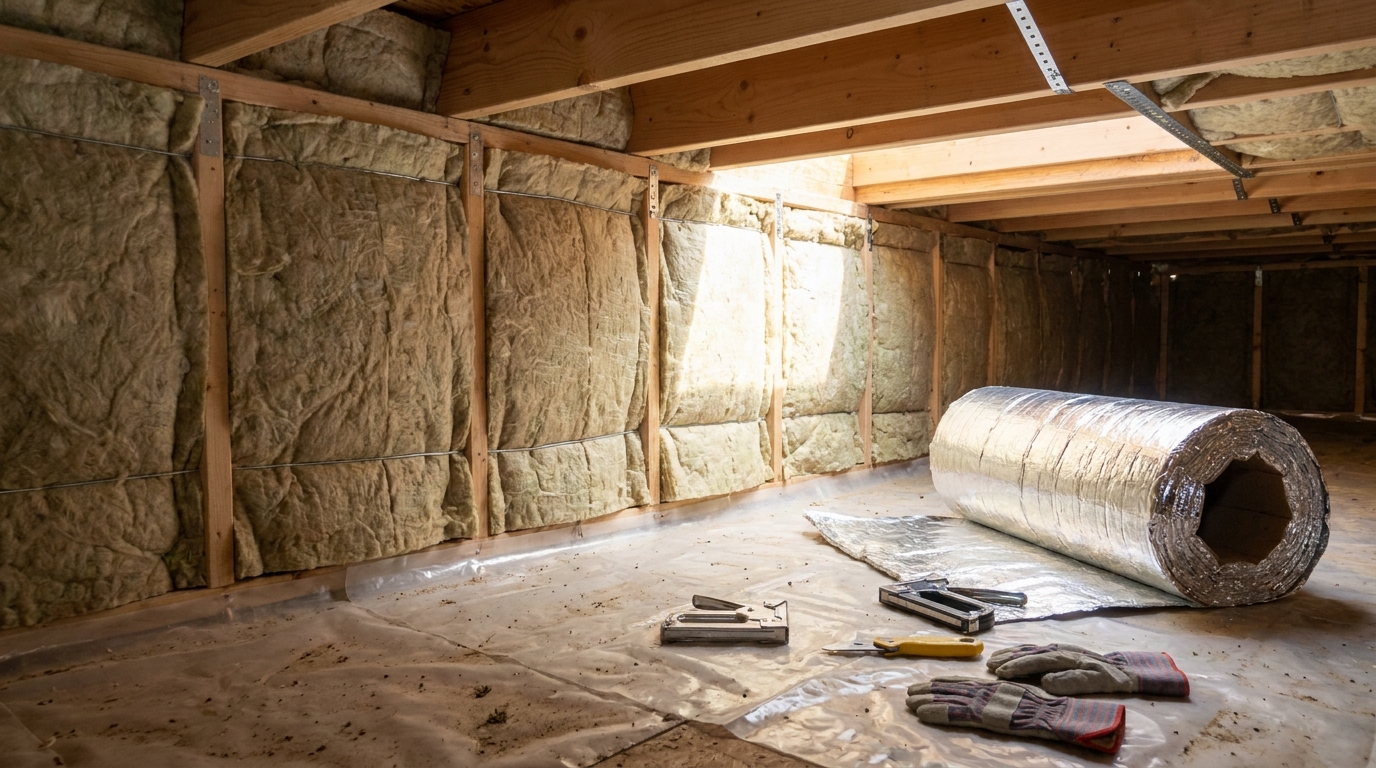
To keep fiberglass batt insulation from falling out of crawlspace joists, you must secure it every 16 inches (40 cm) using spring-loaded steel insulation wires or a continuous zigzag of nylon twine stapled to the wood. Friction-fitting is never enough; gravity, subtle foundation vibrations, and crawlspace moisture will eventually pull unsecured batts down to the dirt. If you are using Kraft-faced batts, the paper vapor retarder must be pushed completely flat against the warm subfloor above you, never facing down toward the cold ground. Installing it upside down traps moisture inside the fiberglass, turning the insulation into a heavy, soggy sponge that rots your floor joists and guarantees the batts will collapse.
- Always place the paper facing (vapor retarder) flat against the warm subfloor above, never pointing down toward the dirt.
- Support batts every 16 inches (40 cm) using steel wire stays (tiger teeth) or a stapled nylon twine zigzag pattern.
- Never compress fiberglass; an R-19 batt squeezed into a cavity too small for its 6.25-inch (15.8 cm) thickness loses its thermal resistance.
- Expect to spend between $0.80 and $1.50 per square foot for DIY materials in 2026, saving up to $2,500 over professional installation.
Which Way Should the Paper Facing Go in a Crawlspace?
The single most destructive mistake a homeowner can make in a crawlspace is installing Kraft-faced insulation upside down. The paper side of a fiberglass batt is a vapor retarder. Building science dictates that vapor retarders must always go on the "warm in winter" side of an assembly. In a floor above an unheated crawlspace, that means the paper must be pressed tightly against the plywood subfloor of your heated house.
If you install the batts with the paper facing down toward the dirt, you create a moisture trap. Warm, humid air from your living space will move down through the floor, pass easily through the fluffy fiberglass, and hit the cold paper backing. Once it hits that cold surface, it condenses into liquid water. Over a single winter, this trapped condensation will soak the fiberglass, causing it to tear away from the staples and fall out in heavy, moldy clumps. More dangerously, it will rot your floor joists from the inside out.
- Push the paper side tightly against the underside of the floor above.
- Staple the paper flanges to the sides of the joists to hold it in place temporarily.
- If your crawlspace is completely encapsulated and conditioned, use unfaced batts to allow the assembly to breathe freely.
What R-Value and Batt Thickness Do You Actually Need?
Your joist depth determines your insulation thickness, and that thickness dictates your maximum R-value. You cannot cheat the math. Modern fiberglass requires a specific amount of loft (trapped air) to block heat transfer. If your house has standard 2x8 floor joists, which are actually 7.25 inches (18.4 cm) deep, your ideal choice is an R-19 batt. R-19 batts are precisely 6.25 inches (15.8 cm) thick, leaving a beneficial 1-inch (2.5 cm) air gap between the bottom of the insulation and the open crawlspace.
If you have 2x10 joists, step up to R-30 insulation, which is 9.5 inches (24.1 cm) thick. Never try to shove an R-30 batt into a 2x8 joist bay. Compressing fiberglass destroys the microscopic air pockets that do the actual insulating. An R-30 batt crushed into a 7.25-inch (18.4 cm) space will perform closer to an R-15, meaning you spent more money for a worse result.
- 2x6 joists: Use R-15 batts (3.5 inches / 8.9 cm thick).
- 2x8 joists: Use R-19 batts (6.25 inches / 15.8 cm thick).
- 2x10 joists: Use R-30 batts (9.5 inches / 24.1 cm thick).
- 2x12 joists: Use R-38 batts (12 inches / 30.5 cm thick).
How Do You Mechanically Fasten the Batts So They Don't Fall?
Friction will hold a perfectly cut batt between joists for about ten minutes—just long enough for you to crawl away before it falls on your back. To permanently secure crawlspace insulation, you must use mechanical fasteners. The industry standard is spring-loaded steel wire stays, often called "tiger teeth" or "lightning rods." These wires are cut slightly longer than the joist bay width (e.g., a 15.5-inch wire for a 14.5-inch cavity). You bow them upward, slip them between the joists, and release. The sharp ends bite into the wood, holding the batt securely.
Space the wire stays every 12 to 16 inches (30 to 40 cm) along the length of the batt. When pushing the wires up, stop as soon as they lightly touch the surface of the fiberglass. Do not push the wire so hard that it crushes the insulation up into the cavity, as this causes the compression failure we discussed earlier. At the ends of the batts, place a wire stay no more than 3 inches (7.6 cm) from the cut edge to prevent the tail from sagging.
- Wear heavy leather gloves when handling wire stays to prevent the sharp points from puncturing your hands.
- If your joist bays are irregular or not perfectly 16 inches on center, buy a spool of nylon twine and use a staple gun to zigzag the twine tightly back and forth across the bottom of the joists.
- Never use duct tape, packing tape, or cheap staples directly into the fiberglass—they will fail within weeks in a damp environment.
What Is the Most Common Installation Failure?
Aside from installing the vapor retarder upside down, the most common DIY failure is leaving gaps at the rim joist. The rim joist is the perimeter band of wood that sits on top of your foundation wall. If you perfectly insulate the floor above but leave the perimeter rim joist exposed, cold winter air will simply bypass your floor insulation, dropping the temperature of your hardwood or tile floors by 10 to 15 degrees Fahrenheit.
Instead of stuffing loose fiberglass against the rim joist—where it will inevitably absorb foundation moisture and sag—the modern best practice is to cut blocks of 2-inch (5 cm) rigid extruded polystyrene (XPS) foam board. Cut the blocks to fit snugly against the rim joist inside each bay, and seal the perimeter of each block with expanding spray foam. This creates an airtight, waterproof thermal break before you ever unroll your first fiberglass batt.
How Do Pros Handle Pipes and Wiring Differently Than Beginners?
When a beginner hits a PVC drain pipe or a bundle of electrical wires running across the middle of a joist bay, their instinct is to push the whole batt completely behind the pipe. This severely compresses the fiberglass and leaves the bottom of the pipe exposed to freezing crawlspace air.
A seasoned professional makes a judgment call based on the utility. For plumbing lines that need to be protected from freezing, the pro takes a utility knife and slices the batt horizontally, like slicing a hot dog bun. They slip half of the batt behind the pipe to insulate it from the cold subfloor, and drape the other half over the front of the pipe, burying it in the center of the insulation. This fully encapsulates the pipe, keeps it inside the heated envelope of the house, and allows the batt to maintain its full uncompressed thickness.
- Slice batts horizontally to sandwich plumbing lines and keep them warm.
- For small electrical wires, simply make a shallow 1-inch (2.5 cm) slit in the back of the batt and press the batt gently over the wire.
- Never pack fiberglass tightly around recessed lighting fixtures from the floor above unless the fixtures are explicitly rated IC (Insulation Contact).
What Are the Real Costs for Crawlspace Insulation in 2026?
Insulating a crawlspace yourself is miserable, itchy work, but the financial payoff is massive. In 2026, high-quality R-19 Kraft-faced fiberglass batts cost between $0.80 and $1.20 per square foot. A box of 500 steel wire stays—enough to do an entire house—costs about $45 to $60. For a standard 1,200-square-foot (111 sq m) crawlspace, your total material cost for batts, wires, utility knife blades, a good respirator, and tyvek suit will run between $1,100 and $1,500.
Hiring a professional insulation contractor to do the exact same job in 2026 will cost between $2.50 and $4.50 per square foot, bringing the total to $3,000 to $5,400. While the pro will finish the job in a single day compared to your long weekend, doing it yourself guarantees that no corners are cut behind pipes or ductwork, and leaves thousands of dollars in your pocket.
| Support Method | Cost per 100 Sq Ft (2026) | Pros | Cons |
|---|---|---|---|
| Steel Wire Stays (Tiger Teeth) | $4 - $6 | Fastest installation, securely bites into wood, easy to adjust. | Can compress insulation if pushed too high, sharp ends require gloves. |
| Nylon Twine Zigzag | $2 - $3 | Extremely cheap, works perfectly on irregular joist spacing. | Labor-intensive, requires hundreds of staples, hard to adjust later. |
| Wood Furring Strips | $15 - $25 | Incredibly strong, permanent, no sag. | Expensive, adds weight, requires cutting lumber in a tight space. |
| Friction Fit Only | $0 | Requires no extra materials. | 100% failure rate; batts will eventually fall to the ground. |
Frequently asked questions
Can I use expanding foam spray instead of fiberglass in my crawlspace?
Yes, closed-cell spray foam provides superior air sealing and R-value, but it must be applied directly to the underside of the subfloor by professionals. It is significantly more expensive (around $3 to $5 per square foot in 2026) and permanently coats your plumbing and wiring, making future repairs difficult.
Should I remove old, sagging insulation before putting up new?
Absolutely. Old insulation that has fallen is likely contaminated with rodent droppings, mold, or moisture. Trying to shove it back up or trap it under new insulation will trap that moisture and debris against your joists. Bag it in heavy-duty contractor bags, sweep the bays clean, and start fresh.
What protective gear is strictly necessary for this job?
You must wear a NIOSH-approved N95 or P100 respirator to prevent inhaling fiberglass particles, which can cause lung damage. Additionally, wear safety goggles (not just glasses) to protect your eyes from falling dust, a disposable Tyvek suit with a hood, heavy work gloves, and kneepads for crawling on the dirt or gravel.
Should I insulate the floor joists if my crawlspace walls are insulated?
If your crawlspace is fully encapsulated—meaning the dirt is covered with a sealed 20-mil plastic barrier, the foundation walls are insulated with rigid foam, and the space is conditioned (vented to the home's HVAC)—you generally do not need to insulate the floor joists. Doing both is redundant and wastes money.
Keep reading
- How Much Paint Do You Actually Need for a Room?The tin says 400 square feet. Your wall says otherwise. Here is the arithmetic that actually holds up.
- DIY or Hire a Pro? A Decision Framework That Is Not About MoneyThe labour saving is real. So is the cost of a job done twice — and of tools you use once.
- Storage for Small Rooms That Does Not Make Them SmallerSmall rooms do not need more storage. They need storage that stops interrupting the eye.