How Do You Drill Through Porcelain and Ceramic Tile Without Cracking It?
By Jim Vernon · 8 min read · Last updated
A single cracked tile turns a ten-minute towel bar installation into a weekend-long demolition project.
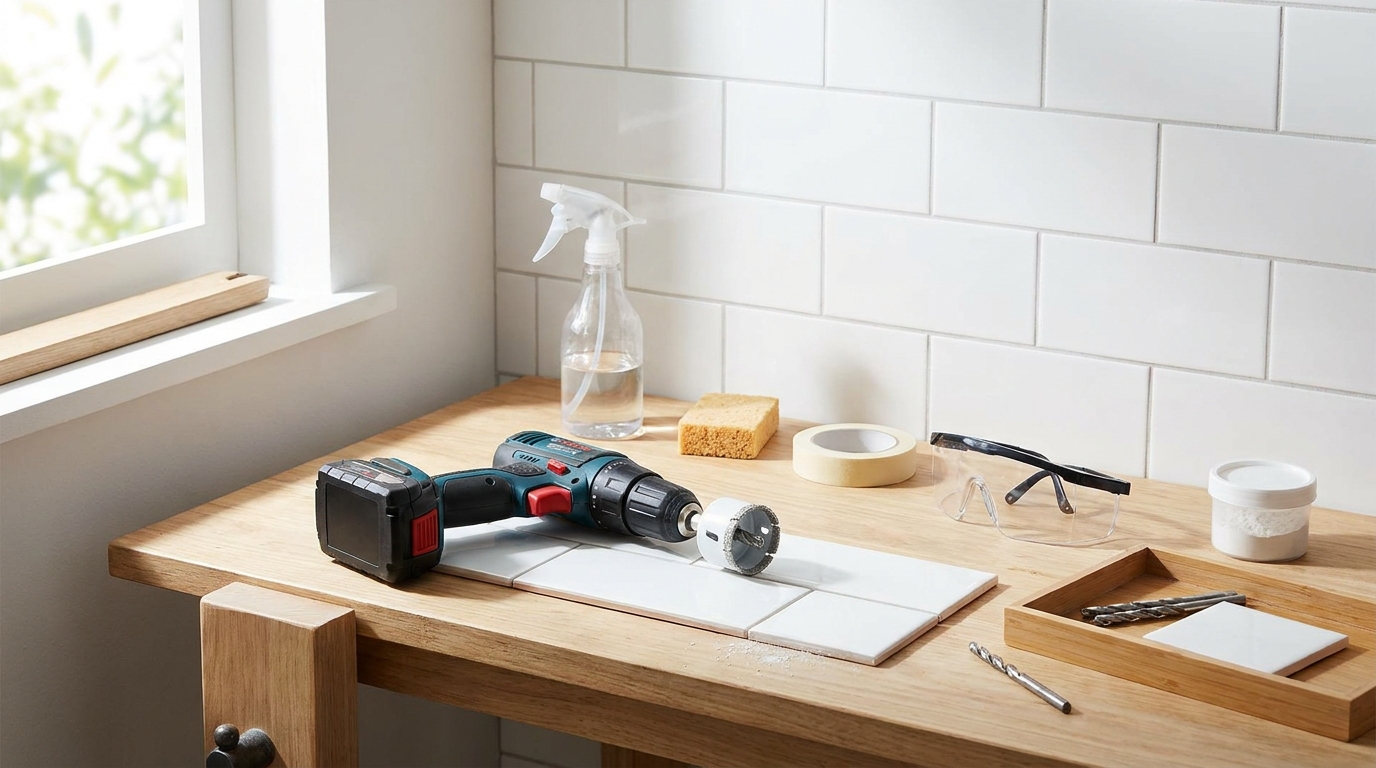
To drill through tile without cracking it, you must use a diamond-tipped hole saw or a carbide-tipped spear point bit, run your drill at a low speed of 200 to 400 RPM, and keep the bit constantly wet. Never use a standard wood or metal drill bit, and keep your drill strictly on the standard rotation setting rather than the hammer function. The water cools the friction heat that causes the tile's glaze to fracture, while the specialized bit grinds rather than cuts through the dense clay. Understanding the material density of your specific tile and controlling the temperature of your drill bit will guarantee a clean, perfectly round hole every time.
- Identify whether your tile is ceramic or porcelain to choose the right drill bit.
- Use diamond core bits for porcelain and carbide spear-point bits for ceramic.
- Never use the hammer function on your drill under any circumstances.
- Keep drill speeds between 200 and 400 RPM to prevent the bit from overheating and burning out.
- Use a continuous spray of water or a putty dam to cool the bit and prevent thermal shock to the tile.
- Apply masking tape or use a wooden template to prevent the drill bit from skating across the smooth glaze.
What is the difference between drilling ceramic and porcelain tile?
Before you touch a drill, you must identify whether your wall or floor is covered in ceramic or porcelain tile, because the two materials require entirely different approaches. Ceramic tile is fired at temperatures around 1,800 degrees Fahrenheit (982 degrees Celsius). It consists of a relatively soft, porous clay biscuit topped with a hard glass-like glaze. Once you break through the initial glaze, a standard carbide-tipped tile bit will easily cut through the softer clay underneath.
Porcelain tile is fired at much higher temperatures, typically between 2,200 and 2,500 degrees Fahrenheit (1,204 and 1,371 degrees Celsius), and is made from more refined clays. This process makes porcelain exceptionally dense, non-porous, and rock-hard all the way through. If you try to use a standard ceramic drill bit on porcelain, the bit will glow red hot, dull its edges within seconds, and ultimately fracture the tile from extreme heat buildup. If the unglazed edge of your tile is pure white or perfectly matches the top color, it is almost certainly porcelain and requires heavier-duty tooling.
- Ceramic tile has a softer core and can be drilled with carbide-tipped spear bits.
- Porcelain tile is dense throughout and strictly requires diamond-tipped core bits.
- You can usually identify porcelain by its uniform color through the entire cross-section of the tile.
Which drill bits actually work for tile?
Standard twist bits designed for wood or metal rely on sharp flutes to shave away material. On a tile's glass-like surface, these bits will instantly skate across the glaze, burn up, and snap the tile. You need a bit designed to grind the material into a fine powder rather than slice it. A common judgement call separates professionals from beginners here: beginners often buy a cheap 8 dollar "glass and tile" spear-point bit because it seems economical, but when they hit a porcelain shower wall, that bit burns up in 30 seconds. A pro skips the frustration and buys a hollow diamond core bit, which costs more but easily grinds through the densest porcelain while running cooler.
For ceramic tiles, carbide-tipped spear-point bits are excellent and budget-friendly. They look like a tiny arrowhead and are designed to pierce the hard top glaze before scraping out the softer clay below. For porcelain, natural stone, or thick floor tiles, you must use a diamond-tipped hole saw, often called a diamond core bit. These are hollow metal tubes with industrial diamond dust brazed onto the rim. They grind a perfect circular channel through the tile, leaving a solid core behind.
- Carbide-tipped spear-point bits: Best for soft ceramic; typically cost 5 to 12 dollars in 2026.
- Diamond-tipped core bits: Essential for porcelain and granite; cost 15 to 35 dollars depending on the diameter.
- Avoid aggressive masonry bits with pronounced flutes, as they can catch the edge of the hole and chip the glaze.
How do you keep the drill bit from wandering on smooth tile?
The glaze on bathroom and kitchen tile is incredibly slick. If you simply point a spinning drill bit at the tile and pull the trigger, the bit will instantly skate across the surface, leaving a deep, permanent scratch across your wall before it ever bites into the material. You need a physical barrier or a specialized starting technique to hold the bit steady for the first 30 seconds of drilling.
The easiest method for carbide spear bits is the tape trick. Place two layers of heavy-duty masking tape or painter's tape directly over your mark. The coarse texture of the tape gives the bit just enough initial traction to stay centered while it grinds through the glaze. For diamond core bits, which have no center point to anchor them, you must use a different technique. Start the drill at a 45-degree angle to the tile, resting the edge of the bit against the surface to carve a tiny crescent-shaped groove. Once that groove is established, slowly tilt the spinning drill upright to a 90-degree angle to finish the hole. Alternatively, drill a hole through a 1/2-inch (1.3 cm) scrap of plywood, then tape that wood over the tile to act as a physical guide fence for the bit.
- Use two layers of painter's tape to provide traction for pointed carbide bits.
- Start diamond core bits at a 45-degree angle to carve an anchoring groove, then tilt to 90 degrees.
- Use a pre-drilled scrap of wood as a guide template to trap hollow bits and prevent wandering.
Why is water critical when drilling tile?
Heat is the absolute enemy of tile installation. Friction from a dry, spinning drill bit causes the immediate area of the tile to expand rapidly. This localized thermal expansion creates micro-fractures in the clay body. A very common failure mode is drilling dry, hearing a high-pitched squeal from the bit, and then suddenly watching a hairline crack shoot entirely across the wall. The only way to avoid this is through constant water cooling.
Water acts as both a coolant and a lubricant, flushing away the abrasive ceramic dust while keeping the bit temperature low. If you are drilling into a vertical wall, fill a spray bottle with cold tap water and have a helper spritz the drill bit directly every 10 to 15 seconds while you work. If you are drilling horizontally into a floor tile, roll a piece of plumber's putty into a snake, press it into a ring around your mark, and pour 1/4 inch (0.6 cm) of water into the center to create a continuous cooling pool for the bit.
- Spritz wall tiles with a spray bottle of water every 10 to 15 seconds during drilling.
- Build a temporary dam out of plumber's putty to hold water over floor tiles.
- Keep a cup of cold water nearby to dunk the bit into whenever you stop to clear debris.
How much pressure and speed should you use?
When drilling tile, patience is a requirement. Pushing hard against the back of your drill flexes the rigid tile inward against the hollow wall cavity behind it, which is a guaranteed way to snap it in half. You must let the abrasive grit of the bit do the work. Apply no more than 5 to 8 pounds (2.2 to 3.6 kg) of forward pressure, which is just enough force to keep the bit engaged with the material.
High drill speeds will destroy your bit and your tile. Run your cordless drill strictly between 200 and 400 RPM, which is usually speed setting 1 on most modern tools. Pulsing the drill trigger on and off rather than holding it down continuously gives the bit brief moments to shed heat. If the water you are spraying onto the bit starts to instantly boil or steam, you are spinning too fast or pushing too hard.
- Keep drill speeds low, ideally between 200 and 400 RPM.
- Apply only 5 to 8 pounds (2.2 to 3.6 kg) of forward pressure to avoid flexing the tile.
- Pulse the trigger to manage heat and allow water to flush the cutting groove.
What happens when you hit the drywall or stud behind the tile?
Once you grind through the final millimeter of the tile, you will feel the resistance drop immediately. You must stop pushing forward the second you feel this breakthrough. A common mistake is continuing to drive a wet diamond core bit straight into the drywall and the wood wall stud behind it. Wood fibers will instantly clog the hollow center of the diamond bit, causing it to burn the wood, ruin the diamond abrasive, and create a massive mess.
Once the tile is penetrated, pull the drill back, clear out the ceramic core, and switch to a standard wood or metal twist bit. Use this standard bit to drill your pilot hole into the wall stud or to clear out the drywall for a toggle anchor. When installing your hardware, ensure your wall anchors or screws pass entirely through the tile so that the expanding pressure of the anchor is applied to the drywall or stud, not the brittle edges of your newly drilled tile hole.
- Stop forward pressure immediately when the bit breaks through the back of the tile.
- Switch to a standard twist bit to drill into the wood stud or drywall behind the tile.
- Never allow an expanding wall anchor to grip the inside edges of the tile hole, as tightening it will crack the glaze.
| Bit Type | Best For | 2026 Cost Range | Water Cooling Required |
|---|---|---|---|
| Carbide Spear-Point | Ceramic, Glass | $5 - $12 | Yes (Moderate) |
| Diamond Core / Hole Saw | Porcelain, Granite | $15 - $35 | Yes (High) |
| Standard Masonry Bit | Concrete, Brick (Not Tile) | $4 - $10 | No |
| Twist Bit (Wood/Metal) | Do Not Use on Tile | $2 - $8 | N/A |
Frequently asked questions
Can I use the hammer drill setting on tile?
Never use the hammer setting on tile. The rapid hammering action acts like a tiny mechanical chisel and will instantly shatter ceramic and porcelain tile. Always verify your drill is set to the standard rotary drilling mode.
How do you fix a tile if it cracks while drilling?
You cannot seamlessly repair a cracked tile. Once a crack propagates, the structural integrity is compromised. You must chisel out the broken tile, carefully scrape away the old thinset, install a replacement tile, and re-grout the joints.
What type of wall anchor works best through tile?
Use a flanged plastic toggle anchor or a metal toggle bolt. The plastic flange rests lightly on the surface of the tile, preventing the anchor from slipping entirely behind the wall cavity, while the toggle wings grab the drywall behind the tile rather than expanding against the brittle ceramic edges.
Keep reading
- How Much Paint Do You Actually Need for a Room?The tin says 400 square feet. Your wall says otherwise. Here is the arithmetic that actually holds up.
- DIY or Hire a Pro? A Decision Framework That Is Not About MoneyThe labour saving is real. So is the cost of a job done twice — and of tools you use once.
- Storage for Small Rooms That Does Not Make Them SmallerSmall rooms do not need more storage. They need storage that stops interrupting the eye.