The DIY Home Energy Audit: What to Check Before You Call a Pro
By Jim Vernon · 5 min read · Last updated
Most energy waste in a house is boring and findable with a flashlight and an hour of your time.
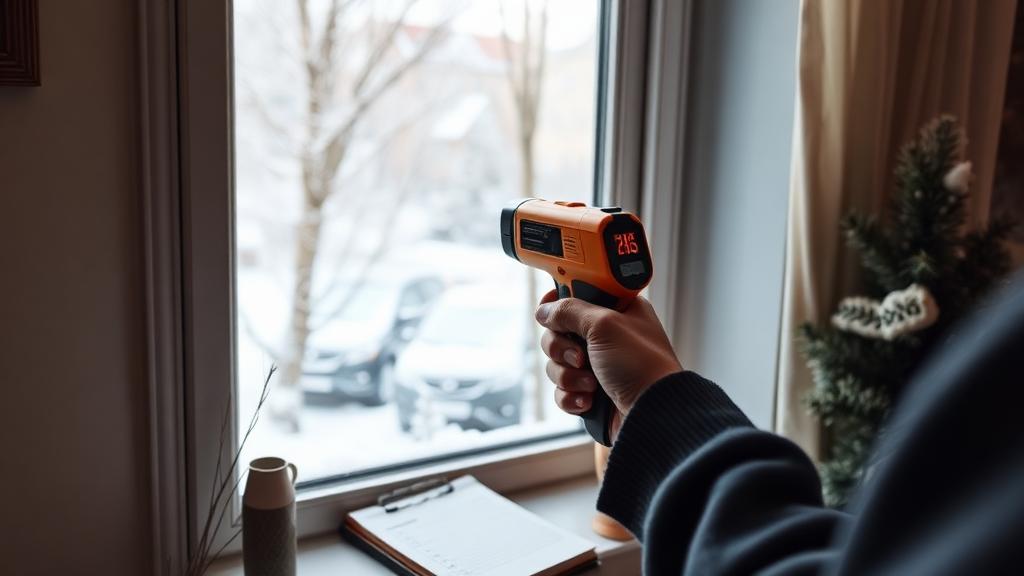
A professional blower-door audit is worth the money if you want precise numbers, but a large share of the easy wins are visible without any equipment. The goal of a DIY pass is to find the obvious losses first, so any paid audit that follows is confirming detail rather than starting from zero.
Start with the envelope, not the equipment
Air leaks lose more energy in most houses than an inefficient furnace or an old water heater. On a windy or cold day, walk the house with the back of your hand near likely gaps: window and door frames, electrical outlets on exterior walls, the attic hatch, and where pipes or cables pass through the foundation.
- Attic hatch or pull-down stairs — usually unsealed and uninsulated even in otherwise well-insulated homes.
- Rim joists in the basement, where the foundation meets the wood framing.
- Recessed lighting fixtures in insulated ceilings, especially older non-IC-rated cans.
- Dryer vent flaps and bathroom exhaust fan dampers that fail to close fully.
- Weatherstripping around exterior doors, checked for a visible light gap or a paper-pull test.
Check insulation depth where you can see it
In an unfinished attic, insulation depth is a rough but useful proxy for R-value. Lay a tape measure flat on top of the insulation in two or three spots. If joists are visible above the insulation line, you are under most current recommendations for most climates.
| Insulation type | Approx. R-value per inch | 12 in. depth ≈ |
|---|---|---|
| Fiberglass batt | R-3.1 to R-3.4 | R-37 to R-41 |
| Blown fiberglass | R-2.2 to R-2.7 | R-26 to R-32 |
| Blown cellulose | R-3.2 to R-3.8 | R-38 to R-46 |
| Rigid foam board | R-4 to R-6.5 | R-48 to R-78 |
Find phantom electrical loads
Devices left in standby draw power around the clock. A cheap plug-in watt meter, moved between a TV setup, a desktop computer, a game console, and a coffee maker with a clock, usually turns up a few devices drawing 5-15 watts continuously for no active use — small individually, but constant for 8,760 hours a year.
Look at the water heater and HVAC without touching them
- Check the water heater's age against its typical service life; tanks over 10-12 years old are worth budgeting to replace before they fail.
- Look at the furnace or air handler filter — a filter you cannot see through is restricting airflow and raising energy use.
- Note the thermostat setback schedule, if any. A programmable or smart thermostat with no schedule set is providing zero benefit over a manual dial.
When to bring in a professional
A blower-door test quantifies total air leakage in a way a hand-check cannot, and infrared thermal imaging finds hidden insulation gaps inside finished walls. Both are worth paying for if you are about to do major insulation or window work and want to prioritize spending, or if utility bills seem high relative to a similarly sized home and the visible checks above found nothing obvious.
Checking doors and windows for cost-effective sealing wins
Not every drafty window needs replacement. Before assuming a big-ticket fix, test each exterior door and window individually: close a dollar bill or a strip of paper in the frame and pull gently. If it slides out with little resistance, the seal there is weak. This simple test, repeated at several points along each frame, tells you exactly which units need new weatherstripping or fresh caulk rather than guessing based on how a room feels.
- Exterior door thresholds — check for a visible gap under the door with a flashlight held outside at night while someone holds a light inside.
- Storm windows and doors, if present — confirm they close and latch fully, since a storm door left ajar provides none of its intended benefit.
- Caulk lines around window trim, both inside and outside, looking for cracking or separation from the wall surface.
Estimating the payback before you spend money
Once you've logged the leaks, insulation gaps, and phantom loads you found, it helps to rank them by rough cost-to-fix versus expected savings rather than tackling whichever is most visible first. Air sealing and weatherstripping are usually the cheapest fixes with the fastest payback, often under a year. Attic insulation top-ups pay back over a few years depending on climate and current depth. Big-ticket items like window replacement or a new HVAC system have the longest paybacks and are best planned for equipment end-of-life rather than justified by energy savings alone.
| Fix | Typical cost | Typical payback speed |
|---|---|---|
| Weatherstripping / caulking gaps | Low | Fast — often under a year |
| Adding attic insulation to a thin layer | Medium | Moderate — a few years |
| Sealing ductwork in an unconditioned space | Medium | Moderate |
| Replacing an aging water heater proactively | Medium-High | Slow, mostly avoids failure cost |
| Full window replacement for energy savings alone | High | Slow, often beyond window lifespan |
How much can a DIY audit actually save?
Sealing obvious air leaks and adding attic insulation to a currently under-insulated home commonly cuts heating and cooling costs by 10-20%, though results vary with climate and how leaky the house was to start.
Is a smoke pencil or incense stick a good leak-finding tool?
Yes — the smoke drifts visibly in even a small draft that your hand might not detect, and it is inexpensive. Use it near window frames, outlets, and the attic hatch on a windy day for the clearest results.
Should I air-seal before or after adding insulation?
Always seal air leaks first. Insulation slows heat transfer but does not stop moving air, so sealing gaps and then insulating over them gets the benefit of both; insulating over unsealed gaps wastes some of the insulation's effect.
Do I need special equipment to find drafts, or will my hand work?
Your hand works for larger, obvious drafts. A smoke pencil, a lit incense stick, or even a lightweight tissue held near suspect spots reveals smaller leaks your hand would miss, and none of these tools cost much.
How long does a full DIY walkthrough usually take?
Budget an hour to ninety minutes for a typical house: about 30 minutes for the envelope walkthrough, 15-20 minutes in the attic checking insulation depth, and the rest checking phantom loads and the water heater/HVAC condition.
Run the numbers for your own project
- Energy Savings CalculatorWill this upgrade pay for itself?
- Insulation R-Value CalculatorWhat R-value do I need, and how much?
- Insulation Cost Payback CalculatorHow long until attic insulation pays for itself?
Keep reading
- How Much Paint Do You Actually Need for a Room?The tin says 400 square feet. Your wall says otherwise. Here is the arithmetic that actually holds up.
- DIY or Hire a Pro? A Decision Framework That Is Not About MoneyThe labour saving is real. So is the cost of a job done twice — and of tools you use once.
- Storage for Small Rooms That Does Not Make Them SmallerSmall rooms do not need more storage. They need storage that stops interrupting the eye.