How Do You Match Drywall Texture So a Repair Actually Disappears?
By Jim Vernon · 5 min read · Last updated
Texture matching is the step DIYers skip, and it's the one that makes a patch visible from across the room.
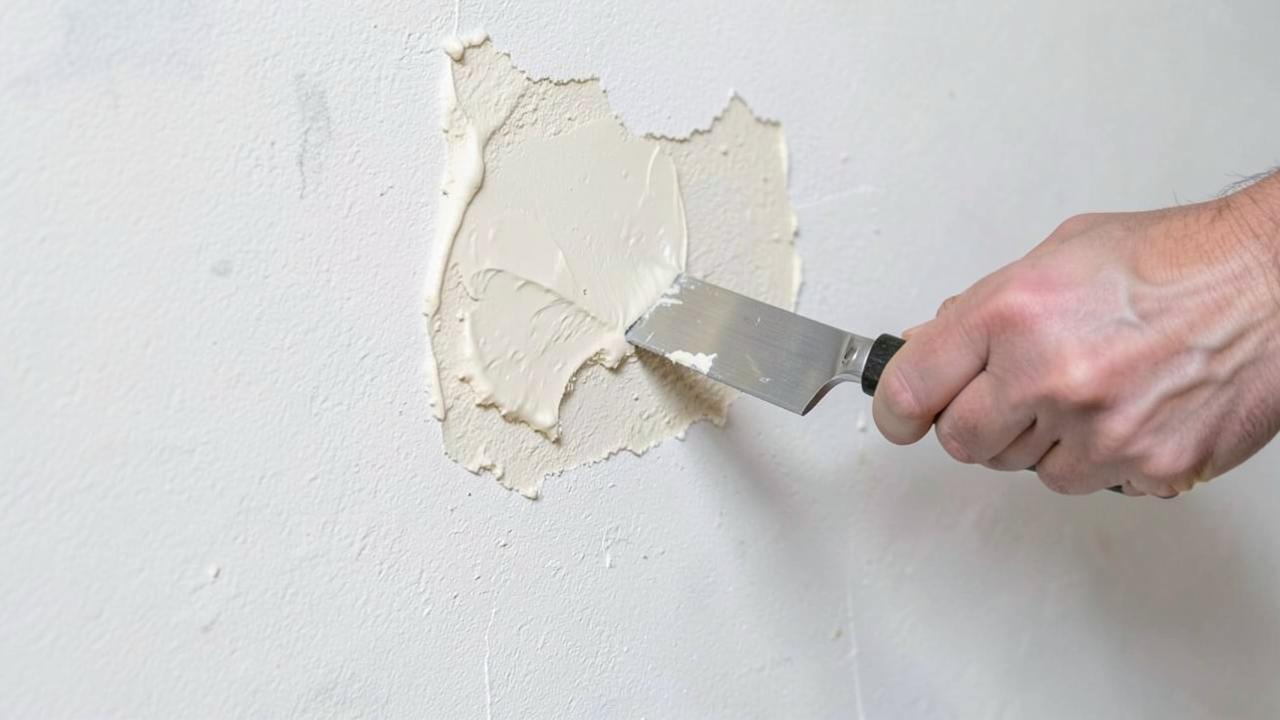
A drywall repair disappears only if the texture over the patch matches the surrounding wall's pattern, density, and thickness — not just its smooth patch surface. The process is identify the existing texture type (orange peel, knockdown, popcorn, or smooth skim coat), reproduce it with the right tool and technique on the patch, then feather and blend before painting the whole wall or repainting corner-to-corner.
How do you identify what texture you're matching?
| Texture type | Look | Common tool to reproduce |
|---|---|---|
| Orange peel | Fine, even bumpy stipple like an orange rind | Hopper gun with fine nozzle, or aerosol texture can |
| Knockdown | Mottled, flattened splotches with visible flat spots | Hopper gun, then flatten with a wide knife after 10-20 min |
| Popcorn/acoustic | Heavy, irregular clumped texture (often pre-1990s ceilings) | Aerosol popcorn texture or hopper with coarse mix |
| Skip trowel | Random thin, flat trowel marks with texture between | Trowel applied in random strokes, partially flattened |
| Smooth/skim coat | No visible texture, fully flat | Skim coat with a wide taping knife, sanded smooth |
What's the actual repair sequence?
- Cut back damaged drywall to a clean rectangle or use a california patch/butterfly patch for holes under 6 inches.
- Tape seams with paper or mesh tape and apply 2-3 coats of joint compound, sanding with 150-220 grit between coats, feathering each coat 2-3 inches wider than the last.
- Prime the patch area (spot priming prevents the patch from flashing a different sheen once painted).
- Test texture technique on a scrap piece of drywall or cardboard first, matching spray distance, air pressure, or trowel angle to the surrounding wall.
- Apply texture to the patch, feathering it into the surrounding texture rather than stopping at a hard edge.
- Let texture dry fully (typically 4-24 hours depending on thickness and humidity) before priming and painting.
Why do small aerosol texture cans often look wrong?
Aerosol texture cans ($8-$15 each) spray a fixed pattern density that rarely matches a wall's actual texture, which was likely applied with a hopper gun at a specific air pressure and nozzle size by the original crew. Aerosol cans work reasonably well for small popcorn ceiling touch-ups and very fine orange peel, but for knockdown or heavier textures, a rented hopper gun ($25-$40/day) with adjustable settings gives far more control to match density and splotch size.
Why does the repair look fine wet but obvious once painted?
Compound and fresh texture absorb paint differently than the older, more porous surrounding surface until it's properly primed — this shows up as 'flashing,' a slightly different sheen or color visible under raking light even with matching paint. Spot-priming the patch with a PVA or drywall primer before topcoat, then painting the full wall corner-to-corner rather than just the patch, eliminates almost all flashing issues.
Does the type of joint compound used affect the texture result?
Lightweight, pre-mixed joint compound (the standard bucket type) works fine for most spray textures, but heavier hand-applied textures like skip trowel or thick knockdown often need setting-type compound (the powder mixed with water, sold in bags labeled by set time such as '20-minute' or '45-minute mud') because it builds thickness without sagging or cracking. Using the wrong compound for a heavy texture is a common reason DIY skip-trowel patches crack or slump before they can be flattened into the right shape.
How much does professional texture matching cost versus DIY?
A professional drywall repair with texture matching for a single hole (say, a doorknob-sized hole) runs $150-$350 depending on texture complexity and whether a full wall repaint is included. DIY materials run $20-$50 for compound, tape, primer, and a texture can or small hopper rental, but the real cost is the practice time — budget at least one test attempt on scrap material before touching the actual wall.
How do you match texture on a ceiling versus a wall?
Ceiling texture, especially older popcorn or heavy knockdown, is harder to match than wall texture because gravity changes how sprayed material settles and because ceiling lighting rakes across the surface at a low angle, exaggerating any inconsistency. Popcorn ceilings installed before 1980 may contain asbestos in the texture material itself, so any sanding, scraping, or heavy disturbance of an original popcorn ceiling should be preceded by testing a sample, typically $20-$50 through a local lab, before doing repair work that creates dust.
What's the most common reason a texture match still looks slightly off?
Beyond flashing, the most common remaining issue is pattern density — even with the right tool and technique, a hopper gun held at a different distance or angle than the original application produces a subtly different splotch size and spacing. This is why testing on scrap board first matters so much: adjust air pressure, nozzle size, and spray distance until a test patch genuinely disappears next to a sample of the real wall (photograph both under the same raking light) before committing texture to the actual patch, since texture is difficult to remove and redo without starting the whole repair over.
Can I match popcorn ceiling texture without a sprayer?
Aerosol popcorn texture cans work for small repairs under about a 1-foot patch, but larger areas usually need a hopper gun for consistent density and coverage. Note that popcorn texture installed before 1980 may contain asbestos — have it tested before sanding or disturbing large areas.
How long should I wait between texture coats and painting?
Let texture fully dry, typically 4-24 hours depending on thickness and humidity, then prime before painting. Painting over damp texture can trap moisture and cause peeling or a visible color difference once fully dry.
Why does my patch still show even though the texture matches?
This is usually a sheen or 'flashing' issue from unprimed patch compound absorbing paint differently, not a texture problem. Spot-prime the patch and repaint the full wall rather than just the patched section to eliminate the visible line.
Run the numbers for your own project
- Drywall CalculatorHow many sheets of drywall do I need?
- Project Cost EstimatorWhat will this project cost me?
Keep reading
- How Much Paint Do You Actually Need for a Room?The tin says 400 square feet. Your wall says otherwise. Here is the arithmetic that actually holds up.
- DIY or Hire a Pro? A Decision Framework That Is Not About MoneyThe labour saving is real. So is the cost of a job done twice — and of tools you use once.
- Storage for Small Rooms That Does Not Make Them SmallerSmall rooms do not need more storage. They need storage that stops interrupting the eye.