Caulking a Bathroom So It Actually Stays Sealed
By Jim Vernon · 4 min read · Last updated
Most bathroom caulk fails from bad prep, not bad caulk. The tube is rarely the problem.
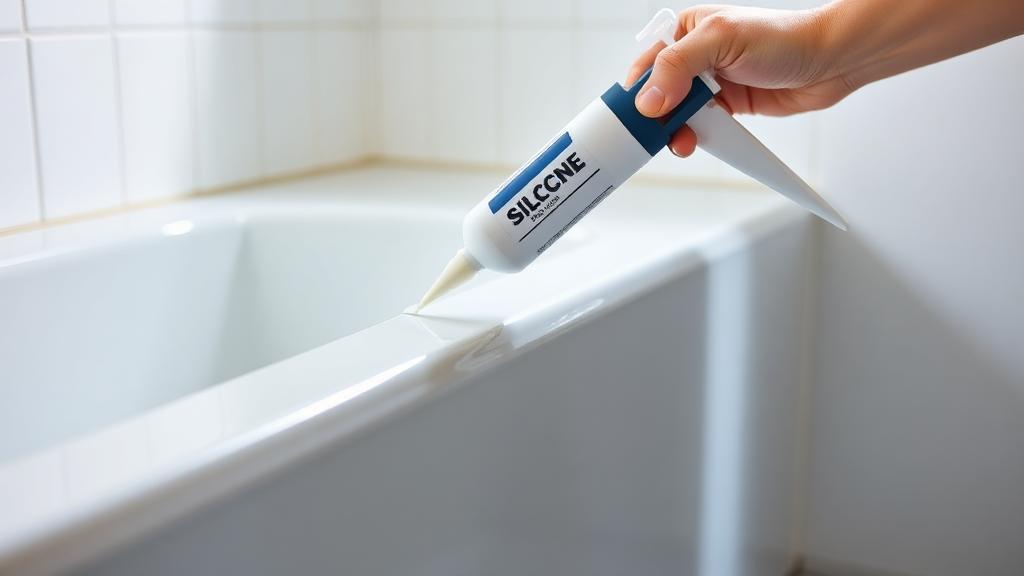
Caulk that peels, blackens, or cracks within a year is almost never a product failure — it is old caulk not fully removed, a wet or greasy surface, or the wrong type of caulk used for a wet area in the first place.
Choose the right type
| Caulk type | Best use | Paintable | Typical lifespan |
|---|---|---|---|
| 100% silicone | Tub/shower joints, sinks, high-moisture seams | No (most formulas) | 5-10 years |
| Siliconized acrylic latex | Trim, low-moisture gaps, painted areas | Yes | 2-5 years |
| Pure acrylic latex | Interior trim, non-wet areas only | Yes | 1-3 years |
| Mold-resistant silicone | Shower and tub surrounds specifically | No | 5-10 years |
Remove the old caulk completely
- Cut along both edges of the old bead with a utility knife.
- Pull the strip away, then scrape remaining residue with a plastic putty knife to avoid scratching tub or tile.
- Use a caulk-softening gel on stubborn silicone residue rather than aggressive scraping.
- Wipe the joint with isopropyl alcohol and let it dry fully — any leftover soap film or old silicone oil will stop new caulk from bonding.
Dry and ventilate before applying
Silicone will not bond well to a damp surface. Run a fan or leave the bathroom door open for a few hours, or better, caulk first thing before anyone showers, and confirm the joint is bone dry by touch before starting.
Cutting the tube and laying the bead
Cut the nozzle at a shallow angle, small enough that the bead matches the gap — over-cutting the tip is the most common reason for a sloppy, oversized bead. Apply steady pressure in one continuous pass rather than starting and stopping, which leaves visible seams.
Tooling for a clean line
- Run a wet finger or a caulk-tooling tool along the bead immediately after applying, in one smooth pass, to press it into the joint and remove excess.
- Keep a damp rag on hand to wipe the tool or finger between passes.
- Painter's tape run along both sides of the joint before caulking gives a crisp edge, removed immediately after tooling and before the caulk skins over.
Cure time before water contact
Most silicone caulks skin over within 30 minutes but need 24 hours of full cure before contact with water. Keep the shower or tub out of use for that period; a caulk exposed to water before it cures can develop a cloudy surface or fail to bond fully.
Preventing early mold return
Worked example: caulking a standard tub surround
A typical tub surround has three joints: two vertical corners and one long horizontal joint where the tub meets the tile. One 10 oz tube of silicone covers all three joints in a standard 5-foot tub with material to spare. Budget about 20 minutes for removal of old caulk, 30-60 minutes of drying and ventilation time, 10 minutes to apply and tool the new bead, and a full 24-hour cure before use — call it a two-hour active project spread across a day.
- Common mistake: caulking over old caulk residue that looks clean but still carries oils that prevent a bond.
- Common mistake: cutting the tube tip too large, producing a thick bead that never sits flush and takes far longer to cure.
- Common mistake: using a partly latex, paintable caulk in a shower stall instead of 100% silicone, then wondering why it fails within a year.
- Common mistake: showering within a few hours of caulking because the bead felt dry to the touch.
Ventilation after the fact matters as much as the caulk type. Running an exhaust fan during and after showers, and wiping down the tub surround occasionally, extends the life of even a standard silicone bead considerably compared to a bathroom with no ventilation at all.
Can I caulk over old caulk if it looks clean?
It is possible but not recommended — new caulk bonds to the old bead rather than the tile or tub surface, and that bond is weaker and prone to peeling sooner.
Why does my silicone caulk keep turning black?
That is usually mold growing in a porous or non-mold-resistant caulk in a consistently damp joint. Removing it, cleaning thoroughly, and reapplying with a mold-resistant silicone formulated for showers usually solves it.
How long should I wait before showering after caulking?
At least 24 hours for silicone, following the specific product's label, since cure times vary by humidity and temperature.
How long should I wait before showering after caulking?
At least 24 hours for silicone, following the specific product's label, since cure times vary by humidity and temperature.
What colour caulk should I use for a tub surround?
Match it to the grout or tile colour rather than the wall paint — clear or white silicone works for most white or light tile, while coloured silicone is available for darker grout lines.
Is it worth using a caulk gun with a cutting mechanism versus a basic one?
For a single bathroom, a basic gun works fine. The added cost of a self-cutting, drip-free gun pays off more clearly for anyone caulking multiple rooms or doing this regularly.
Run the numbers for your own project
- Tile and Grout CalculatorHow many tiles, and how much adhesive and grout?
- Project Cost EstimatorWhat will this project cost me?
Keep reading
- How Much Paint Do You Actually Need for a Room?The tin says 400 square feet. Your wall says otherwise. Here is the arithmetic that actually holds up.
- DIY or Hire a Pro? A Decision Framework That Is Not About MoneyThe labour saving is real. So is the cost of a job done twice — and of tools you use once.
- Storage for Small Rooms That Does Not Make Them SmallerSmall rooms do not need more storage. They need storage that stops interrupting the eye.