What a Room Refresh Actually Costs, Item by Item
By Jim Vernon · 5 min read · Last updated
The changes people notice most are rarely the ones that cost the most.
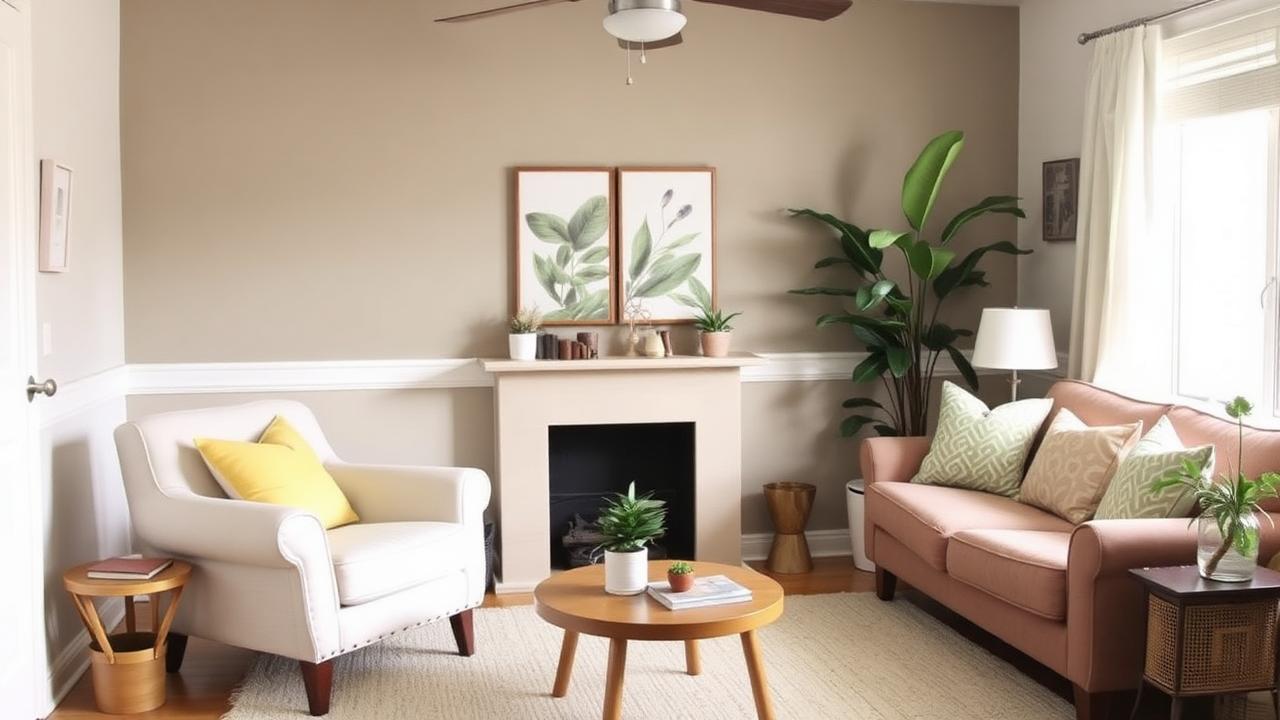
Refresh budgets get eaten by furniture. The elements that actually change how a room reads — light, colour, and the line where the walls meet the floor — are comparatively cheap.
The high-impact, low-cost list
- Repaint walls and ceiling: transforms the room and costs mostly time.
- Replace lighting with warm dimmable LEDs and add two lamps at different heights.
- Fix the rug size — a rug too small makes furniture look adrift.
- Paint or replace tired trim and skirting; the room reads as renovated.
- Change door and cabinet hardware, which is the cheapest upgrade with visible daily contact.
Where the money genuinely goes
| Item | Typical DIY share of budget | Perceived change |
|---|---|---|
| Paint and materials | 10-15% | Very high |
| Lighting and lamps | 10-20% | Very high |
| Flooring | 25-40% | High |
| Window treatments | 10-15% | Moderate |
| Furniture | 30-50% | Moderate per pound spent |
The order that avoids rework
- Anything structural or electrical, including new socket and light positions.
- Ceiling, then walls, then trim — top down, so drips land on unfinished surfaces.
- Flooring, once wet trades are finished.
- Window treatments and fittings.
- Furniture and soft furnishings last, chosen against the finished room.
Worked example: a 12 by 14 foot living room refresh
Repainting the room's roughly 400 square feet of wall in two coats uses about 3-4 gallons of paint. New lighting — one ceiling fixture swap and two floor lamps — typically costs less than a single piece of new furniture. A rug sized correctly for the seating area, so that at least the front legs of every sofa and chair sit on it, is often the item that most changes how put-together the room looks, and it costs a fraction of reupholstering or replacing the sofa itself.
Put together, paint, lighting, and a rug can transform the room's feel for roughly the same money as a single mid-range armchair — which is why sequencing spend on those three before touching the furniture budget produces a visibly different room without visibly different furniture.
What to skip on a tight budget
- Skip replacing sound cabinetry — repaint doors and swap the hardware instead.
- Skip a full re-carpet if the existing carpet is clean and unworn; a large rug can visually reset the floor for far less.
- Skip matching every piece of furniture to a single style; two or three cohesive pieces read better than a full uniform set bought under budget pressure.
- Skip premium paint on ceilings that are already in good condition — a standard flat white performs identically there.
A weekend-by-weekend plan for a typical refresh
- Weekend one: clear the room, patch and sand any wall damage, and prime bare patches.
- Weekend two: paint ceiling, then walls, then trim, working top to bottom.
- Weekend three: fit new lighting and any window treatments once paint has fully cured.
- Weekend four: lay the rug, reposition existing furniture, and add lamps and final accessories.
| Room element | Budget-friendly move | Approximate share of total spend |
|---|---|---|
| Walls and ceiling | DIY paint in a warm neutral | 10-15% |
| Lighting | Swap fixture, add two lamps | 10-20% |
| Floor | Large rug over existing floor | 10-20% |
| Soft furnishings | New cushions and one throw | 5-10% |
| Hardware | New door and cabinet handles | under 5% |
What single change gives the best return in a living room refresh?
Lighting layered at more than one height — a ceiling fixture plus at least one lamp — because most rooms are lit by a single central source that flattens everything and makes furniture and colour look worse than they are.
Should I paint before or after buying new furniture?
Paint first. Wall colour is the cheapest thing to get right and the most expensive to work around afterward if a newly bought sofa or rug clashes with it.
Is it worth refinishing furniture instead of replacing it?
Often yes for solid wood pieces with good bones — a sand and refinish or a new coat of furniture paint costs a small fraction of replacement and can look completely different in a weekend.
How do I avoid overspending once I start?
Fix the total budget and allocate it by category before buying anything, then treat the 15% contingency as genuinely off-limits until a real problem appears — most overspends happen from small, uncosted additions rather than one large mistake.
Buying secondhand for the pieces that do not need to be new
Solid wood furniture, mirrors, and lamp bases hold up well secondhand and are often available at a fraction of retail cost through local listings or reuse marketplaces. Reserve new-purchase budget for items with hygiene or comfort factors that matter more, such as a mattress or a heavily used sofa, and spend the savings on the paint, lighting, and rug that do most of the visual work.
Photographing before and after honestly
- Shoot the before photos from the same spot and height you plan to use for the after shots.
- Use the same time of day and similar natural light for both, since afternoon sun can make an unfinished room look better than a finished one shot at dusk.
- Clear clutter for both shoots equally — an untidy before photo exaggerates the apparent transformation.
- Include one wide shot and one detail shot (like the new hardware or lamp) in both sets.
Small styling details that read as expensive
- Symmetry in accessories — matching lamps or a pair of cushions — reads as more considered than an odd number of mismatched pieces.
- Grouping small items in odd-numbered clusters (three candles, three frames) rather than lining them up individually.
- Layering at least two textures in soft furnishings, such as a woven throw against a smooth cushion cover.
- Keeping surfaces mostly clear — a styled shelf with a few chosen objects looks more finished than one filled edge to edge.
Common budget traps to plan around
The most frequent overspend is buying furniture before the room is finished, then discovering it clashes with a wall colour or rug chosen afterward. The second most frequent is underestimating small consumables — sandpaper, filler, masking tape, paint tray liners — which rarely appear on a materials list but add up to a noticeable sum across a full refresh. Costing these in from the start avoids both traps.
Setting a realistic timeline alongside the budget
A refresh done across evenings and weekends around a full-time job typically takes four to six weeks from first paint stroke to finished styling, longer if trades are needed for electrical or flooring work. Building slack into the timeline, rather than assuming every weekend will go entirely to plan, avoids the rushed final week that is when corners most often get cut on preparation and finishing.
Run the numbers for your own project
- Project Cost EstimatorWhat will this project cost me?
- Paint CalculatorHow much paint do I need for this room?
- Flooring CalculatorHow many boxes of flooring should I buy?
Keep reading
- How Much Paint Do You Actually Need for a Room?The tin says 400 square feet. Your wall says otherwise. Here is the arithmetic that actually holds up.
- DIY or Hire a Pro? A Decision Framework That Is Not About MoneyThe labour saving is real. So is the cost of a job done twice — and of tools you use once.
- Storage for Small Rooms That Does Not Make Them SmallerSmall rooms do not need more storage. They need storage that stops interrupting the eye.