Baseboard and Trim Installation: Getting Corners Right
By Jim Vernon · 4 min read · Last updated
Mitered inside corners look fine on paper and open into visible gaps within a year. Coped corners do not.
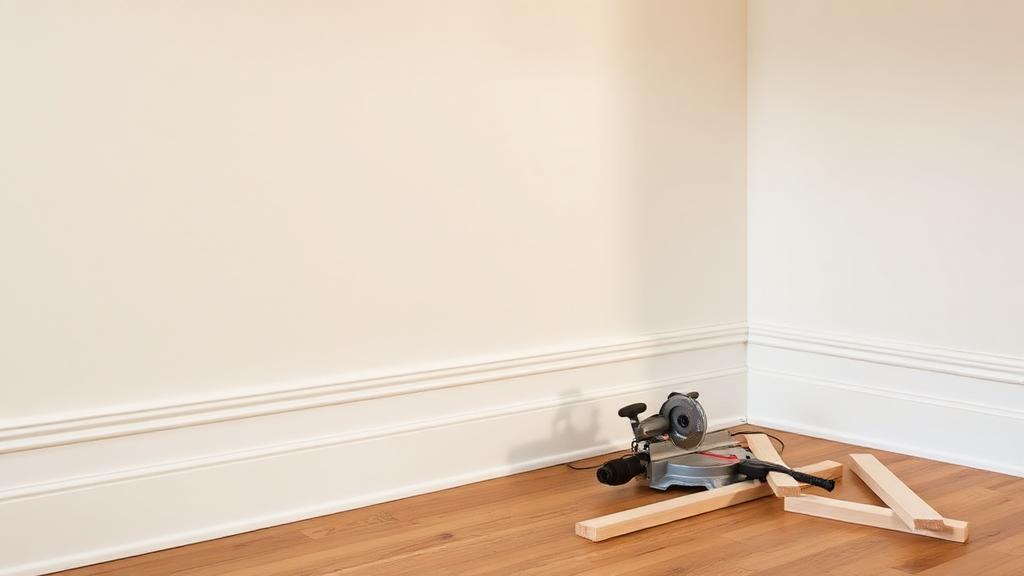
Trim carpentry has a reputation for requiring precise miter cuts, but the corner joint that actually holds up over time on inside corners is a coped joint, not a mitered one — and it is a technique, not a saw setting, which is why it is worth learning even for a DIY project.
Why coping beats mitering on inside corners
Walls are rarely exactly 90 degrees, and even where they start that way, seasonal wood movement opens mitered inside corners into a visible gap over time. A coped joint — where one piece is cut flat into the corner and the second piece is shaped to fit against the profile of the first — tolerates minor wall angle variation and seasonal movement without visibly opening up.
Outside corners still use miters
Outside corners do not have the same movement problem and are cleanly finished with a 45-degree miter on each piece. Measure outside corners carefully since walls can be slightly more or less than 90 degrees — a test cut on scrap material before cutting the finished piece avoids wasting trim.
Coping technique
- Cut the first piece of baseboard square into the corner, butted flush against the adjoining wall.
- Cut the second piece with an inside 45-degree miter cut, which reveals the profile of the trim on the cut face.
- Using a coping saw, cut along that revealed profile line, angling the blade slightly backward to undercut the piece so only the front edge touches the first piece.
- Test-fit against a scrap of the same trim profile, adjusting with a utility knife or sandpaper for any high spots until it seats tightly.
| Corner type | Joint method | Why |
|---|---|---|
| Inside corner | Coped joint | Tolerates wall angle variation and wood movement without gapping |
| Outside corner | 45-degree miter | No movement issue; miter gives a clean visual line |
| Straight run join (long wall) | Scarf joint (angled overlap) | Hides the seam better than a butt joint |
Nailing into studs, not just the wall
Baseboard should be nailed into wall studs wherever possible, with additional nails into the bottom plate for extra hold along the floor line. Relying only on nails into drywall between studs leaves the trim prone to working loose over time, particularly at points that get bumped or vacuumed against regularly.
Filling nail holes and caulking
- Fill nail holes with a paintable wood filler, sand flush once dry, and prime before final paint.
- Run a thin bead of paintable caulk along the top edge of the baseboard where it meets the wall to hide small gaps from uneven wall surfaces.
- Do not caulk the bottom edge against the floor — that gap is often intentional to allow flooring expansion, and sealing it can trap moisture or restrict movement.
Painting sequence
Worked example: trimming a 12x14 room
A 12x14 room has roughly 52 linear feet of wall, minus door openings, leaving around 45-48 feet of baseboard to install. That typically means four inside corners (all coped) and one or two outside corners if there's a closet nook, plus one or two straight scarf joins depending on standard board lengths of 8, 12, or 16 feet. Budget half a day for a first-time coper working carefully, versus 1-2 hours for someone experienced, plus a separate session for filling, caulking, and final paint.
- Common mistake: mitering every inside corner because it's faster, then watching gaps open within the first year as the house settles seasonally.
- Common mistake: nailing only into drywall between studs, leaving trim that works loose at high-traffic contact points.
- Common mistake: caulking the floor-level gap tight, which can trap moisture or fight against flooring expansion.
- Common mistake: skipping a scrap test cut on outside corners, wasting a full-length piece of trim on a bad miter angle.
Painting sequence
Pre-priming and even pre-finishing trim pieces before installation, then doing only touch-up coats after nailing and filling, gives a cleaner result than painting entirely after installation, since a brush and roller reach the full face of the trim more evenly before it is tight against a wall and floor.
Do I need a coping saw for every project, or can I always miter inside corners?
Mitering inside corners is faster but visibly gaps over time in most homes due to wall angle variation and seasonal movement. Coping takes more skill but holds up far better long-term.
How do I join two baseboard pieces along a long, straight wall?
Use a scarf joint — a matching angled cut on both pieces that overlaps slightly — rather than a plain square butt joint, which shows a visible seam and gaps more easily.
Should baseboard touch the floor tightly?
A small gap, often covered by shoe moulding, is normal and allows for flooring expansion, especially over hardwood or laminate floors.
Should baseboard touch the floor tightly?
A small gap, often covered by shoe moulding, is normal and allows for flooring expansion, especially over hardwood or laminate floors.
What length baseboard should I buy to minimize joins?
Match board length to your longest wall run where possible — buying 16-foot lengths for a wall just over 12 feet avoids an unnecessary scarf joint that a 12-foot board would have required.
Do I need a coping saw specifically, or will a jigsaw work?
A coping saw's thin blade and control at tight angles make it the standard tool; a jigsaw with a fine blade can work in careful hands but is harder to control on detailed profiles.
Run the numbers for your own project
- Flooring CalculatorHow many boxes of flooring should I buy?
- Paint CalculatorHow much paint do I need for this room?
- Project Cost EstimatorWhat will this project cost me?
Keep reading
- How Much Paint Do You Actually Need for a Room?The tin says 400 square feet. Your wall says otherwise. Here is the arithmetic that actually holds up.
- DIY or Hire a Pro? A Decision Framework That Is Not About MoneyThe labour saving is real. So is the cost of a job done twice — and of tools you use once.
- Storage for Small Rooms That Does Not Make Them SmallerSmall rooms do not need more storage. They need storage that stops interrupting the eye.