Air Sealing Before Insulating: Why Order Matters
By Jim Vernon · 5 min read · Last updated
Insulation slows heat flow through materials; it does nothing to stop air moving straight through gaps.
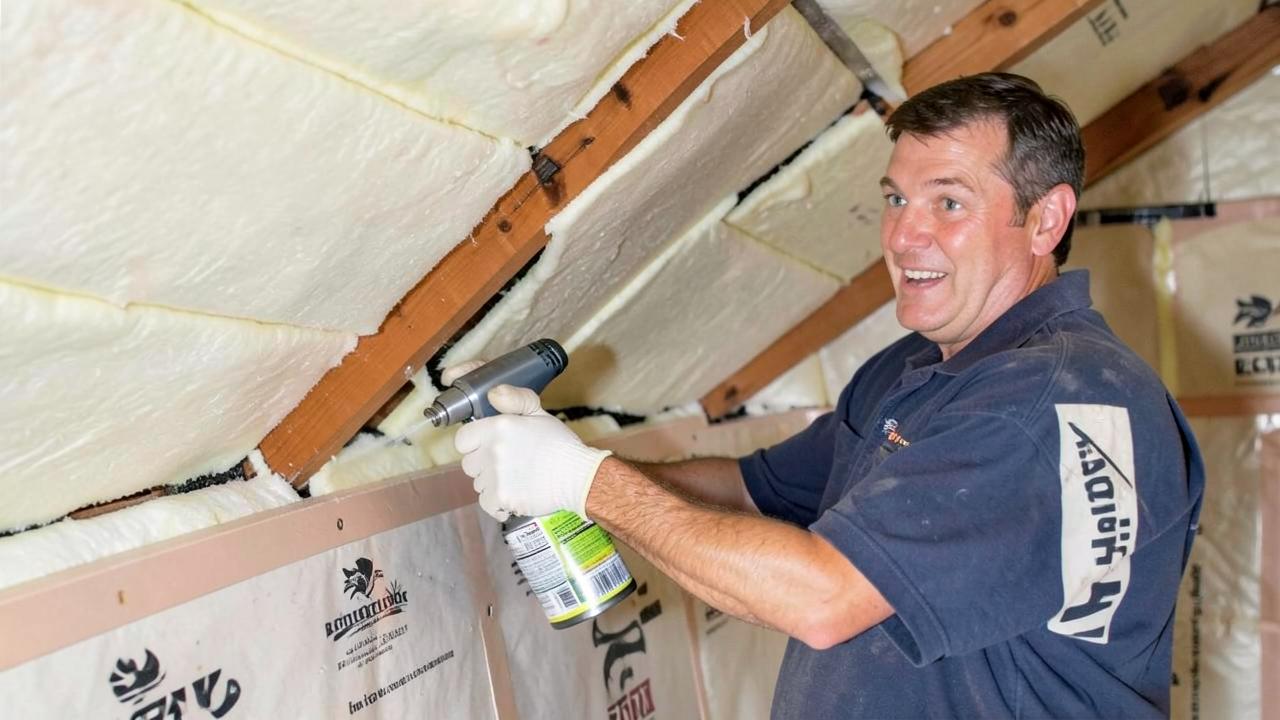
Air sealing should always happen before adding insulation, because insulation only resists conductive heat flow through a material — it does nothing to stop air from moving freely through gaps, cracks, and penetrations, which in a typical older home account for 25-40% of total heat loss. Blowing more insulation over an unsealed attic floor buries the leaks without fixing them, so the house keeps losing warm air around wiring holes, plumbing stacks, and top plates no matter how thick the insulation gets.
Why can't insulation alone fix a drafty house?
Insulation works by trapping air in place so it can't carry heat via convection, and its R-value rating assumes that trapped, still condition. When outside air moves through or around insulation via an unsealed gap, it carries heat with it regardless of the R-value rating sitting nearby — a phenomenon sometimes called 'wind-washing' in attics with soffit vents blowing directly into loose-fill insulation. This is why two houses with identical attic R-values can have very different heating bills if one has sealed air barriers and the other doesn't.
Where do most air leaks actually occur?
| Location | Share of typical home's air leakage | Fix |
|---|---|---|
| Attic bypasses (top plates, chimney chases, can lights, wiring/plumbing penetrations) | 30-40% | Foam or caulk each penetration before insulating over |
| Rim joists / band joists in basement | 10-15% | Rigid foam board cut to fit, sealed with canned foam at edges |
| Windows and doors | 10-15% | Weatherstripping, caulk at trim, occasional sash repair |
| Duct chases and dropped ceilings | 5-10% | Rigid foam or drywall with sealed seams |
| Electrical outlets and switch plates on exterior walls | 2-5% | Foam gaskets behind cover plates, inexpensive and fast |
How do you find leaks before starting?
A blower door test, typically part of a professional home energy audit ($300-600, sometimes subsidized or free through utility programs), depressurizes the house with a calibrated fan and measures total air changes per hour, then lets the auditor walk through with a smoke pencil or infrared camera to pinpoint exact leak locations while the fan is running. Without a blower door, a visual attic inspection on a cold day looking for dark, dust-stained insulation (a sign of air movement through it) or feeling for drafts at penetrations with a bare hand gets you most of the way there.
- In the attic, seal around chimney chases and flues with high-temperature caulk or metal flashing (never foam, which isn't fire-rated for these areas).
- Seal top plates where interior walls meet the attic floor — this is often the single largest bypass in a balloon-framed or older home.
- Foam or caulk every wire and pipe penetration through the attic floor; each one is small individually but they add up across a typical house.
- Install foam gaskets or airtight covers ('IC-rated' boxes) around recessed can lights before covering them with insulation.
What's the right sequence for an attic insulation upgrade?
- Test or visually inspect for leaks first, ideally with a blower door if a home energy audit is available in your area.
- Seal all identified bypasses with caulk, canned foam, or rigid foam board as appropriate to the gap size and location.
- Install baffles at the eaves to maintain soffit-to-ridge airflow without letting it wash directly into insulation.
- Add or top up insulation to the target R-value for your climate zone (commonly R-49 to R-60 for attics in colder zones).
- Re-test with a blower door if possible to confirm the sealing worked before calling the job done.
How much can air sealing lower your actual heating and cooling bills?
A blower-door-guided air sealing project commonly reduces a home's measured air leakage (in air changes per hour at 50 pascals) by 20-40%, and that reduction translates roughly proportionally into lower heating and cooling energy use for the portion of load driven by infiltration, typically 10-20% of a whole-house energy bill in an older, leaky home. Homes with especially bad bypasses — an unsealed attic hatch, an uninsulated knee wall, or a whole-house fan without a sealed damper — sometimes see bigger single-item improvements, occasionally 5-8% from one fix alone once identified by a blower door test.
What tools and materials does a DIY air sealing project actually require?
- A caulk gun and high-quality acrylic latex or silicone caulk ($6-12 per tube) for gaps under a quarter inch around trim, baseboards, and small penetrations.
- Canned spray foam, both the standard expanding formula and a low-expansion 'window and door' formula that won't bow trim, for gaps a quarter inch to two inches.
- Rigid foam board (1-2 inch thick, $25-45 per 4x8 sheet) for larger openings like rim joists or duct chases, cut to fit and sealed at the edges with foam.
- A headlamp and knee pads — most of the actual work happens crouched in an attic or crawlspace, and comfort during the work meaningfully affects how thorough the job ends up being.
Do I have to remove existing attic insulation to air seal underneath it?
In most cases, no — you rake back or push aside insulation at specific bypass locations to access and seal them, then put it back, rather than removing the whole layer. Full removal is only needed if insulation is wet, moldy, or contains vermiculite (which may have asbestos).
How much does air sealing alone typically cost?
A DIY attic air sealing project runs $150-400 in materials (caulk, canned foam, foam board, gaskets) for a typical house. A professional air sealing job, often bundled with an energy audit, runs $600-1,500 depending on house size and complexity.
Is air sealing worth doing if I'm not adding insulation right now?
Yes — air sealing alone often delivers 10-20% of a home's total heating and cooling savings potential and typically pays back within 2-4 years, making it worth doing on its own schedule rather than waiting for a full insulation upgrade.
Run the numbers for your own project
- Insulation R-Value CalculatorWhat R-value do I need, and how much?
- Insulation Cost Payback CalculatorHow long until attic insulation pays for itself?
- Energy Savings CalculatorWill this upgrade pay for itself?
Keep reading
- How Much Paint Do You Actually Need for a Room?The tin says 400 square feet. Your wall says otherwise. Here is the arithmetic that actually holds up.
- DIY or Hire a Pro? A Decision Framework That Is Not About MoneyThe labour saving is real. So is the cost of a job done twice — and of tools you use once.
- Storage for Small Rooms That Does Not Make Them SmallerSmall rooms do not need more storage. They need storage that stops interrupting the eye.