How Do You Install a Rain Barrel System That Won't Flood Your Foundation?
By Jim Vernon · 9 min read · Last updated
A single misplaced overflow hose on a 50-gallon rain barrel can dump a month's worth of concentrated roof runoff directly against your foundation in under an hour.
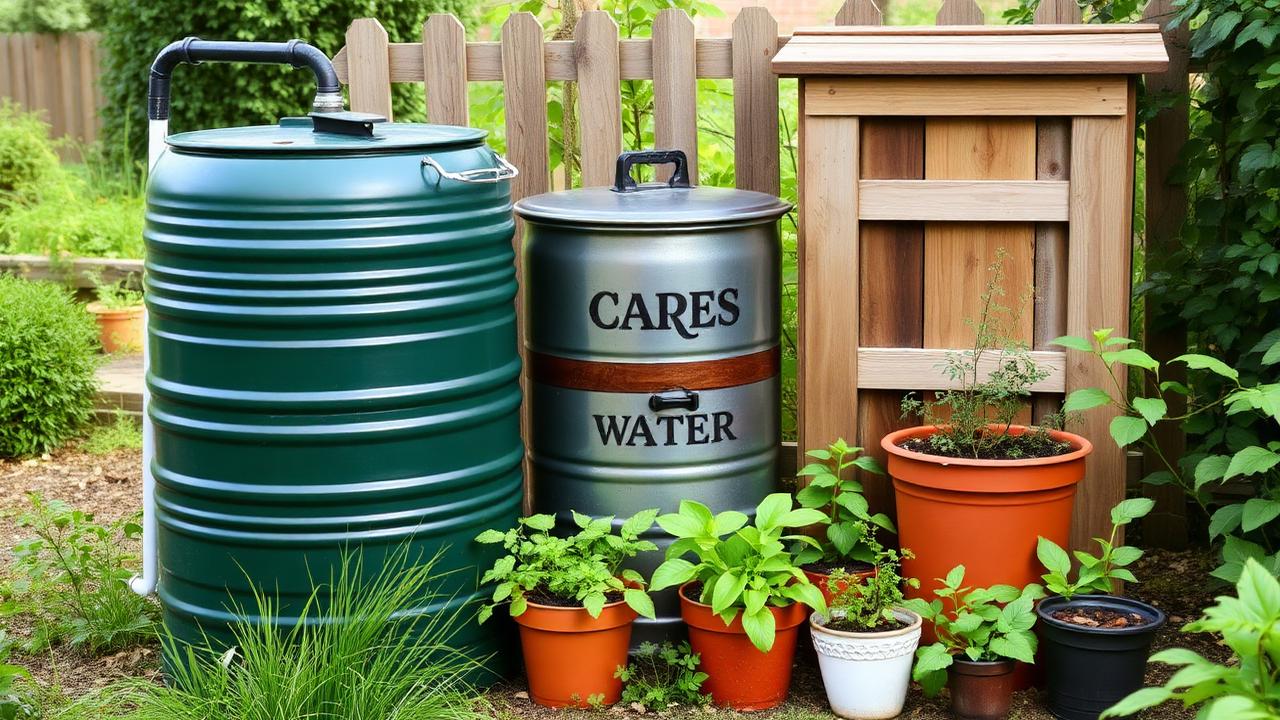
To install a rain barrel safely, place it on a level, tamped base of crushed gravel and concrete pavers, attach a diverter valve to the downspout exactly 1 inch (2.5 cm) below the top rim of the barrel, and route a 1.5-inch (3.8 cm) overflow hose at least 6 feet (1.8 m) away from the house on a downhill slope. The diverter prevents overtopping by automatically sending water back down the regular gutter pipe once the barrel reaches maximum capacity. Installing a system this way requires a 50- to 90-gallon (189- to 340-liter) food-grade barrel, a hacksaw or power drill with a hole saw, a standard diverter kit, and about two hours of labor. Expect to spend between $120 and $180 total in 2026 for a high-quality setup that protects both your plants and your home's foundation.
- A 1,000-square-foot roof sheds roughly 600 gallons of water during a 1-inch rainstorm, filling a standard barrel in minutes.
- Never rely on an open-top screen to manage water flow; always install an inline, sealed downspout diverter.
- A full 50-gallon rain barrel weighs over 400 pounds and requires a tamped gravel and paver base to prevent sinking and tipping.
- Emergency overflow hoses must have a 1.5-inch interior diameter and discharge at least 6 feet away from the foundation.
What Causes Rain Barrels to Flood Basements and Foundations?
The most common, catastrophic failure mode for a residential rain barrel is unmanaged overflow pooling against the house siding. A standard 1,000-square-foot (93-square-meter) roof yields roughly 600 gallons (2,271 liters) of water for every 1 inch (2.5 cm) of rainfall. A typical rain barrel only holds 50 gallons (189 liters). Without a proper bypass mechanism, the remaining 550 gallons (2,082 liters) of water will violently overtop the rim of the barrel.
When this water cascades over the sides, it erodes the protective soil grading around your house. Once the soil slopes toward the foundation rather than away from it, hydrostatic pressure builds against your concrete or block walls, forcing water into the basement or crawlspace. You avoid this entirely by treating a rain barrel as a pressurized plumbing fixture rather than a simple bucket left out in the rain.
- Always use a closed system with a downspout diverter, not an open top.
- Ensure the soil around the barrel slopes away from the house at a 5 percent grade.
- Routinely inspect the foundation wall behind the barrel for signs of soil wash-out.
How Do You Build a Rain Barrel Base That Won't Sink?
Water is incredibly heavy, weighing 8.34 pounds per gallon (1 kg per liter). A full 50-gallon (189-liter) barrel weighs over 400 pounds (181 kg). If you set this kind of weight on bare topsoil or mulch, the barrel will settle unevenly over the course of a single wet season. As it leans, it places severe stress on the downspout connections and creates a tipping hazard.
To build a permanent base, dig out a 3-foot by 3-foot (0.9 m by 0.9 m) square of topsoil to a depth of 4 inches (10 cm). Fill this shallow trench with 3 inches (7.6 cm) of crushed gravel, specifically a 3/4-inch minus aggregate that contains stone dust for binding. Tamp the gravel perfectly level using a hand tamper, checking it in all directions with a 2-foot (60 cm) spirit level. Top the gravel with heavy concrete paving stones. Elevating the barrel on this base also provides more clearance for your watering can and slightly increases the gravity-fed water pressure at the spigot.
- Dig 4 inches (10 cm) into the soil to remove loose organic matter.
- Use 3/4-inch minus gravel because the jagged edges lock together under pressure.
- Use a heavy hand tamper to compact the gravel before laying concrete pavers.
Should You Cut the Downspout or Install a Diverter?
This is a classic judgement call where professionals and beginners part ways. A beginner typically grabs a hacksaw, completely severs the aluminum downspout 4 feet (1.2 m) above the ground, and attaches a curved elbow to dump water directly onto a mesh screen on top of the barrel. This guarantees violent splash-out, invites mosquitoes, and makes managing the inevitable overflow highly chaotic.
A pro leaves the downspout structurally intact and uses a 2.125-inch (5.4 cm) hole saw to drill a single neat opening into the side of the pipe. They then insert a flexible rubber diverter cup into this hole. Because rainwater clings to the interior walls of a downspout as it falls, the cup catches the water and funnels it through a side hose into the barrel. Once the barrel is full, the water simply backs up the side hose, bypasses the rubber cup, and continues harmlessly down the original gutter to the street or existing yard drain.
- Cutting the downspout compromises the structural integrity of the gutter system.
- Diverters create an automatic, closed-loop overflow mechanism.
- Hole saw installations can be easily capped off and reversed if you move the barrel.
How Do You Position the Diverter at the Exact Right Height?
A downspout diverter operates on the basic laws of fluid dynamics: water always finds its own level. The hole you drill in your downspout must be perfectly level with the maximum desired fill line of your rain barrel. This fill line is typically located 1 to 2 inches (2.5 to 5 cm) below the barrel's top rim.
If you drill the downspout hole too high, the barrel will overpressurize and forcefully blow water out of the top lid before the diverter can bypass the flow. If you drill it too low, you artificially limit your barrel's capacity, sacrificing gallons of storage. To get it perfect, place your empty barrel on its finished, permanent paver base. Use a standard torpedo level to draw a straight, horizontal line from the barrel's fill port directly across to the downspout. Mark the center of the pipe on that line, and drill.
- Always place the barrel on its final paver base before measuring.
- Mark the maximum fill line 1 to 2 inches (2.5 to 5 cm) below the top rim.
- Use a torpedo level to transfer the mark accurately from the barrel to the pipe.
Where Exactly Must the Emergency Overflow Hose Go?
Even with a high-quality downspout diverter, a torrential microburst can overwhelm the rubber cup and force excess water into the barrel. Because of this, every rain barrel must have a dedicated emergency overflow port near the top rim. You must attach a corrugated plastic hose to this port to handle sudden surges.
Do not use a standard 5/8-inch (1.6 cm) garden hose for overflow, as it cannot handle the volume and will bottleneck the system. Instead, use a 1.25-inch or 1.5-inch (3.1 cm to 3.8 cm) sump-pump style hose. Route this hose a minimum of 6 feet (1.8 m) away from your foundation wall, discharging it onto a downward slope or into a dedicated rain garden. In 2026, a 10-foot (3 m) length of this corrugated hose costs about $15 at any hardware store.
- Use a 1.5-inch (3.8 cm) diameter hose to match the volume of sudden downpours.
- Discharge the water at least 6 feet (1.8 m) away from the house siding.
- Never discharge overflow into a flat mulch bed trapped against the foundation.
How Do You Keep Mosquitoes and Algae Out of the Water?
Stagnant water breeds mosquitoes in as little as four days in the summer heat. Furthermore, if sunlight penetrates the water, massive green algae blooms will develop and permanently clog your spigot. To prevent algae, always choose a dark-colored, opaque barrel, such as solid black, dark green, or terracotta. Clear or white plastic tanks are strictly for indoor or underground storage.
To stop mosquitoes, ensure every entry and exit point on the barrel is sealed. If you are retrofitting an older open-top barrel rather than using a sealed diverter, the top mesh must be actual window screen with gaps no larger than 1/16-inch (1.5 mm). A standard 1/4-inch (6 mm) hardware cloth will block leaves, but mosquitoes will fly right through it to lay eggs. Secure the window screen tightly with a heavy-duty band clamp.
- Use solid black or dark green barrels to block sunlight and prevent algae.
- Seal all secondary ports with threaded PVC plugs and Teflon tape.
- Use 1/16-inch (1.5 mm) window screen if any part of the system is exposed to the air.
How Do You Link Multiple Barrels Together for Maximum Capacity?
Because a single storm can easily generate 600 gallons of runoff, many gardeners realize that 50 gallons is inadequate for surviving a July drought. To increase your capacity without chopping into additional downspouts, you can daisy-chain multiple barrels together using a bottom-connection kit.
Connect a short length of 3/4-inch (1.9 cm) heavy-duty garden hose between the bottom spigots or dedicated linking ports of two barrels. Ensure both barrels are sitting on the exact same level base. As rainwater fills the primary barrel, hydrostatic pressure forces water through the linking hose into the secondary barrel, causing them to fill simultaneously. A basic brass linking kit costs $25 to $35 in 2026. Ensure your emergency overflow hose is installed on the primary barrel, as both will top out at the exact same moment.
- Link barrels at the bottom so hydrostatic pressure fills them evenly.
- Ensure all linked barrels share the exact same base elevation.
- Keep the diverter and the overflow hose attached to the primary barrel.
When and How Must You Winterize the System in Cold Climates?
If you live in USDA Hardiness Zones 7 or lower, winterization is mandatory. High-Density Polyethylene (HDPE) plastic is incredibly durable, but it cannot withstand the expansion force of 50 gallons of water turning into solid ice. If left full during a deep freeze, the barrel will split open along the seams.
Before your region's first hard frost, drain the barrel completely. Leave the bottom spigot in the open position for the entire winter so any residual condensation can drain out. Remove the flexible hose connecting the downspout to the barrel, and plug the hole in the downspout diverter with the winterizing cap included in your original kit. If you lost the cap, replacement rubber caps cost around $5 in 2026. Finally, if possible, move the empty barrel into a garage or shed to protect the plastic from winter UV degradation.
- Drain the barrel entirely before the first freeze in USDA Zones 7 and below.
- Leave the bottom spigot fully open throughout the winter.
- Cap the downspout diverter to send all winter snowmelt directly to the ground.
| Feature | Closed Diverter System | Open Cut-Downspout System |
|---|---|---|
| Overflow Risk | Low (Automatic bypass) | High (Requires manual management) |
| Tools Required | Power drill, 2.125-inch hole saw | Hacksaw, measuring tape |
| Mosquito Vulnerability | Very Low (Fully sealed) | High (Open screen mesh) |
| Average 2026 Material Cost | $35 - $50 for diverter kit | $15 - $20 for elbows and screws |
| Winterization | Easy (Insert rubber cap) | Difficult (Requires reattaching pipe) |
Frequently asked questions
Is rain barrel water safe to use on vegetable gardens?
Generally, yes, but precaution is required. Water the soil directly at the base of the plant, avoiding the leafy greens, and always wash produce thoroughly before eating. Do not use rain barrel water on edibles if your roof has a zinc-strip moss treatment, copper flashing, or if you recently installed a new asphalt roof that is heavily shedding petroleum particulate.
Do I need an electric pump to run a hose from a rain barrel?
Gravity provides roughly 0.43 PSI for every 1 foot (30 cm) of elevation. A rain barrel sitting on a 2-foot (60 cm) base provides less than 1 PSI of pressure. This is enough to slowly trickle water through a soaker hose, but it will not run a standard sprinkler or a spray nozzle. If you want pressurized flow, you will need to install a small electric transfer pump.
What type of plastic is safe for a DIY rain barrel?
Look for barrels made from High-Density Polyethylene (HDPE) marked with the #2 recycling symbol. Food-grade barrels that previously held bulk syrups, olives, or pickles are ideal. Never use a barrel that previously held industrial chemicals, solvents, or non-organic fertilizers, as the plastic absorbs these toxins and will leach them into your soil.
Keep reading
- Sealing Draughts: The Cheapest Energy Work in Any HouseAir leakage is invisible, unglamorous, and usually the largest single heat loss you can fix in a weekend.
- Composting for Beginners: The Ratio That Makes It WorkA compost heap that smells bad or never breaks down is missing one of four things. It is never bad luck.
- Attracting Pollinators to a Small Garden or BalconyA pollinator garden is less about a specific plant list and more about never leaving a gap in bloom time.